
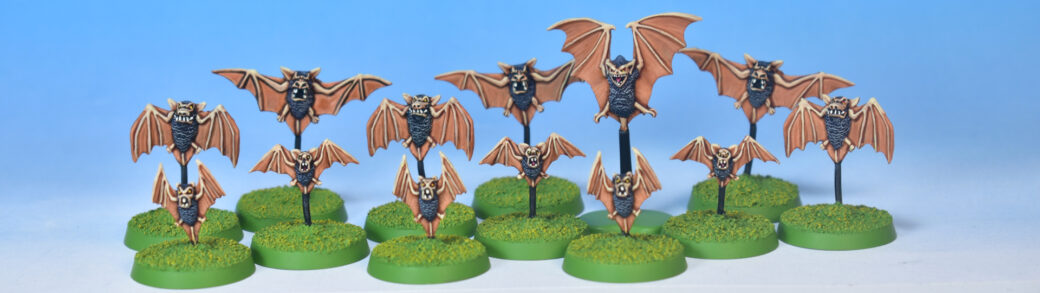
In today’s tutorial we are doing a step by step painting guide for the plastic Giant Bat miniature that was part of the monster line-up in the original 1995 Warhammer Quest box, but was also released later in the Warhammer Fantasy “Swarms” box-set, together with their rats, spiders, and snotling swarm cousins.
Introduction
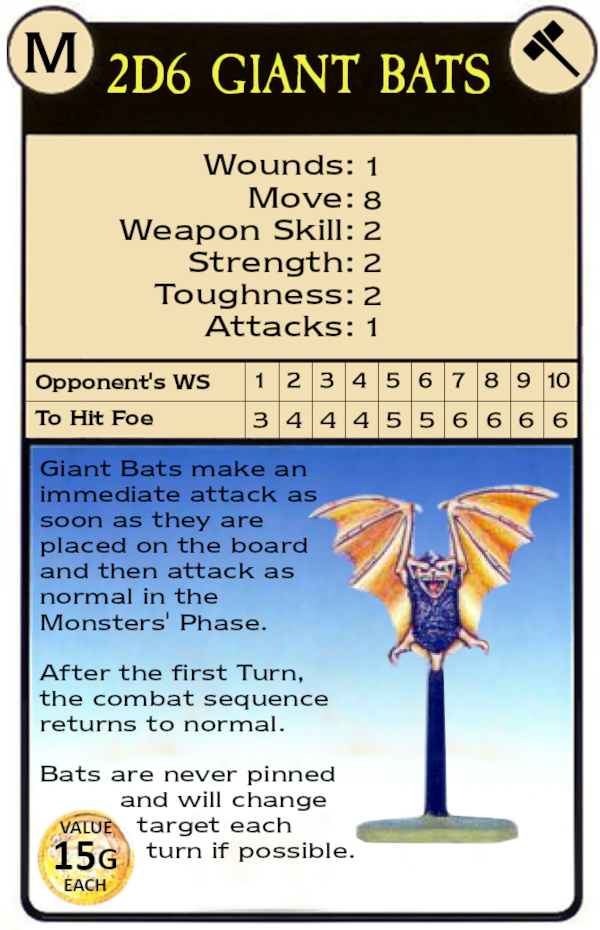
For this tutorial I used the paint job as shown on the Warhammer Quest “Event Card” as inspiration.
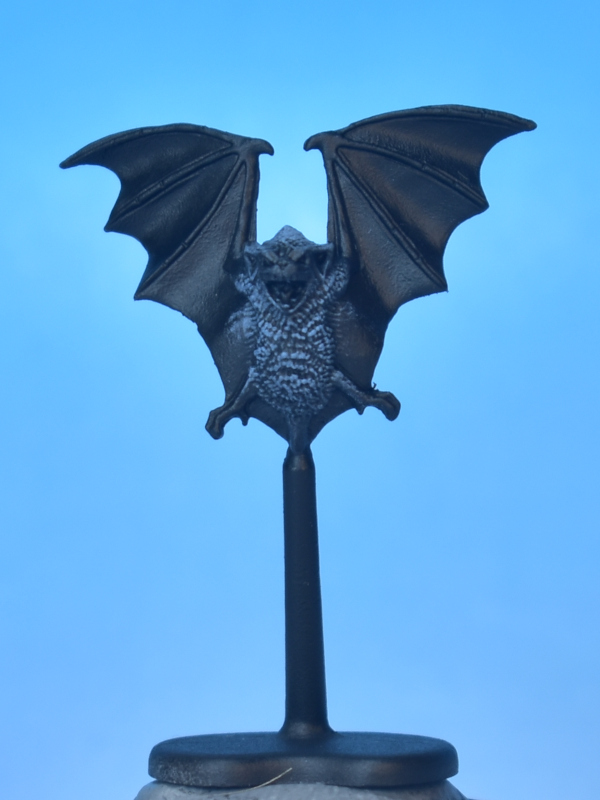
Although the model reads as fairly bright (as most 90’s paint jobs do), I decided to start off with a black undercoat, the idea being that it speeds up painting the dark body and ensures we don’t need to do anything for painting the stand.
Before grabbing the paint brushes, it is a good idea to make sure that the black undercoat really covers the body of the bat, and you don’t see any of the bare plastic coming through. Just take some black paint, thin it down with water and go over every model carefully. In my case, the under coat was fully OK, but especially if you spray paint multiple models at a time, it happens often that you miss an angle here or there.
Let’s go paint some bats…
Fur (Body)
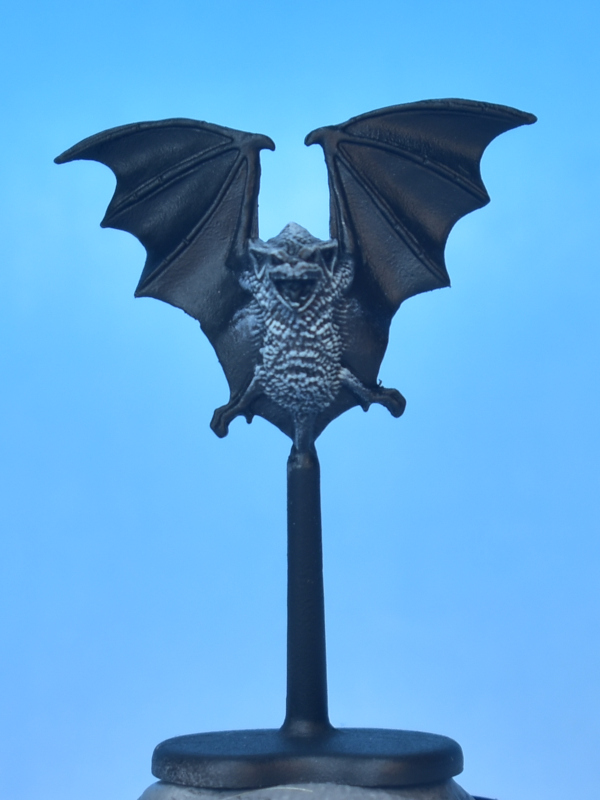
We start by painting the furry, blackish body of the bat, in four very simple steps, starting from the black undercoat. Step one is to apply a heavy dry brush all over the body (from all directions) using Citadel: Russ Grey. Then, in step 2 we apply some additional highlights by dry brushing only from the top (i.e. only downward strokes) using Citadel: Celestra Grey (if you don’t have this paint, any light grey or even white paint will do). In the third step, we aim to achieve a slightly purple hue to the body that you can see in the original Warhammer Quest paint job on the Event Card. We do this by creating a 50/50 wash mix of Citadel: Druchii Violet and Citadel: Drakenhof Nightshade (I found Druchii Violet alone to be a little bit too purple, and the mixture creates a nice subtle effect). As the fourth and final step, we bring back some of the highlights by repeating step 2 — which is to dry brush from the top again using Citadel: Celestra Grey.
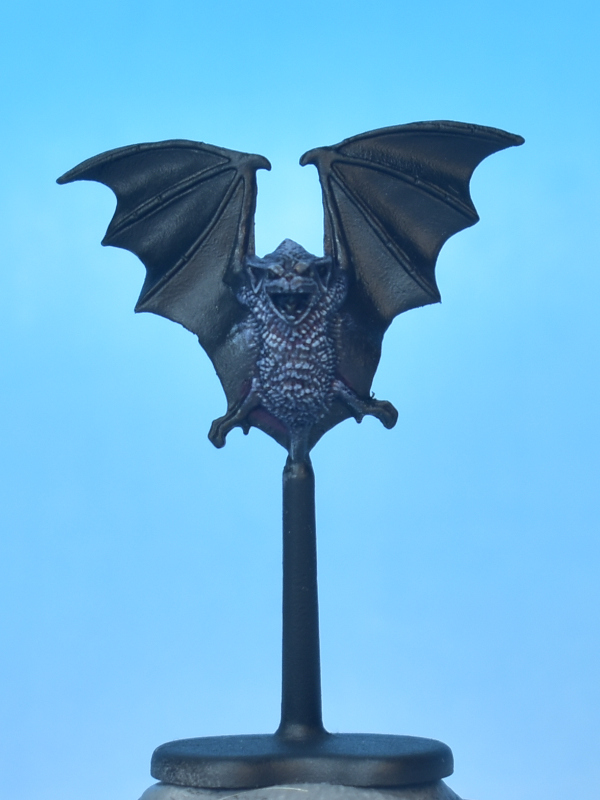
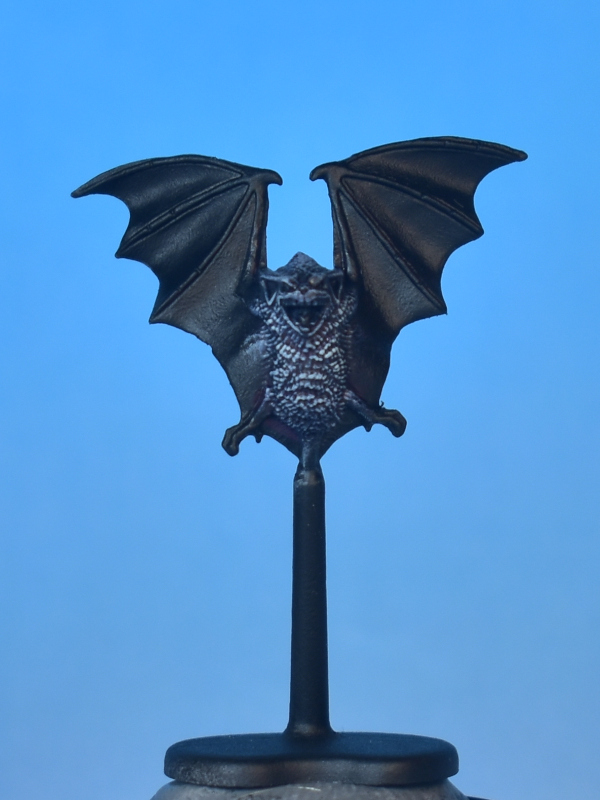
The Rest…
All the rest of the model receives the same two base layers. First, start by applying Citadel: Ratskin Flesh all over the wings and the facial features of the bat, and then apply a wash of Citadel: Seraphim Sepia over all of these same areas.
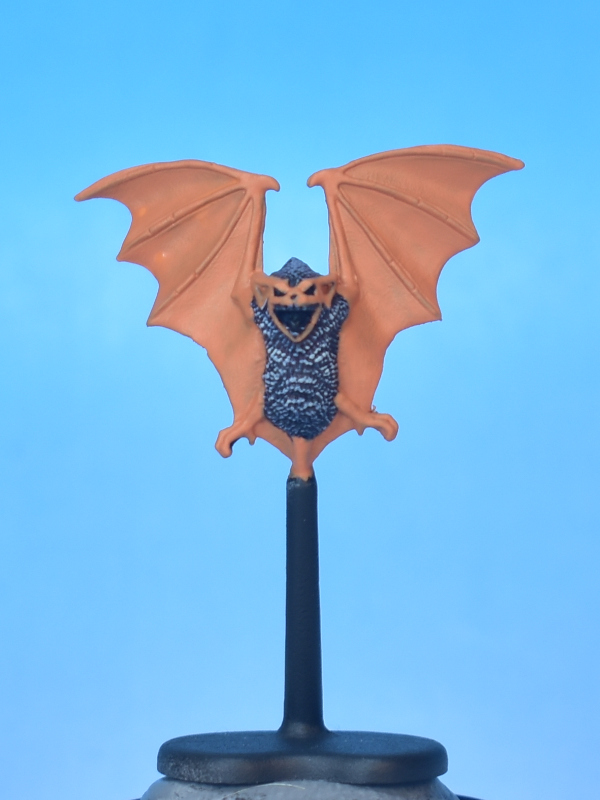
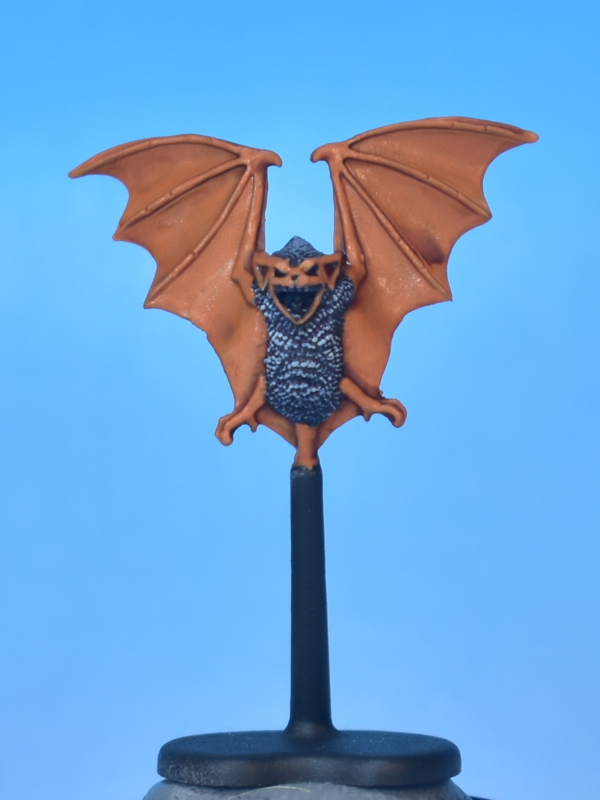
From this point on we will start to create some contrast between the facial features, the limbs and the “bones” of the wings and the leathery wings (or “membrane”) — keeping the membranes fairly dark, while highlighting the rest up to an almost white bone colour.
We start with these brighter highlights using a mixture of the original base colour (Citadel: Ratskin Flesh) and our highlight colour which is Vallejo: Bone White (if you don’t have this, any light bone colour, such as Citadel: Screaming Skull will also work). To keep things simple again, I’m only doing two steps for these areas. The first is around 70/30 mixture of Bone to Ratskin (so much more bone colour), and the second layer is almost pure bone colour (90/10).
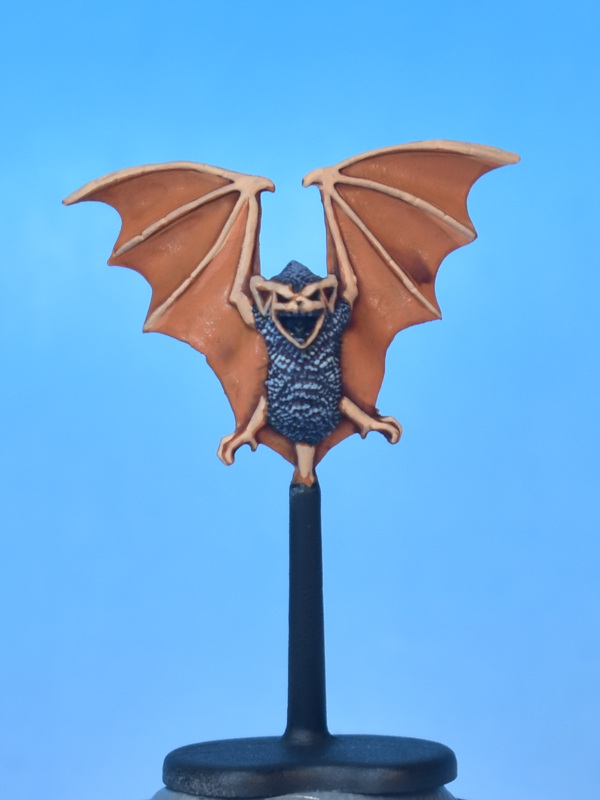
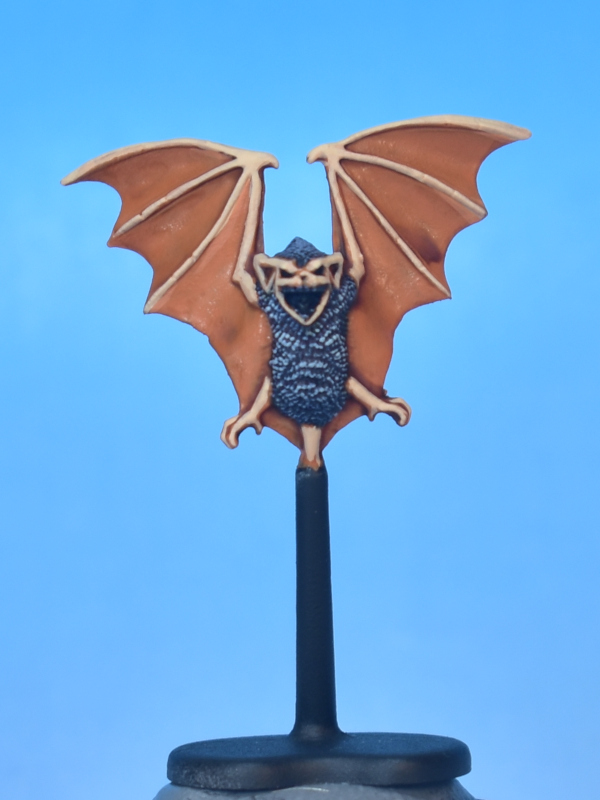
If you want to spend a little more time on these, you can take a brighter bone colour and start accentuating the raised areas, focusing on the facial features and wing tips. But seeing as we have to paint 12 of these, I’m keeping things simple.
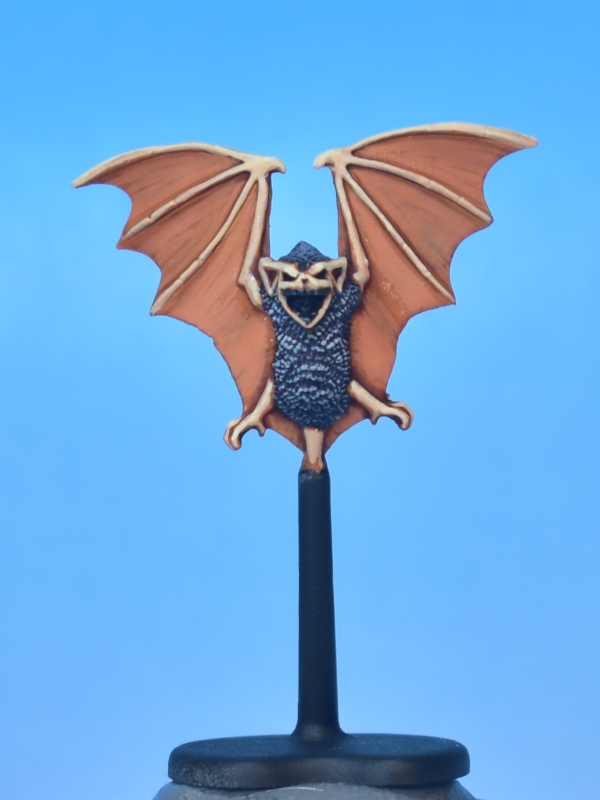
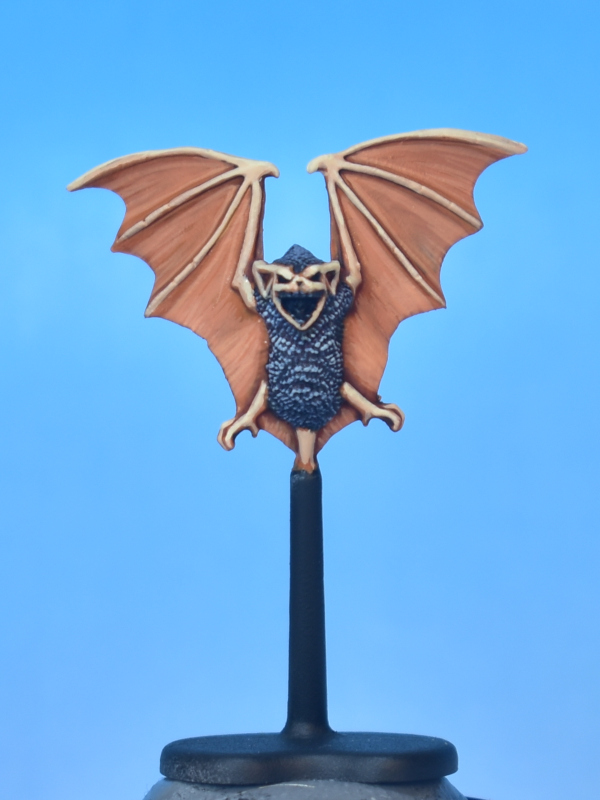
For the wing membranes, we also take two simple steps to apply some highlights, and again we start working from our base colour of Citadel: Ratskin Flesh. This time, for the first step, I mix in just a little bit of Vallejo Model Color: Flat Flesh (70.955) and apply many thing brushstrokes to cover all the centers of the wing areas. The idea is to increase the contrast to the darker shaded outlines of the bones, and the many thin brush strokes add some texture effect to the wings. For the second step, I add a little more of the Vallejo: Flat Flesh into the mix and apply lines of highlights to the edges of each wing shape.
If you don’t have Vallejo: Flat Flesh, it is a peachy skin colour, which you could mix up yourself by adding a light brown (like Citadel: Zamesi Desert) to a pale skin tone (like Vallejo: Pale Flesh).
Facial Details
Next up is painting the facial details. Again, we apply two simple steps. First, we paint all the tiny little teeth using Vallejo Game Color: Bone White and use Citadel: Mephiston Red for both the eyes and the tongue. In the second step, we make the teeth stand out a bit more by adding tiny dots of Vallejo: Dead White to the tips. For the tongue, we add a little highlight line using Citadel: Emperor’s Children, and finally, for the eyes, add a tiny dot of Citadel: Flash Gitz Yellow in the center of the eye (or… like me, just somewhere near the eye…).
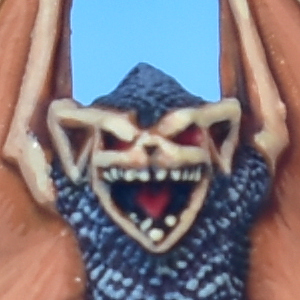
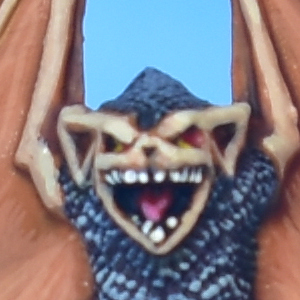
And then, all that is left is some good old Goblin Green paint on the base, and …
The Final Result
And there we have a Giant Bat ready to ambush some unsuspecting Warhammer Quest adventurers…
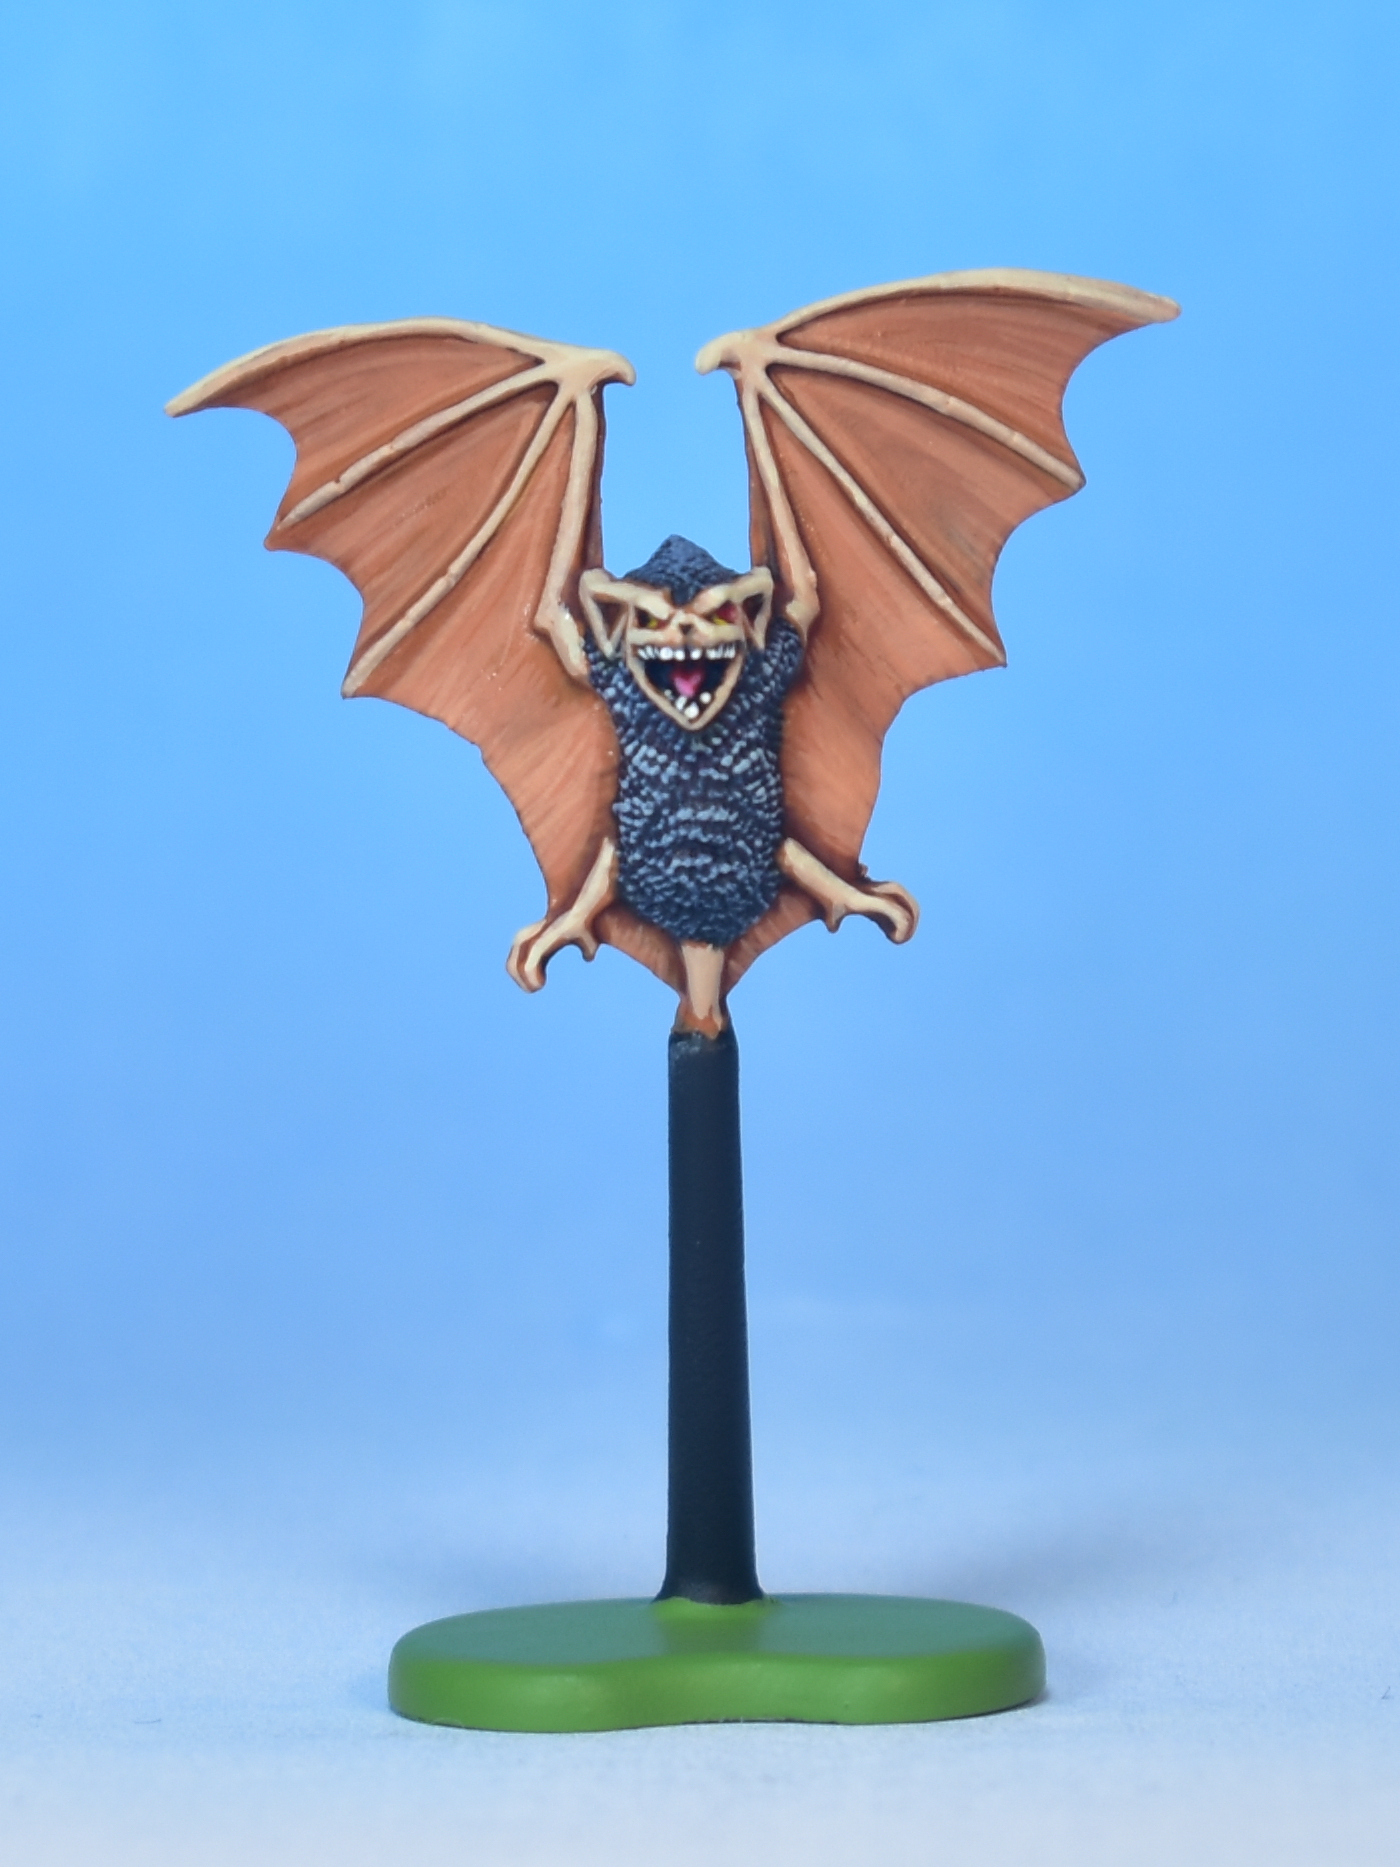
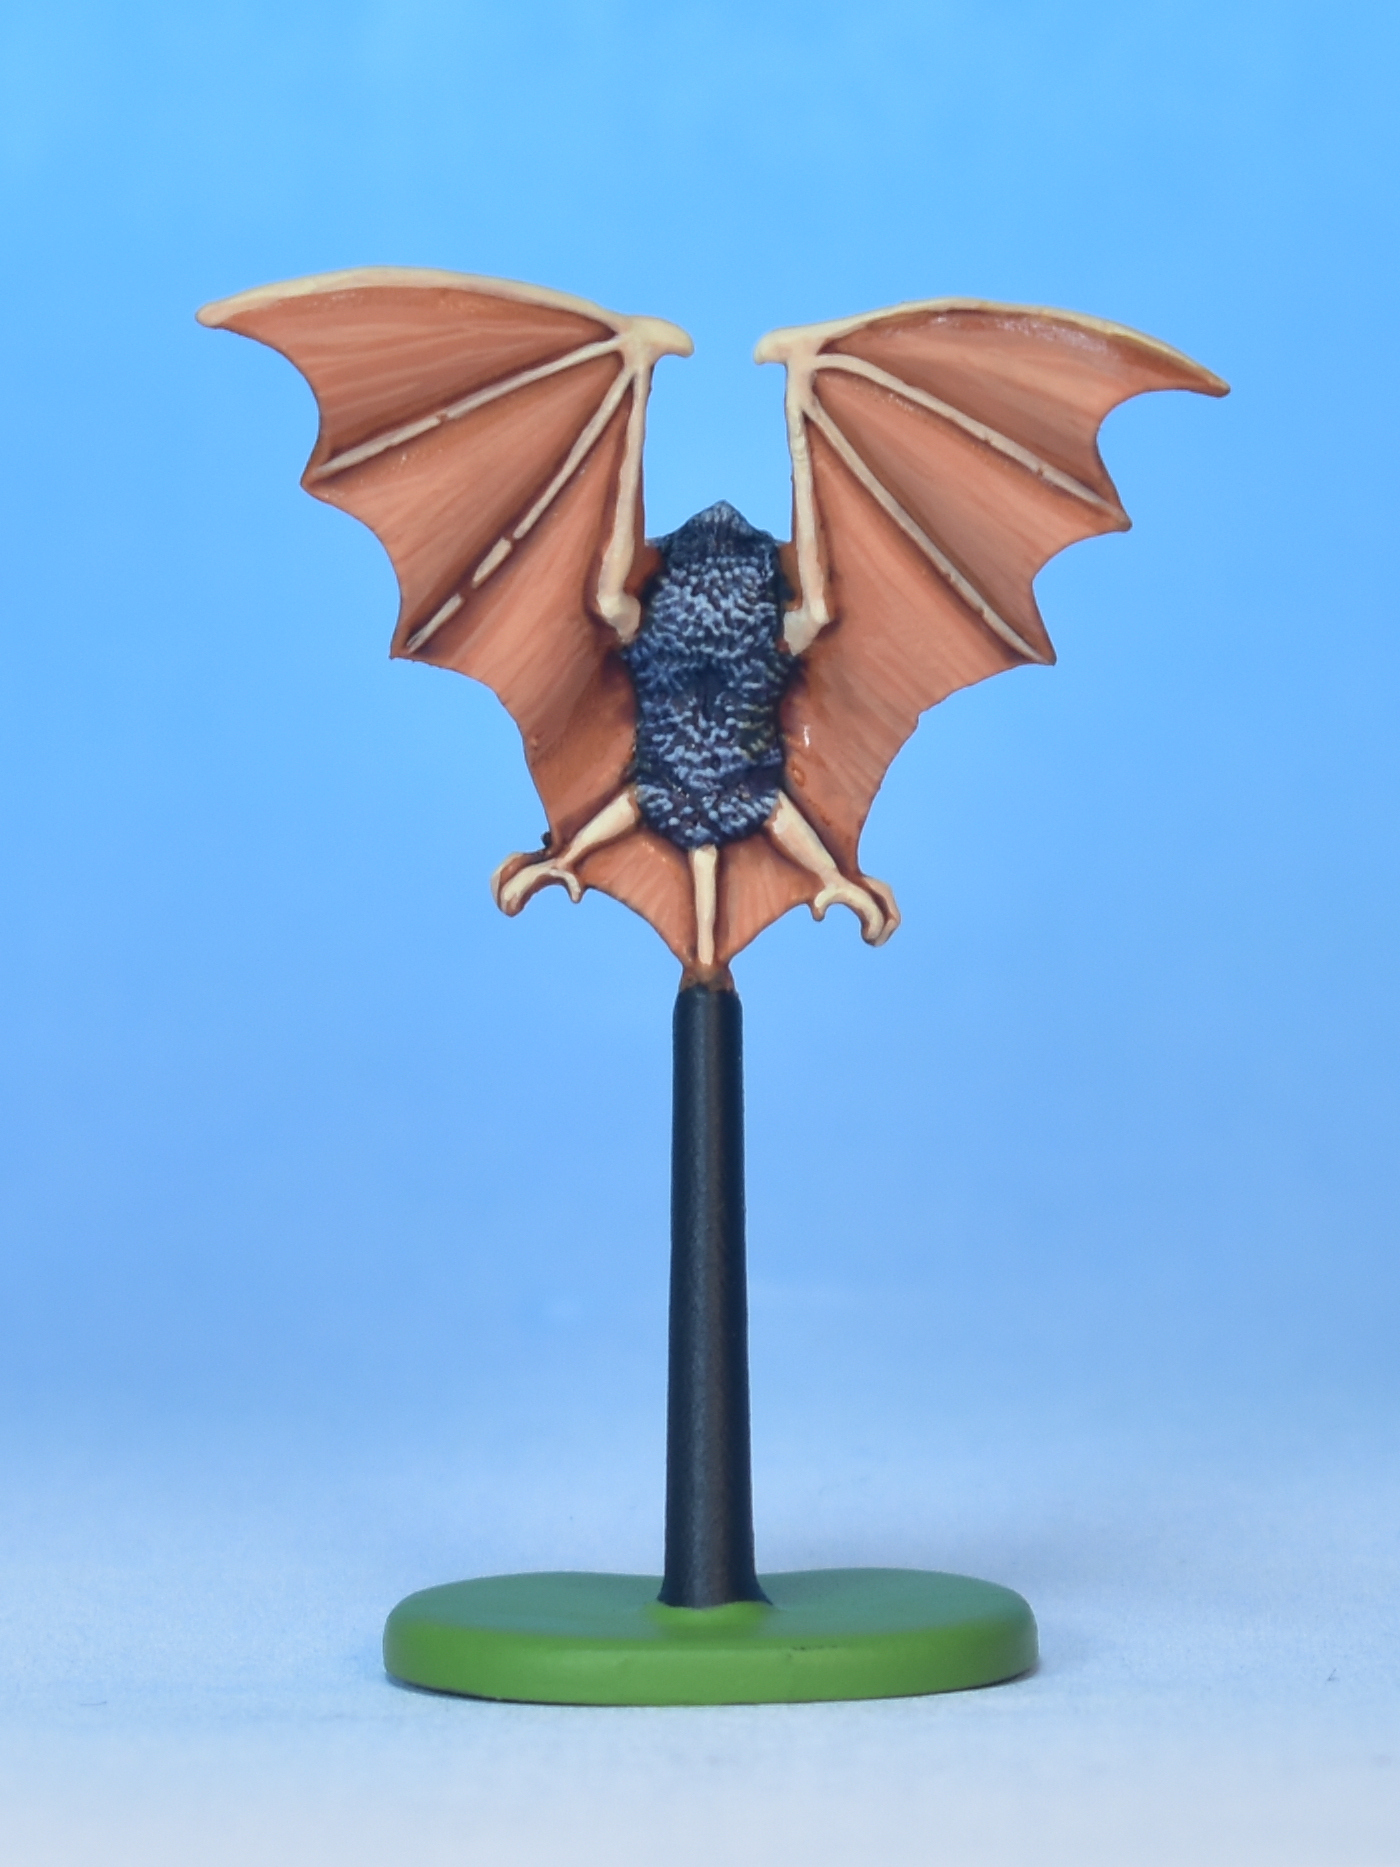
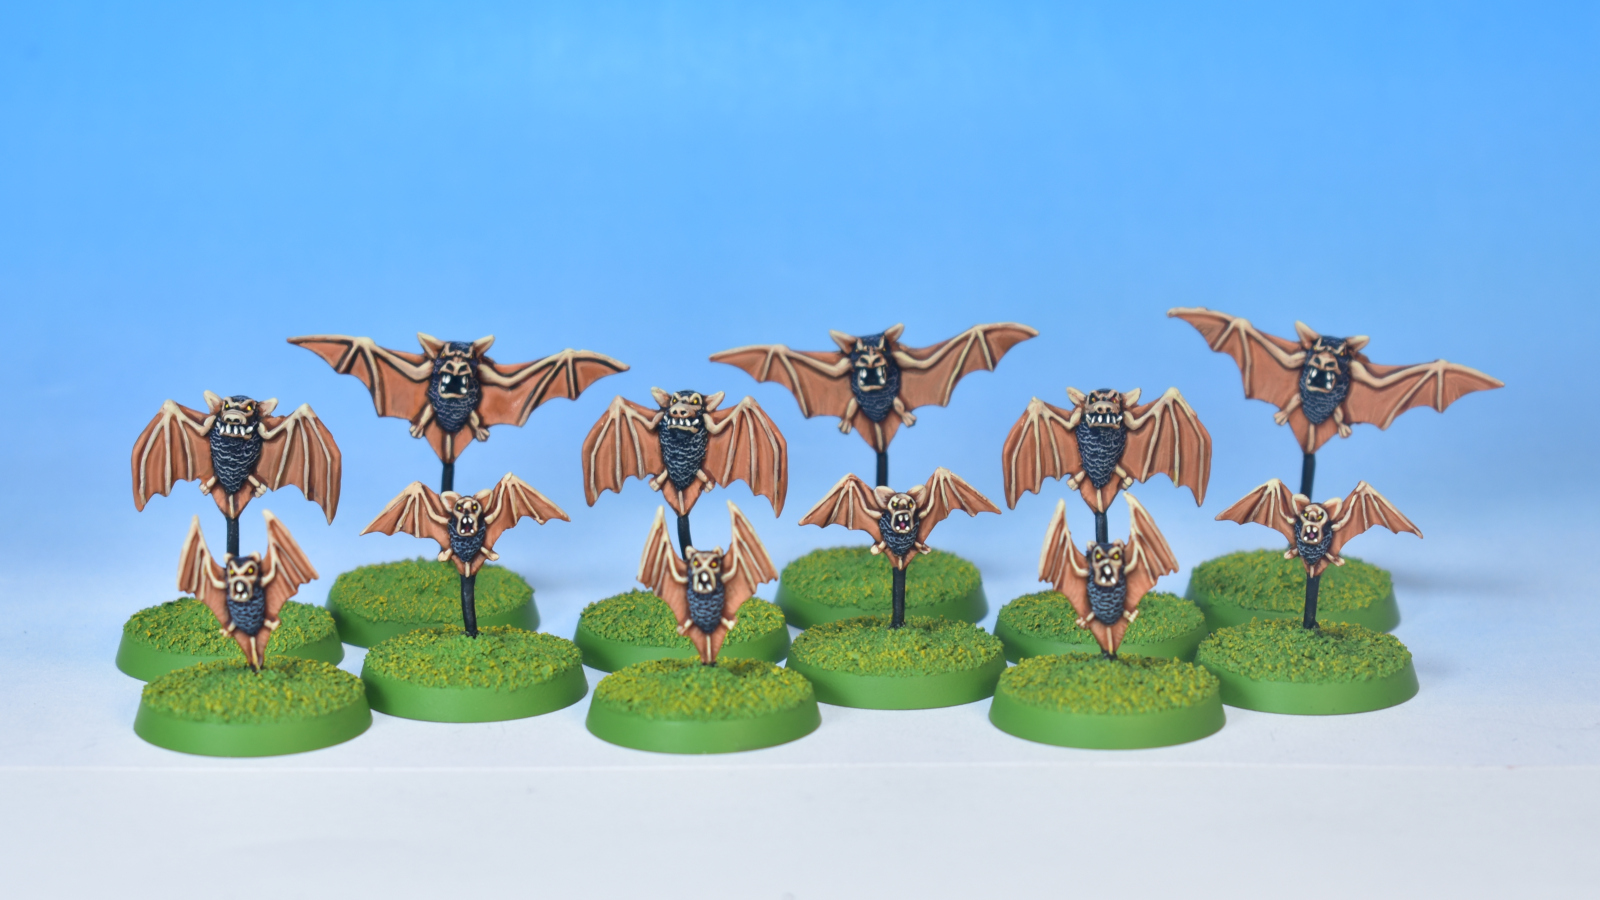
Since unfortunately I don’t own 12 of these plastic beauties, I was forced to paint-strip some old metal bat swarms I had from my old Vampire Counts army. Fortunately, the paint scheme works just as well on those, as you can see below.
Closing Words…
If you have any question, feel free to leave a comment below, or drop me an email at harm@harmsworkshop.com. If you found this very useful and want to show some support, you can do so via my Ko-Fi page.