
In this tutorial I want to share my recipe for painting Night Goblins in a classic scheme with deep dark robes and bright red details. This is the result of lots of experimentation in trying to find a (relatively) simple way to re-create that classic ‘Eavy Metal style.
Undercoat
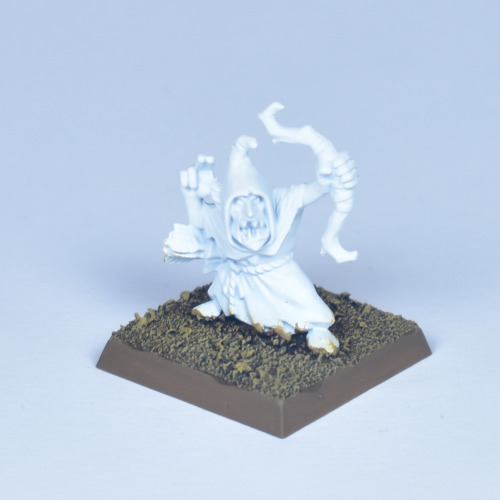
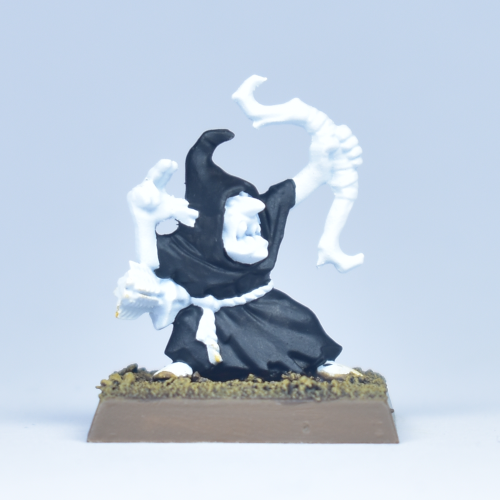
The starting point for this tutorial is our model that has been undercoated white, and having its base already painted following the Dark Lands Bases Tutorial. Choosing white for the undercoat may seem inefficient for a miniature that will be wearing a fully black cloak and hood. In fact, even Mike McVey — the undisputed Master of the ‘Eavy Metal painting style — writes in his 1994 Warhammer Armies Painting Guide, “If I’m painting large units of Night Goblins I break one of the golden rules of miniature painting and undercoat them black rather than white”. However, he continues, “The face, hands and other areas of exposed skin are then re-undercoated white to make sure that the skin comes out bright”. Indeed, the skin, but also the red shoes, the red bow and other details greatly benefit from a white undercoat. In our case, we choose to spray Citadel: Corax White from a spray can, and then use a brush to apply two thin coats of Citadel: Abaddon Black to the robe.
I personally think this is easier than spraying black, and then covering everything but the robe using white, but both approaches are obviously fine. However you choose to do this, the result is a deep black base coat for the robe, and a bright white base coat for all the other parts of the model. It is important to have a good even finish on the blacks of the robe, as this part of the model will receive only little more attention in the highlighting stage.
Base coats
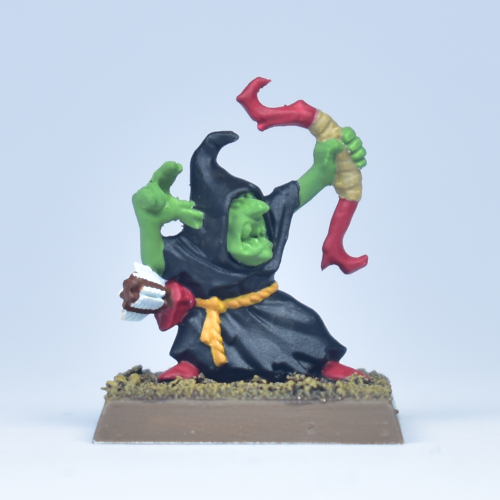
Like the black of the robes, all other base coats are best applied in two thin coats to get a good even finish. After the Citadel: Abaddon Black for the robe, the rest of the base coats are as follows:
- Vallejo: Goblin Green for the skin.
- Citadel: Mephiston Red for the bow haft, the shoes and the quiver.
- Citadel: Averland Sunset for the rope around the waist.
- Citadel: Zandri Dust for the wrappings around the bow, and the little ropes around the quiver.
- Citadel: Mournfang Brown for the arrow shafts.
If you worked neatly, you can leave the arrow fletching in its white undercoat colour — but if it was stained by accident, clean it up with some Vallejo: Dead White (or your personal favourite white paint).
Shading
With all the base coats done, it’s time to add some shading to the model by using washes (or sometimes contrast paints) to all parts of the model except the robe (the base colour of Abaddon Black can’t really be shaded down further as there isn’t anything much darker). We take a medium sized brush that can soak up enough wash and apply the following paints unthinned, straight from the pot:
- Citadel: Biel-Tan Green to all the green skin.
- Citadel: Flesh Tearers Red for all the red parts (bow, shoes, quiver). If the skin shading has dried, also apply some Flesh Tearers Red to the inside of the mouth.
- Citadel: Agrax Earthshade over the bow wraps and the ropes holding the quiver.
- Citadel: Nuln Oil over the arrow fletching and the shafts. If the skin shading has properly dried, also apply some Nuln Oil into the eye sockets.
- Citadel: Seraphim Sepia over the yellow rope.
After this step, your models should look something like the images below.
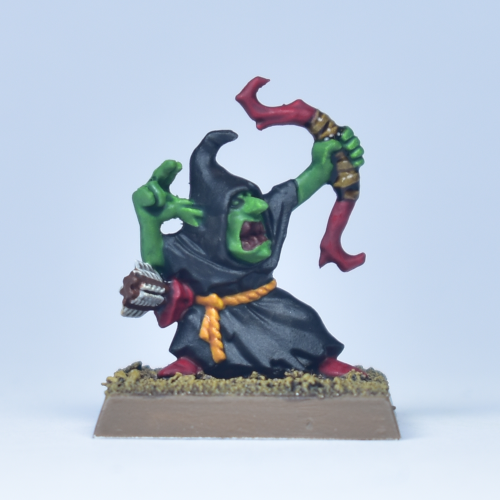
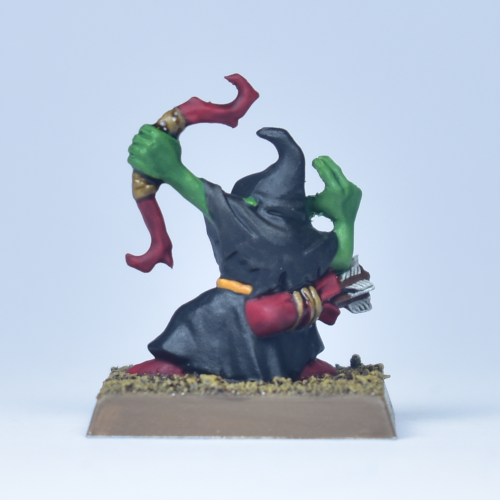
Make sure to wait before washes have fully dried before applying a wash on an adjacent area. Unless you are painting a large batch of models, it is likely that washes haven’t fully dried yet by the time you finished applying it on all areas. Some areas like the Greens and Yellows never touch, so they can be tackled at the same time.
Highlighting Skin
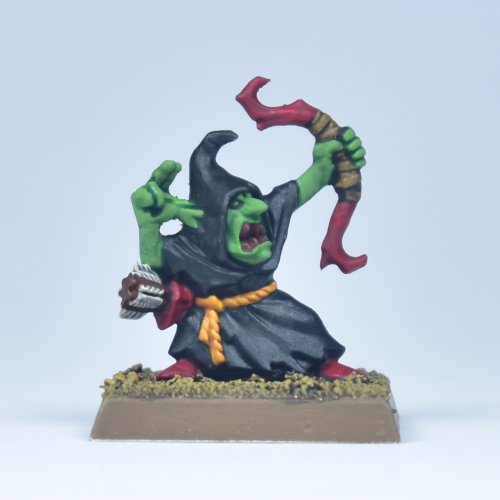
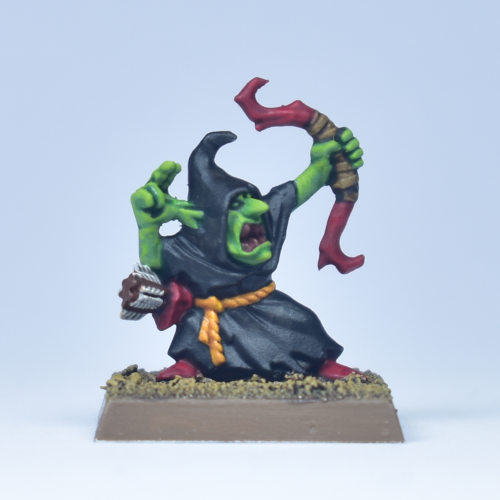
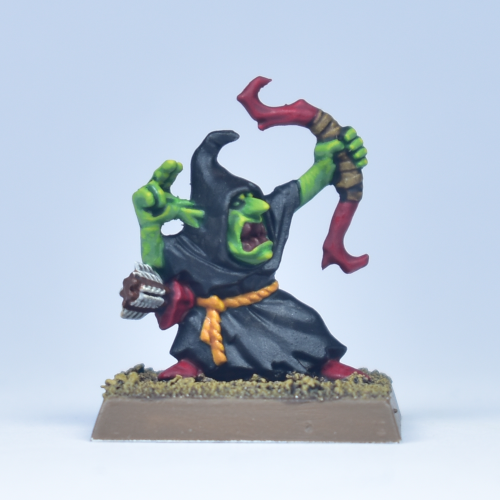
Goblin Skin. We start by highlighting the skin tones in three steps. The first step is using pure Vallejo Goblin Green, covering almost all the skin area — only leaving the deepest recesses. Then, we start adding progressively more Citadel: Yriel Yellow to the Goblin Green, and highlighting ever smaller areas. In this example, we have three stages. In Stage 1. we apply pure Goblin Green to about 90% of the skin area. Leave the dark green showing at the edges, between the fingers, and in the deepest wrinkles of the skin and face.
In Stage 2. we mix about 1 part Yriel Yellow to 2 parts Goblin Green and highlight the raised areas — start defining muscle shapes, paint the fingers and most protruding facial features such as the nose, chin and cheekbones. Then in Stage 3. we mix about 1 part Yriel Yellow to 1 part Goblin Green and paint dots on the knuckles of the hands, the chin, cheekbones and nose, etc. Finally, using almost pure Yriel we place a small dot on the nose and chin).
Highlighting Facial Details
Tooth and nail. One this model, we don’t actually have visibly sculpted nails, but if yours does have them, they are painted in the same way as the teeth. We first apply a layer of Citadel: Morghast Bone, and then highlight them with a little bit of Citadel: Screaming Skull towards the tips.
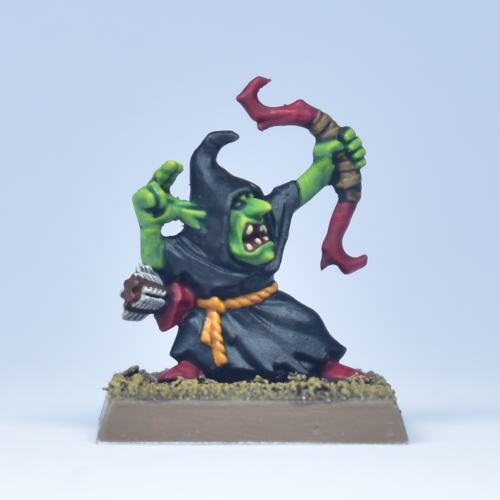
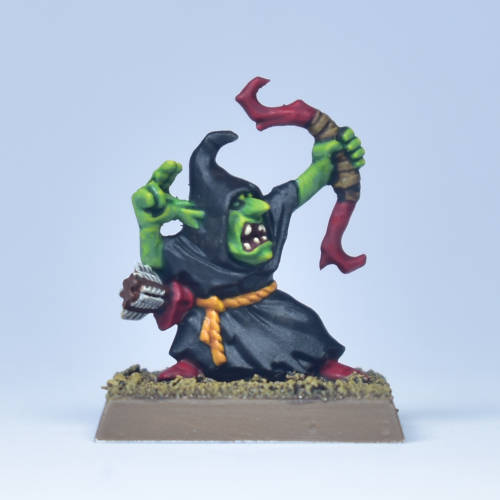
Evil Eyes. For the evil Goblin eyes, we first paint a bigger round shape in the space of the eyes socket using Citadel: Evil Sunz Scarlet. There should still be a clear darker outline from the Nuln Oil we applied earlier. Next, we place take our smallest brush, take a deep breath, and place a tiny dot of Citadel: Yriel Yellow.
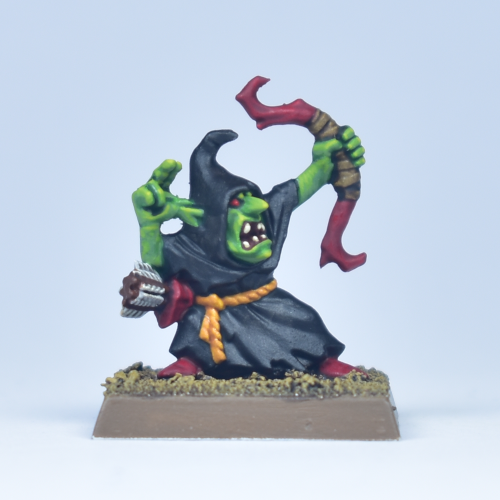
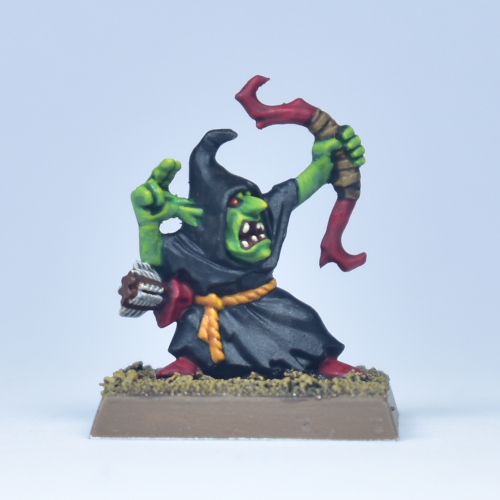
Contrarily to when painting “human” eyes, it’s quite okay to place the “pupil” (the small yellow dot) in the center of the eye. With “human” eyes, this will make the model appear to look frightened, but for these “evil goblin eyes”, the effect works well.
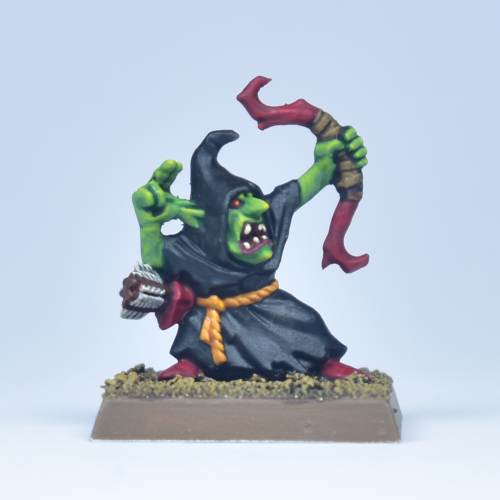
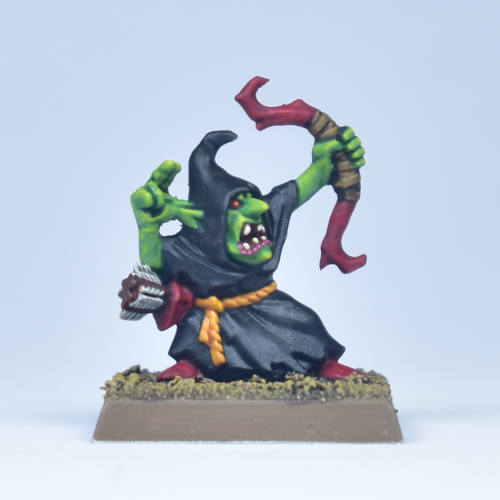
Lip, and Nose. I know that none of this is actually mandatory, but I consider the following three steps to be really optional additions to liven up the face. I understand if you feel like this is too much for a 4 point model in your Warhammer army, but the steps are simple and add just that little bit of extra. The first of these steps is to paint a thin line on the lower lip using Citadel: Screamer Pink. In the second step, we highlight this by painting small dots of Citadel: Pink Horror to represent small scabs on the lip.
Finally, in the third step we apply a “filter” of Citadel: Kislev Flesh to the nose. To do this, mix a tiny bit of paint in a blob of water to create a super thin and watery mixture, and apply that to the model to subtly change the underlying colour hue. If you’ve added too much water, you can add several layers to strengthen the effect, but make sure that the paint has completely dried before applying a next layer.
Highlighting Red Details
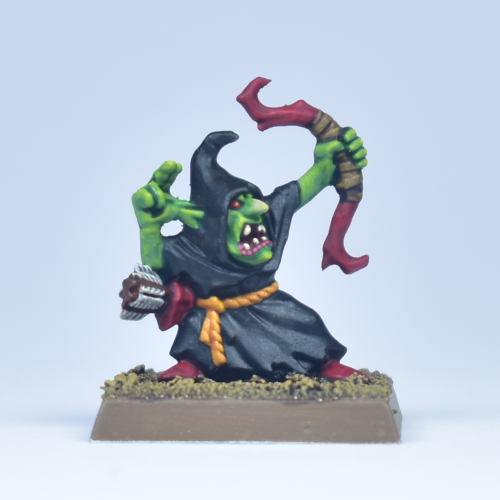
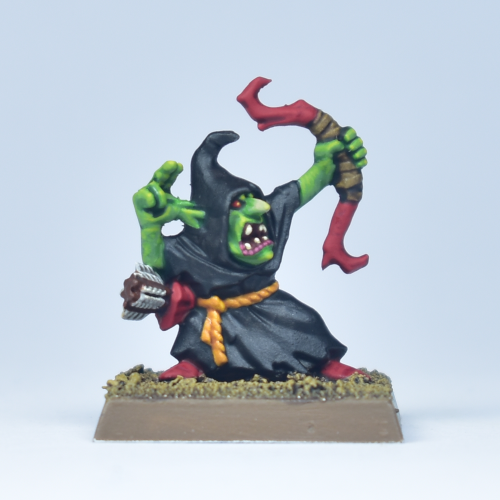
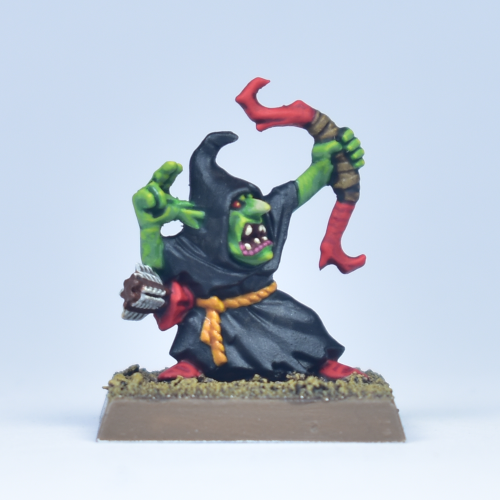
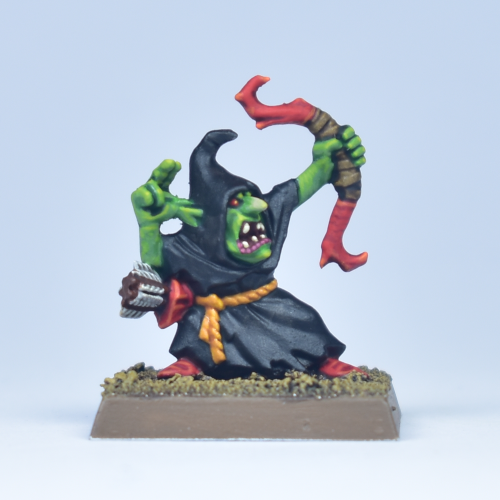
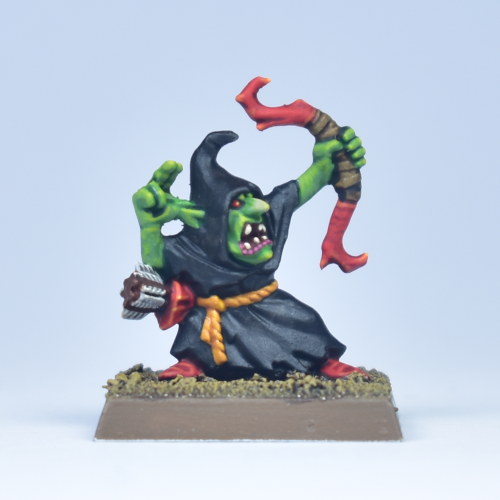
Bright and colourful red details is what really sells the classic ’90s Games Workshop look. We highlight all the reds (boots, bow, and quiver) in four stages. In Stage 1. we “re-base” everything with Citadel: Mephiston Red — in this stage, we cover almost everything, except for the deepest recesses, and the places where the red transitions to another colour. In Stage 2. we highlight using Citadel: Evil Sunz Scarlet — still covering quite a lot of the areas (50% or more). On the bow you can start introducing lines to create a “wood grain” effect. On the boots you can start creating the shapes of the folded cloth. In Stage 3. we paint an edge/line highlight of Citadel: Trollslayer Orange — highlighting the sharpest edges everywhere. And finally, in Stage 4. we mix in (50/50) Citadel: Yriel Yellow into the Trollslayer Orange, and apply a few small dots (the tips of the bow, and the most protruding parts of the quiver are good candidates).
Highlighting Ropes, Straps, and Arrows
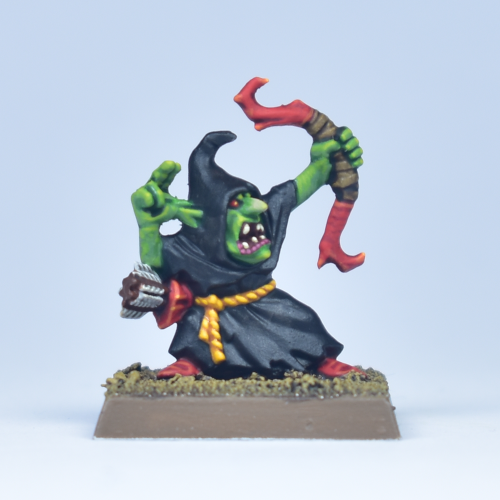
Rope. The little rope belt is a rather insignificant detail, so I opt for a quick and lazy finish — highlighting the rope using Citadel: Yriel Yellow, essentially creating a “dotted line” pattern. As a little extra, dot the very edges of the dangling ropes with Citadel: Dorn Yellow (or just mix some white into your Yriel Yellow if you have it on your pallet).
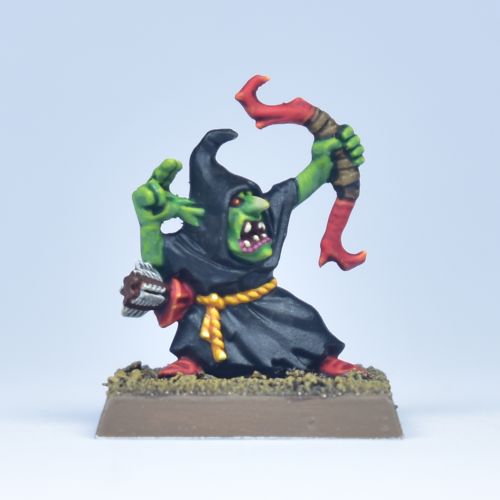
Straps. We use the same colours for the wrappings around the bow and the little rope around the quiver. I don’t like to paint these “wrappings”, but they appear on many Warhammer models. So we will keep it simple. The first highlight is to bring back the base colour of Citadel: Zandri Dust. The second step is to edge highlight the top of each “wrap” with a thin line of Citadel: Screaming Skull. And then we quickly move on to things that are less annoying to paint.
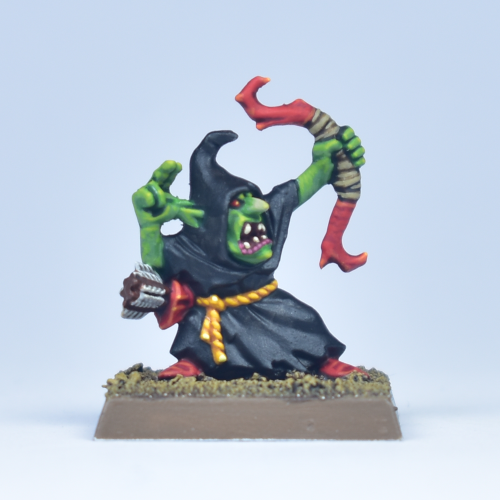
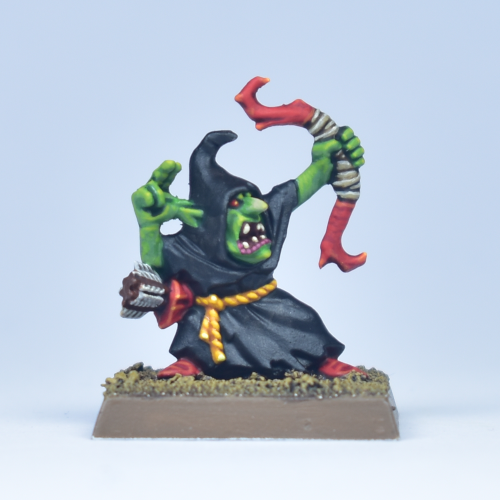
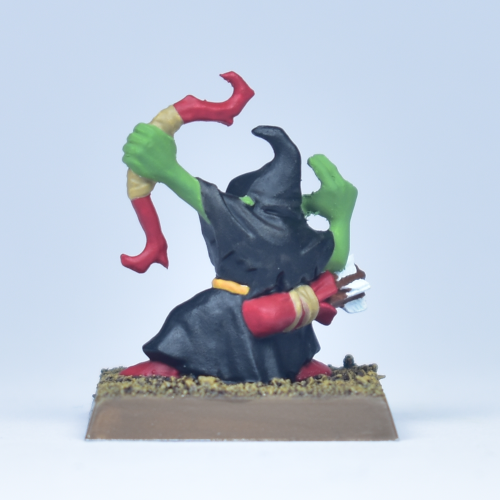
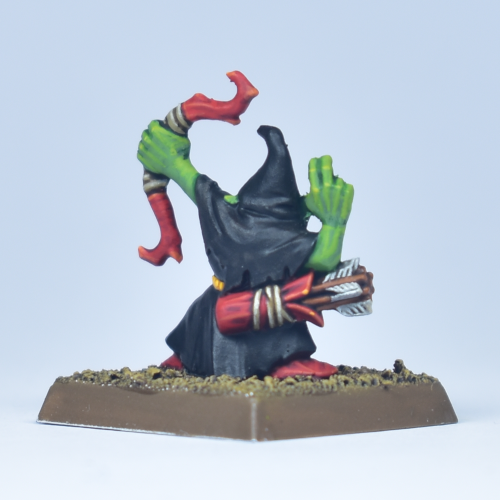
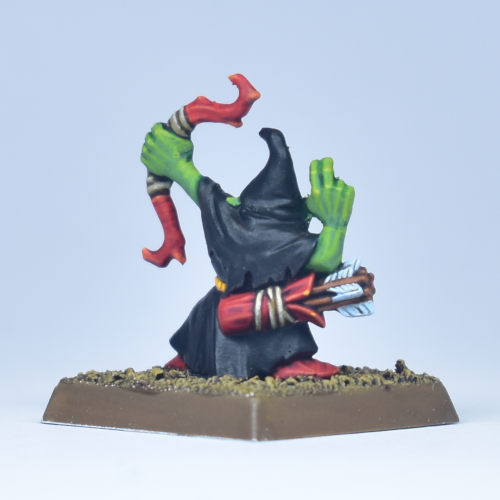
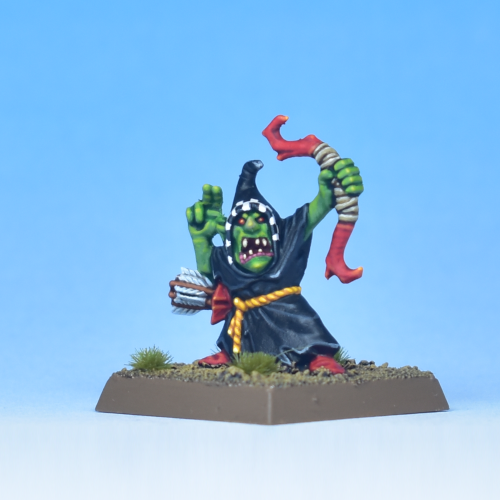
Arrows. These parts are better visible on the back of the model, so we show some images of that on the right. For the arrow shafts, we highlight them using Citadel: Skrag Brown. At the top of the bunched up arrows, paint small dots to distinguish the individual arrows. For the feathers, we use Citadel: Blue Horror, painting 4-5 thin lines per side of the fletching to highlight the feathers. I opted for a slightly blue-ish colour (instead of simple white) to set this apart from the patterns that we will paint on the robes later, which are going to be a more pure white.
Highlighting the Cloak
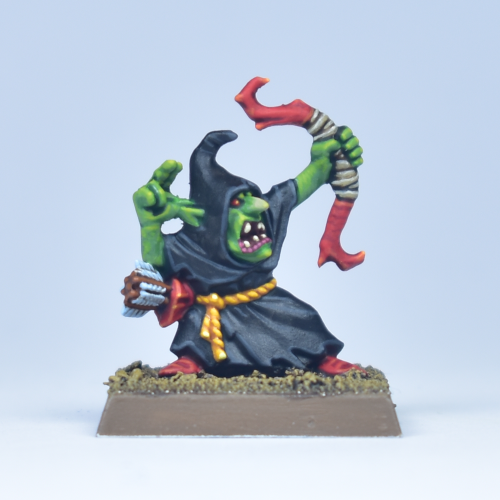
Now that we’re almost done, it’s time for the part that takes up 60% of the model: the cloak. Even though this is a large part of the model, we’re not spending a lot of time on painting this. I like the cloaks to appear as black as possible, partly because it’s what sets Night Goblins apart, and partly because it increases the contrast with the reds, greens and yellows. The recipe is thus a simple two stage approach. In Stage 1 we edge highlight using Citadel: Eshin Grey. This is one of the darker greys available from the Citadel range, and you should try to use it sparingly. Only highlight obvious edges and lines. Then, in Stage 2, we paint tiny “v”-shapes on the most extreme edges, such as the bottom of the cloak or the top of the hood using Citadel: Administratum Grey.
This is quite a bright colour, so it’s important not to overdo this. Only pick out a few of the most extreme edges and corners on the cloak.
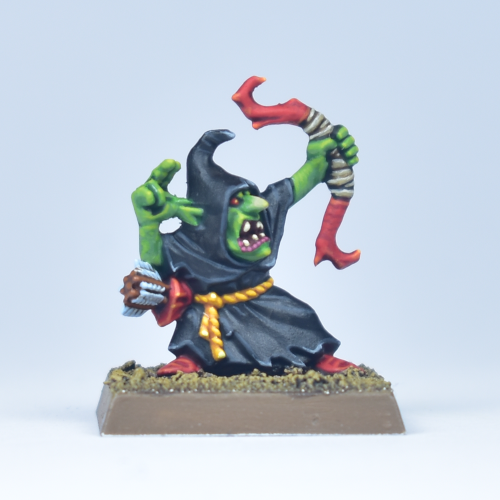
Freehanding Cloak Patterns
Finally, the most iconic part of a classic Night Goblin has to be the freehand pattern on the robe. I think these patterns really give some extra flair to the models, harkening back to the 4th and 5th edition typical ‘Eavy Metal pages of White Dwarf and the Orcs & Goblins army book.
For the choice of colours there are two typical options: yellow, or white. In this example I choose white as I like the contrast it provides to the black cloak. For the pattern: this is your chance to really personalize your models. Giving each unit a different pattern can nicely tie them together, or giving each individual model a different pattern can help sell the feel of a rag-tag band of individual Goblins, each with their own personality, hopes, fears, and dreams (of killing Dwarfs or pointy-eared Elfs).
Anyway, below I show the steps for how I paint the most typical pattern: the checkerboard. I think it’s also one of the most challenging options, so if you manage this, you can easily do moons, stars, triangles, etc… let’s go.
I use Citadel: Pallid Wych Flesh as the base colour, with Vallejo: Dead White as the highlight colour.
If painting checker patterns is too far out of your comfort zone, I recommend starting with a “teeth” or “triangle” pattern, or even little stars and moons are much easier to achieve.
Step 1. Paint a thin line, parallel to the edge of the hood.
Step 2. Draw white blocks of around three brush-strokes wide, leaving an equal amount of black between them, on the edge of the hood.
Step 3. The next step is the most difficult and it is to paint the remaining white blocks, trying to maintain roughly equal sizes.
Step 4. Use the cloak base colour of Citadel: Abaddon Black to tidy up each block, trying to make sure they are all of roughly equal size.
Step 5. Finally, paint a Vallejo: Dead White edge highlight where the white blocks hit the edge of the hood – make sure to hit the “rim” of the hood as well, so the checker pattern is nicely visible when looking your Goblin straight in the eyes.
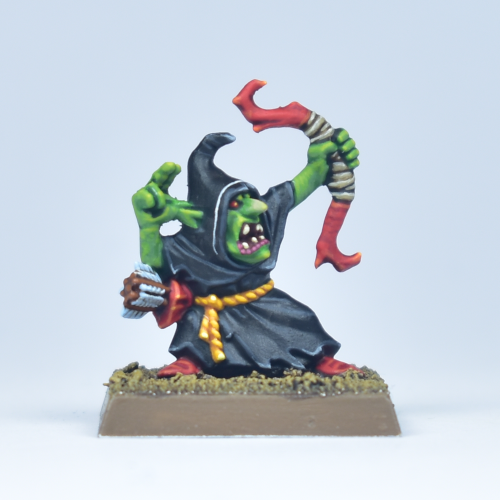
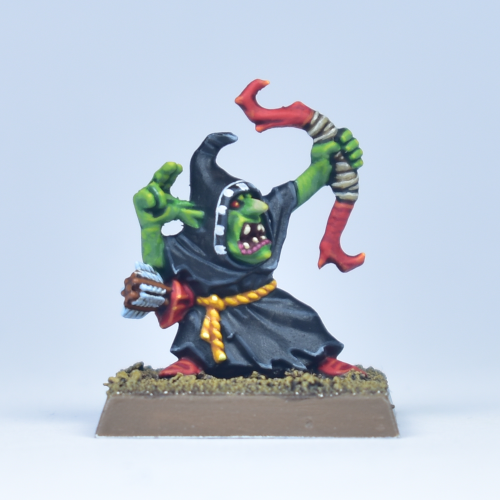
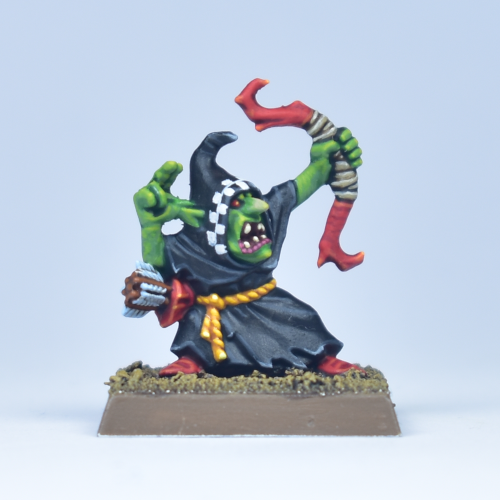
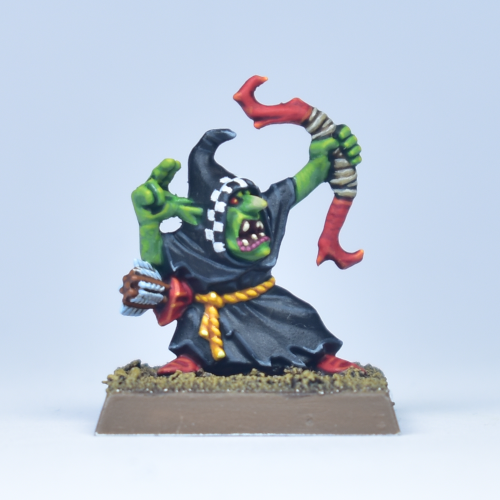

Due to the contrast it provides, I tend to prefer white patterns over yellow, but it does also tend to be more difficult. White paints tend to be chalky (Pallid Wych Flesh suffers from this), which, combined with using a tiny brush, causes the paint to dry extremely fast. When painting yellow patterns, you can use Averland Sunset as base (as it’s the only Yellow that covers well enough over black), and highlight with Yriel Yellow.
The Result
And then all that’s left to do is finish up the base, and that’s another 4 points ready and painted for your Orcs & Goblins army!
If you have any tips on how to improve on this recipe, or have any questions on details I didn’t cover, I’d love to hear it! Let me know in the comments below or reach out to me on my Instagram.
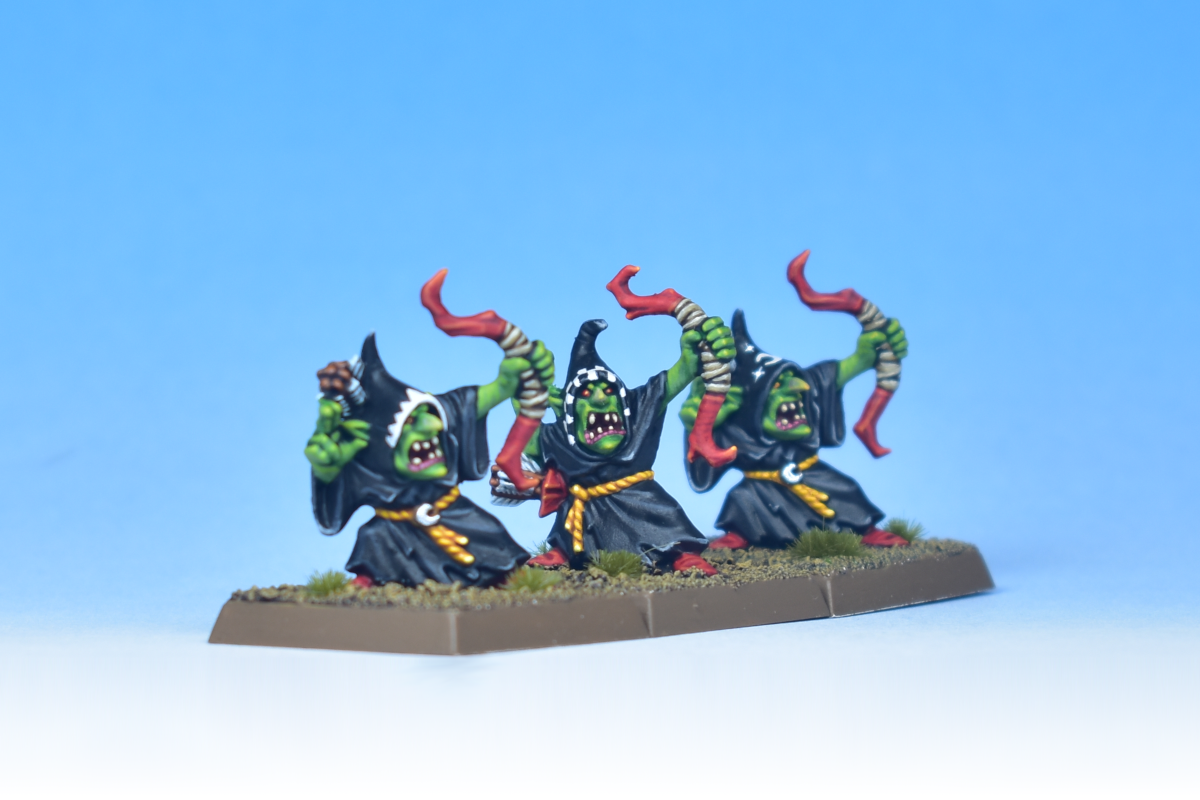
And finally, below is a picture of our boy in black with his two friends that are the result of the two previous, failed attempts of getting this tutorial photographed…
Closing Words…
If you have any question, feel free to leave a comment below, or drop me an email at harm@harmsworkshop.com. If you found this very useful and want to show some support, you can do so via my Ko-Fi page.
Great tutorial, very inspiring!
One question: looking at the Vallejo website, Goblin Green looks like an olive color, rather than the bright yellow-ish green in your tutorial. Do you know if Vallejo changed their recipe, and if so, are there any alternatives to Goblin green that you can recommend?
Well, the problem with those color images is that you are looking at a representation (your computer screen) of a photo of an actual pot of paint. If I look at my pot of Vallejo Goblin Green (72.030), I think it appears brighter than the image on their website. Also, when applying this paint as a base coat, you add some water and apply it thinly – in this case over a white undercoat – which will also make the result lighter. Then, I take photo’s under 5000K “daylight” bulbs, with a bit of exposure time to get bright images. All of these factors make it a difficult question.
With that said, the closest alternative colour matches would be Coat d’arms Goblin Green (108). This is supposedly the “original” Citadel Goblin Green recipe, made by the same manufacturer that used to do GW’s paints. The advantage is that it smells like paint in the 90s, bringing back strong childhood memories if you were painting back in those days. The disadvantage is that it covers very, very poorly.
Other alternatives in the same colour spectrum could be either Deathworld Forest (which is clearly darker), or Elysium Green (which is a little lighter), both from the Citadel range.
In any case, the best thing is to experiment with a color and the amount of yellow you mix in, and how much highlights you apply – that will probably affect the end-result more than the specific paints used.
Thanks for the comment, and good luck!
Awesome tutorial. Love all the photos after each layer. Thanks
Thank you very much, I’m glad you enjoyed it!
Thanks for your tutorials. The presentation is excellent.
And thank you for the comment, much appreciated!
It’s 2025 and I’m trying it out with my goblins from the Battle for skull pass. Thanks so much for the tutorial, it’s awesome.
Love what you are doing here, simple yet perfectly captures that old school vibe. A+ work keep it up.
Thanks a lot! Have a lot more ideas for tutorials, so stay tuned I guess 🙂
Proper WD looking.
Great work presented in the most aspirational of ways!
Thanks a lot! If Games Workshop doesn’t want to produce things like this anymore, we have to do it ourselves 🙂
I really love these night goblins, I painted my first unit in red robes but all units afterwards are definitely going to be in these colours !! The checker pattern is a bit hard and time consuming …but makes the unit pop so it’s really worth it ,
as an aside Two thin coats by Duncan Rhodes – Goblinoid Green is pretty much a close paint to goblin green (if that’s available to people who cannot get Vallejo green)
All the GW paints listed here have Two Thi Coats equivalents except for Administratum grey.
Once again thanks heaps for the tutorials !! Let’s see one for Orc boys with spear & shield 😉
Thanks for the comment, I’m happy to hear it was useful! Checkers are the most difficult of the patterns, it’s not a bad idea to mix it up with simpler lines and triangles, or even flames (sounds difficult, but isn’t really if you keep it in one colour). Great tip on the Two Thin Coats alternative! Overall though, I don’t think you should worry too much about exact colour matchings for these tutorials. Mixing any “Olive Green” with a sunny yellow should do the trick 🙂