
This is Chapter 2 of the series of articles on creating a Classic Warhammer Fantasy gaming table. If you missed it, you can read the first Introduction Chapter.
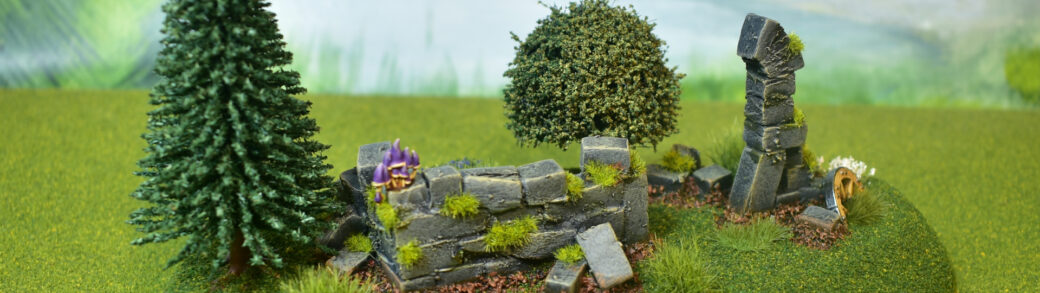
For our first terrain piece in the series, I decided to start with something small. I also wanted to try out something I never did before, and that is to use XPS foam bricks to build some kind of structure. Since this is the first time doing it, I opted for a simple, small, crumbled old ruin.
The starting point…
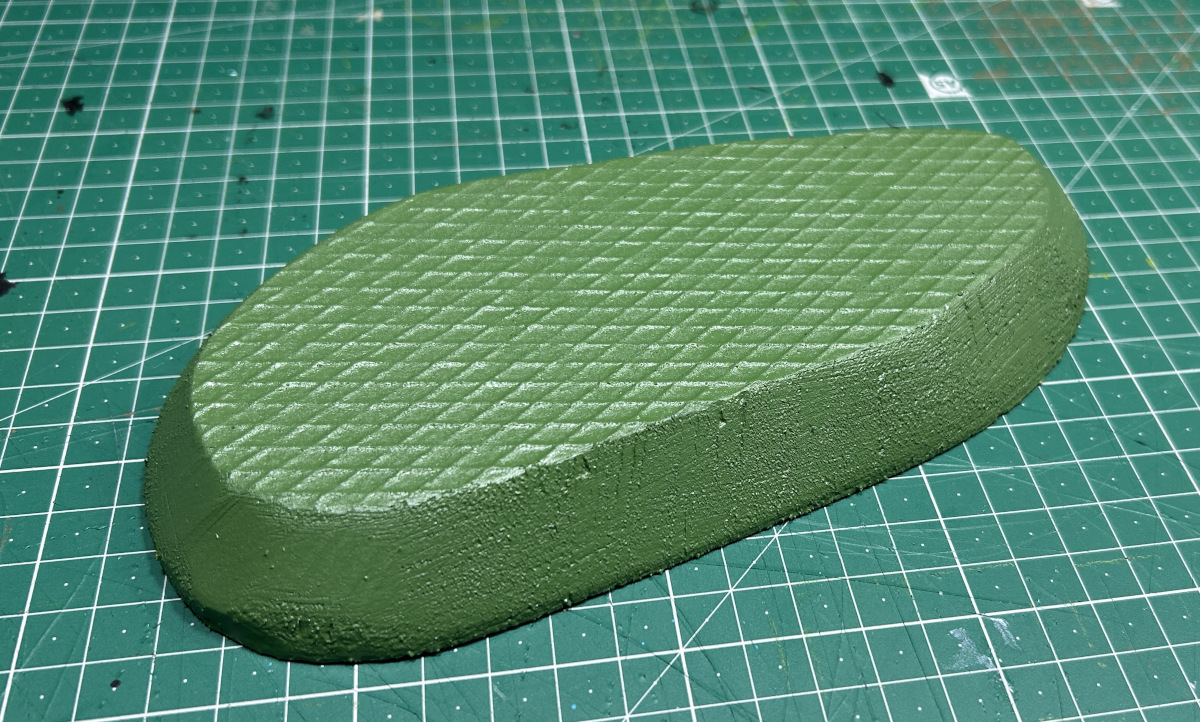
As a starting point I used this small XPS foam hill that I made previously. There are plenty of tutorials on how to make such basic hills, so I won’t go into much detail here. Check out Anvil of Doom Miniatures’ video on Creating Classic Warhammer Hills for example (and while you’re at it, check out the rest of his painting tutorials, which are awesome).
So basically, I cut out a small hill shape out of XPS foam, bevelled the edge, and covered the whole thing in a few layers of green paint. I created this, and many other basic hill shapes on a lazy Sunday afternoon. It’s a lot of work (and creates a lot of mess) for making just one of these, so I really recommend just creating a whole bunch of them.
The build phase
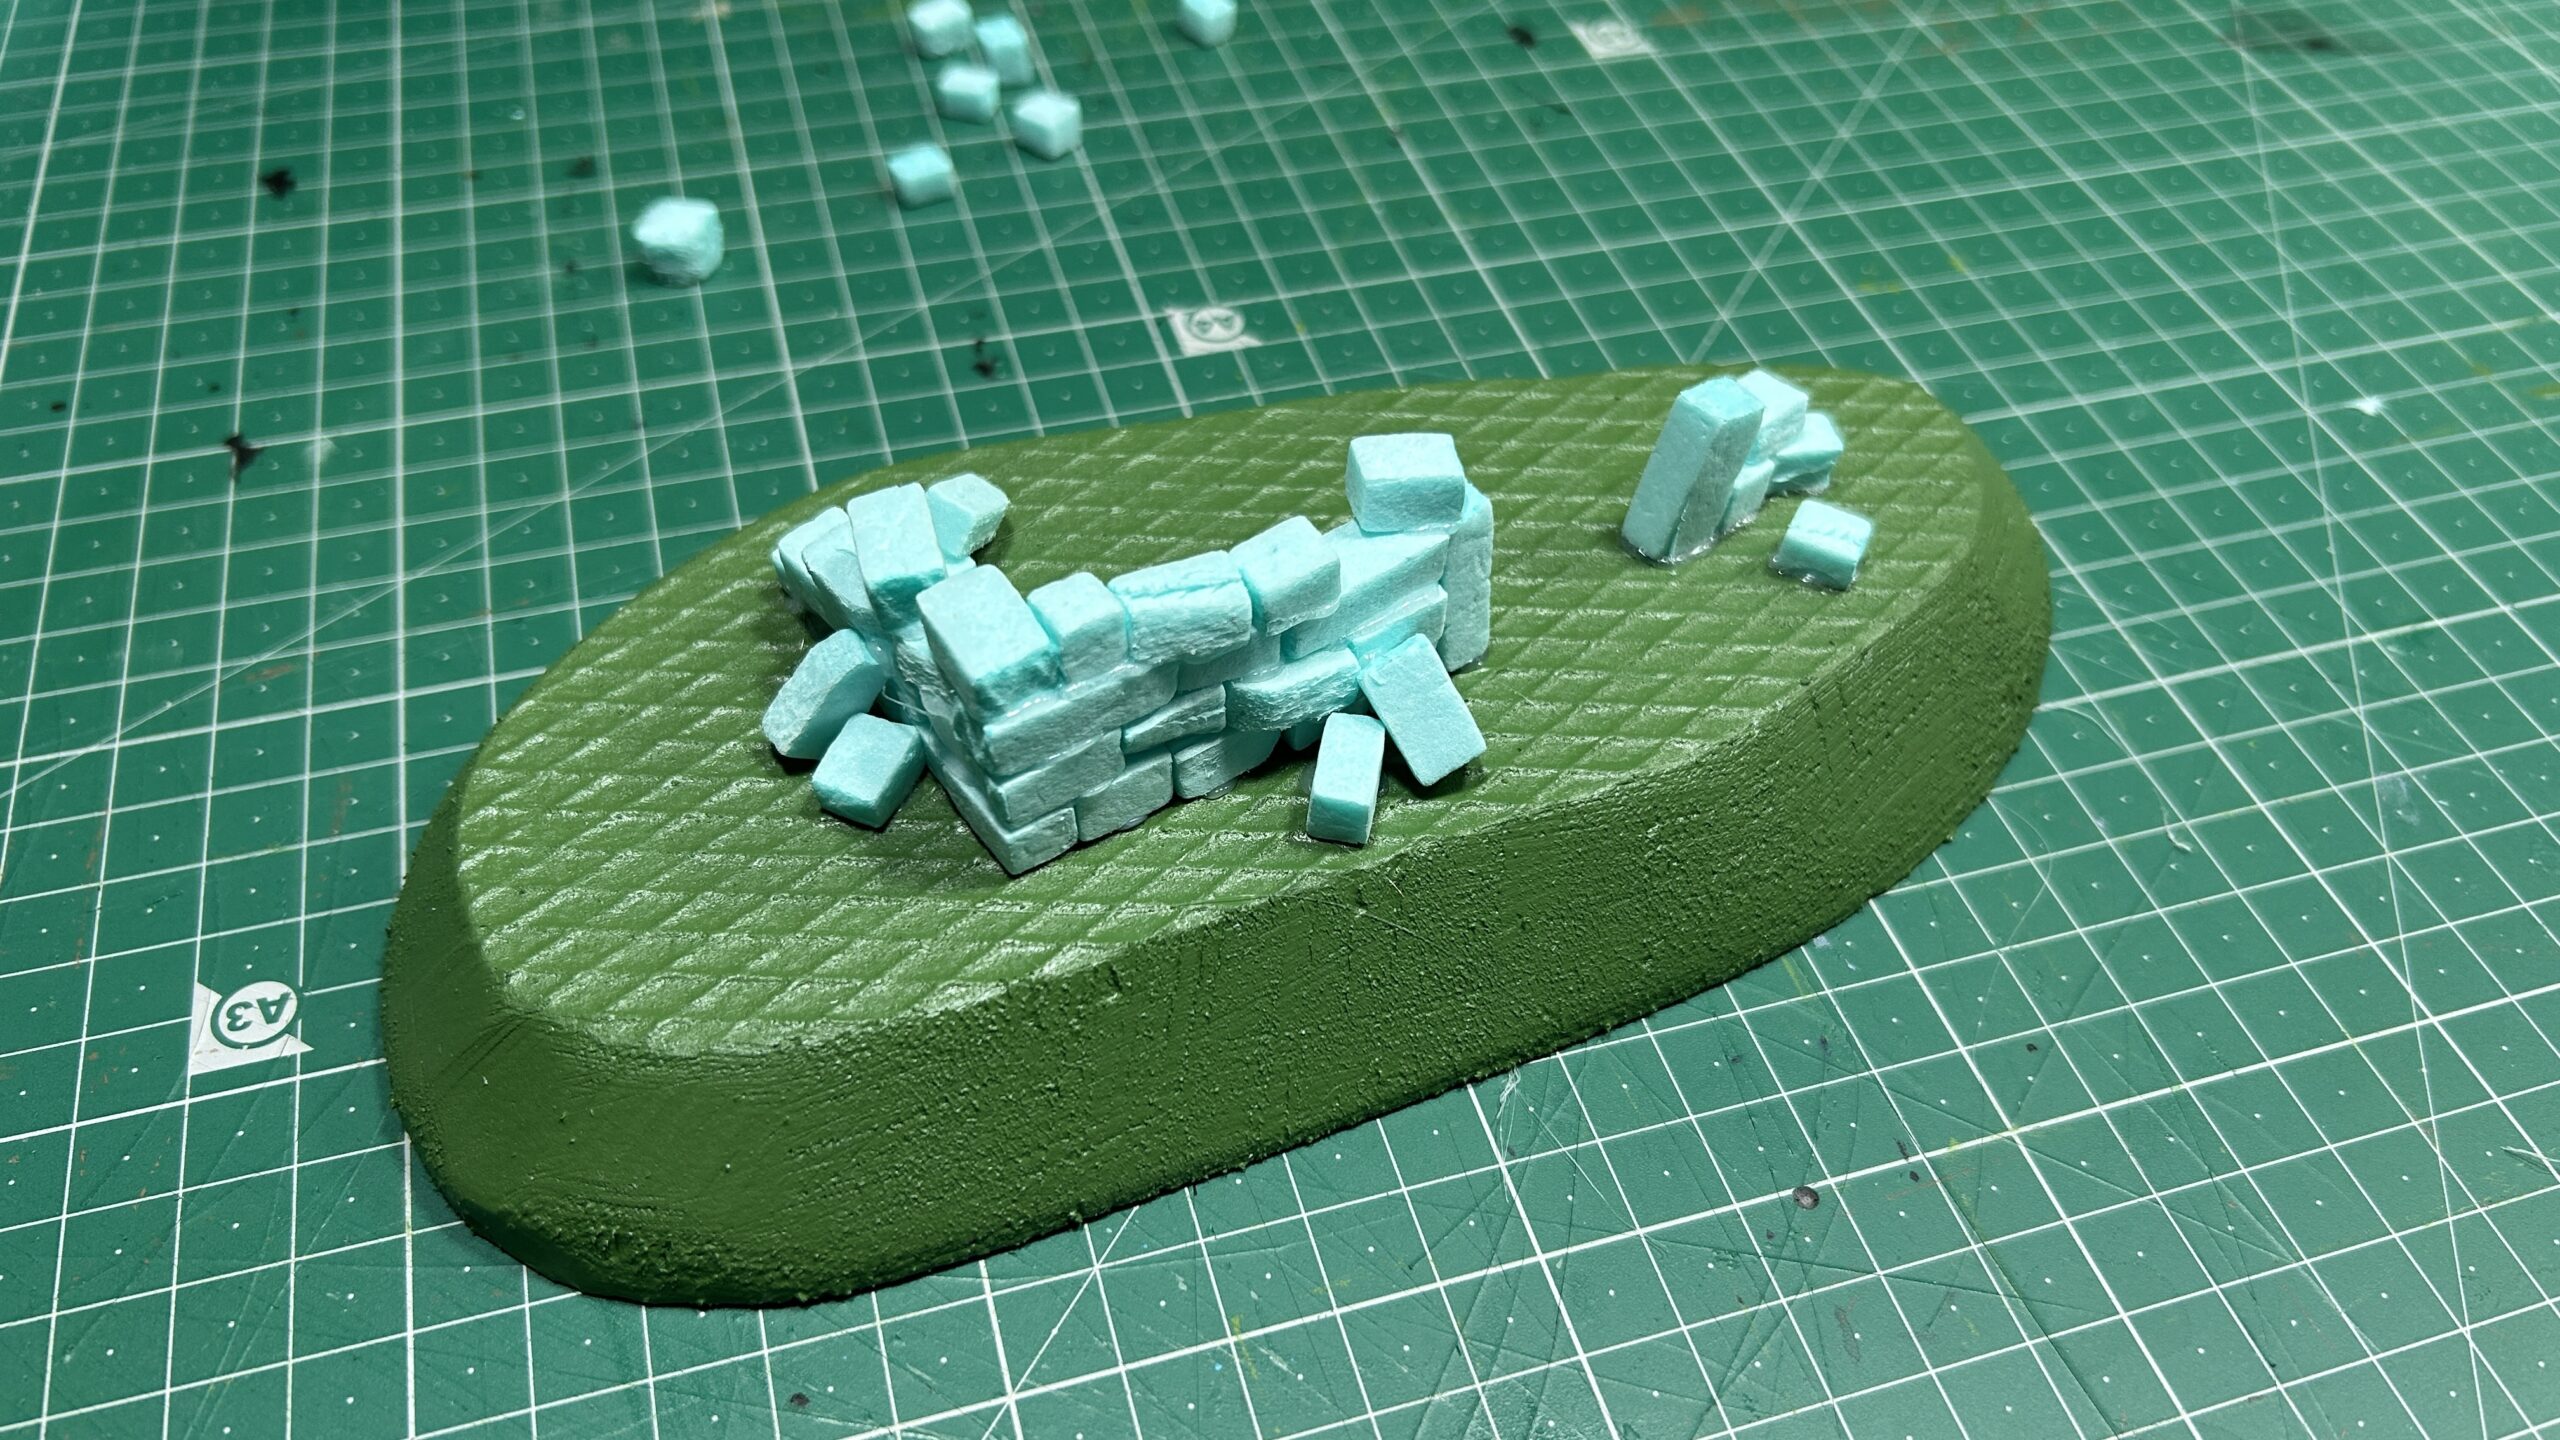
Next up, we use some of the left-over foam, and cut it into small bricks using a simple utility knife. Just cut off small strips, using a ruler to cut straight, narrow strips. We don’t need to be precise cutting the brick shapes, in fact, they should ideally all be of slightly different sizes.
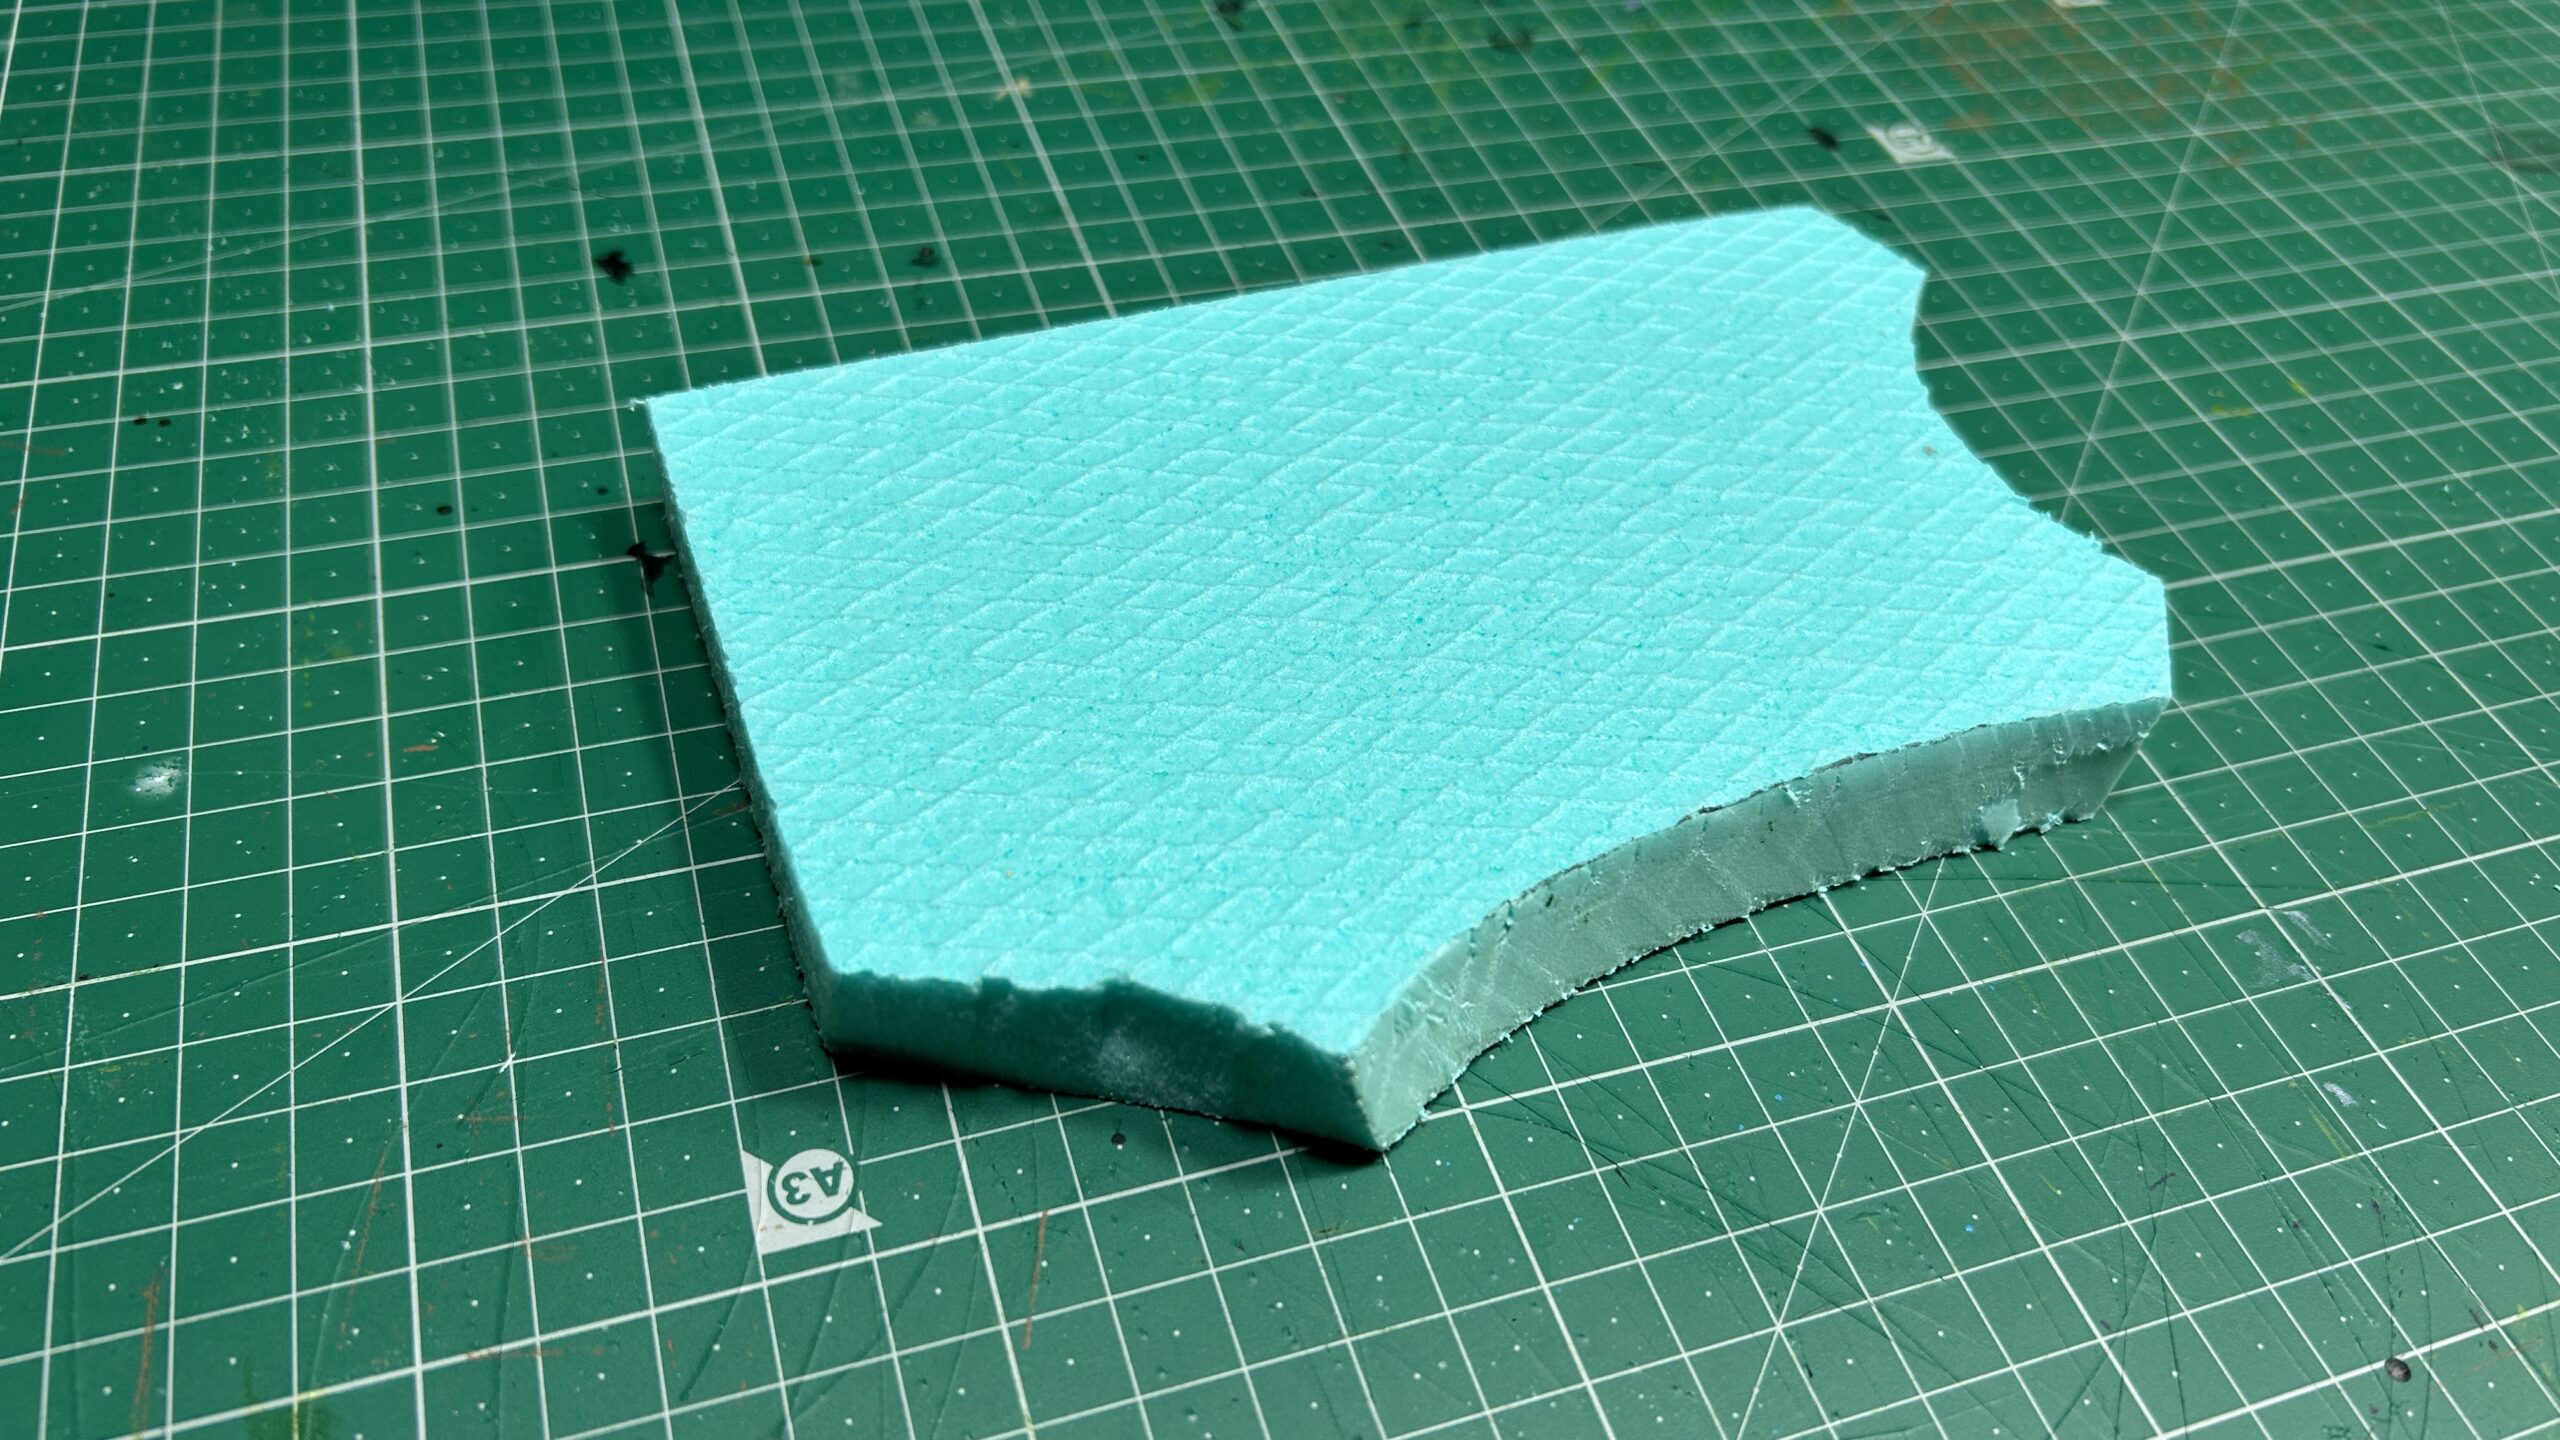
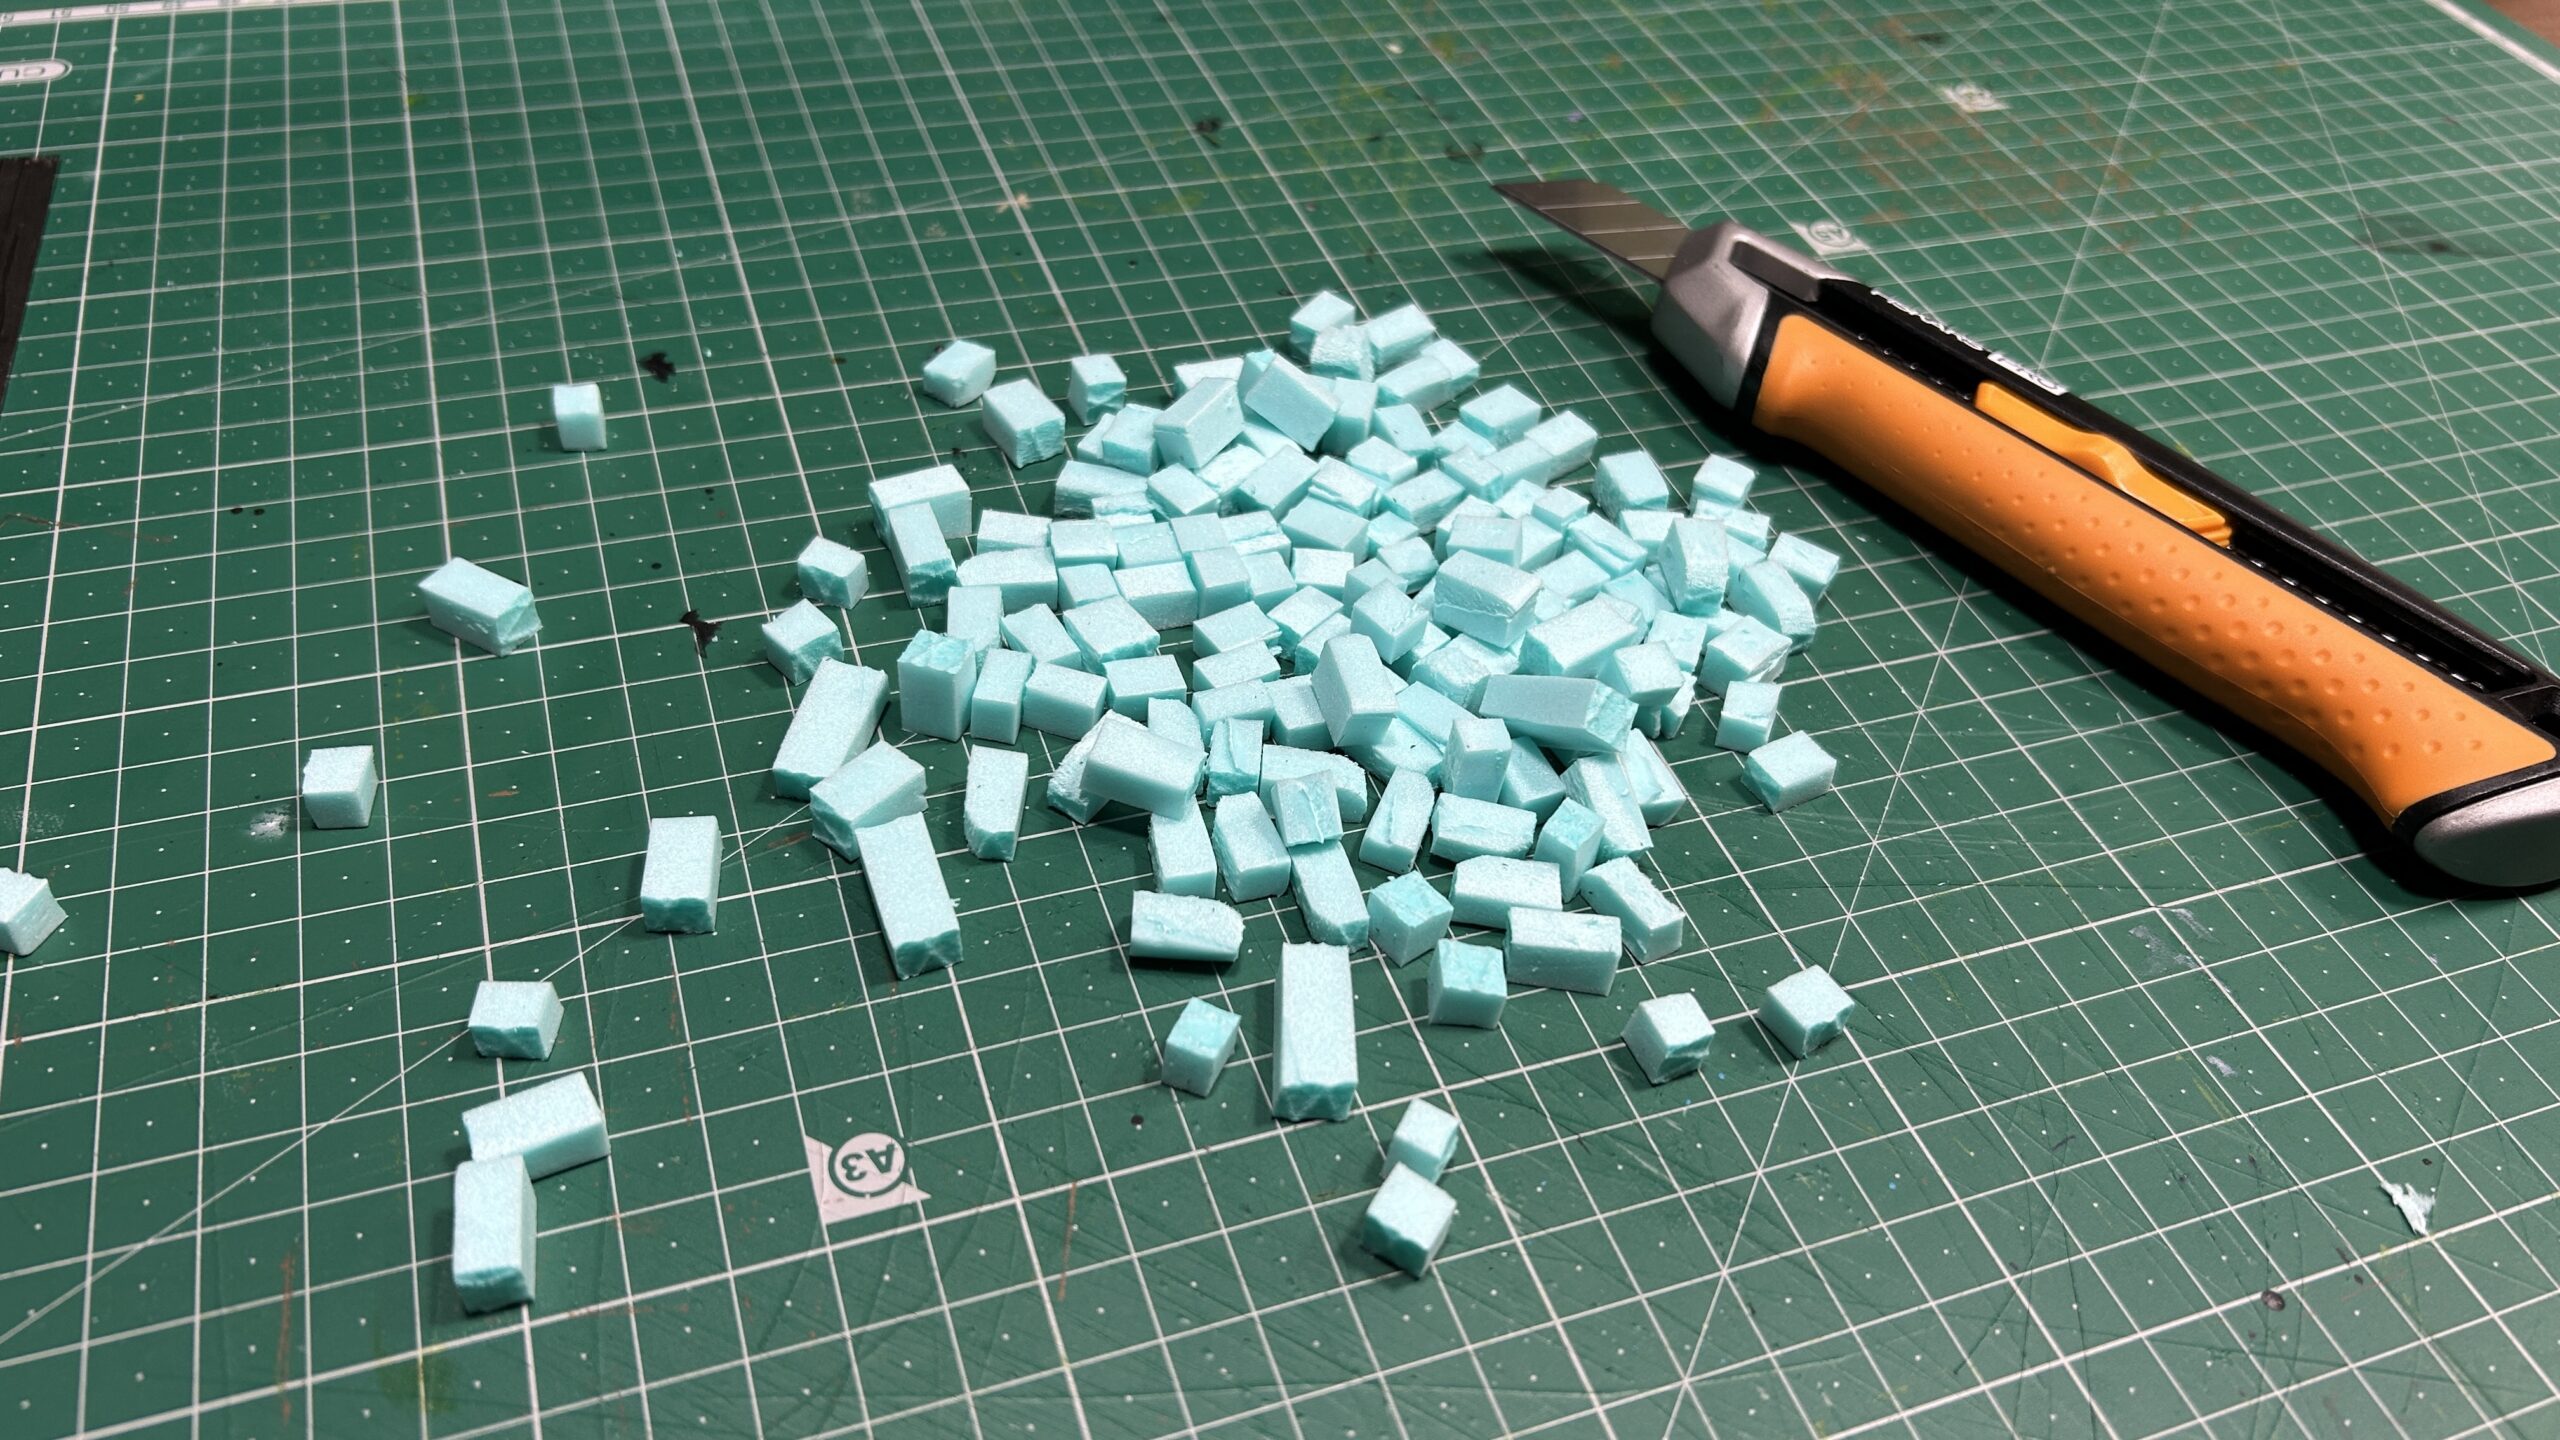
After cutting these bricks, put them all in a plastic container and add a bunch of sharp stones. Then, shake vigorously for quite some time. This should leave all the XPS foam bricks nicely dented, to give them some texture, round off the corners, and generally make them look old and worn.
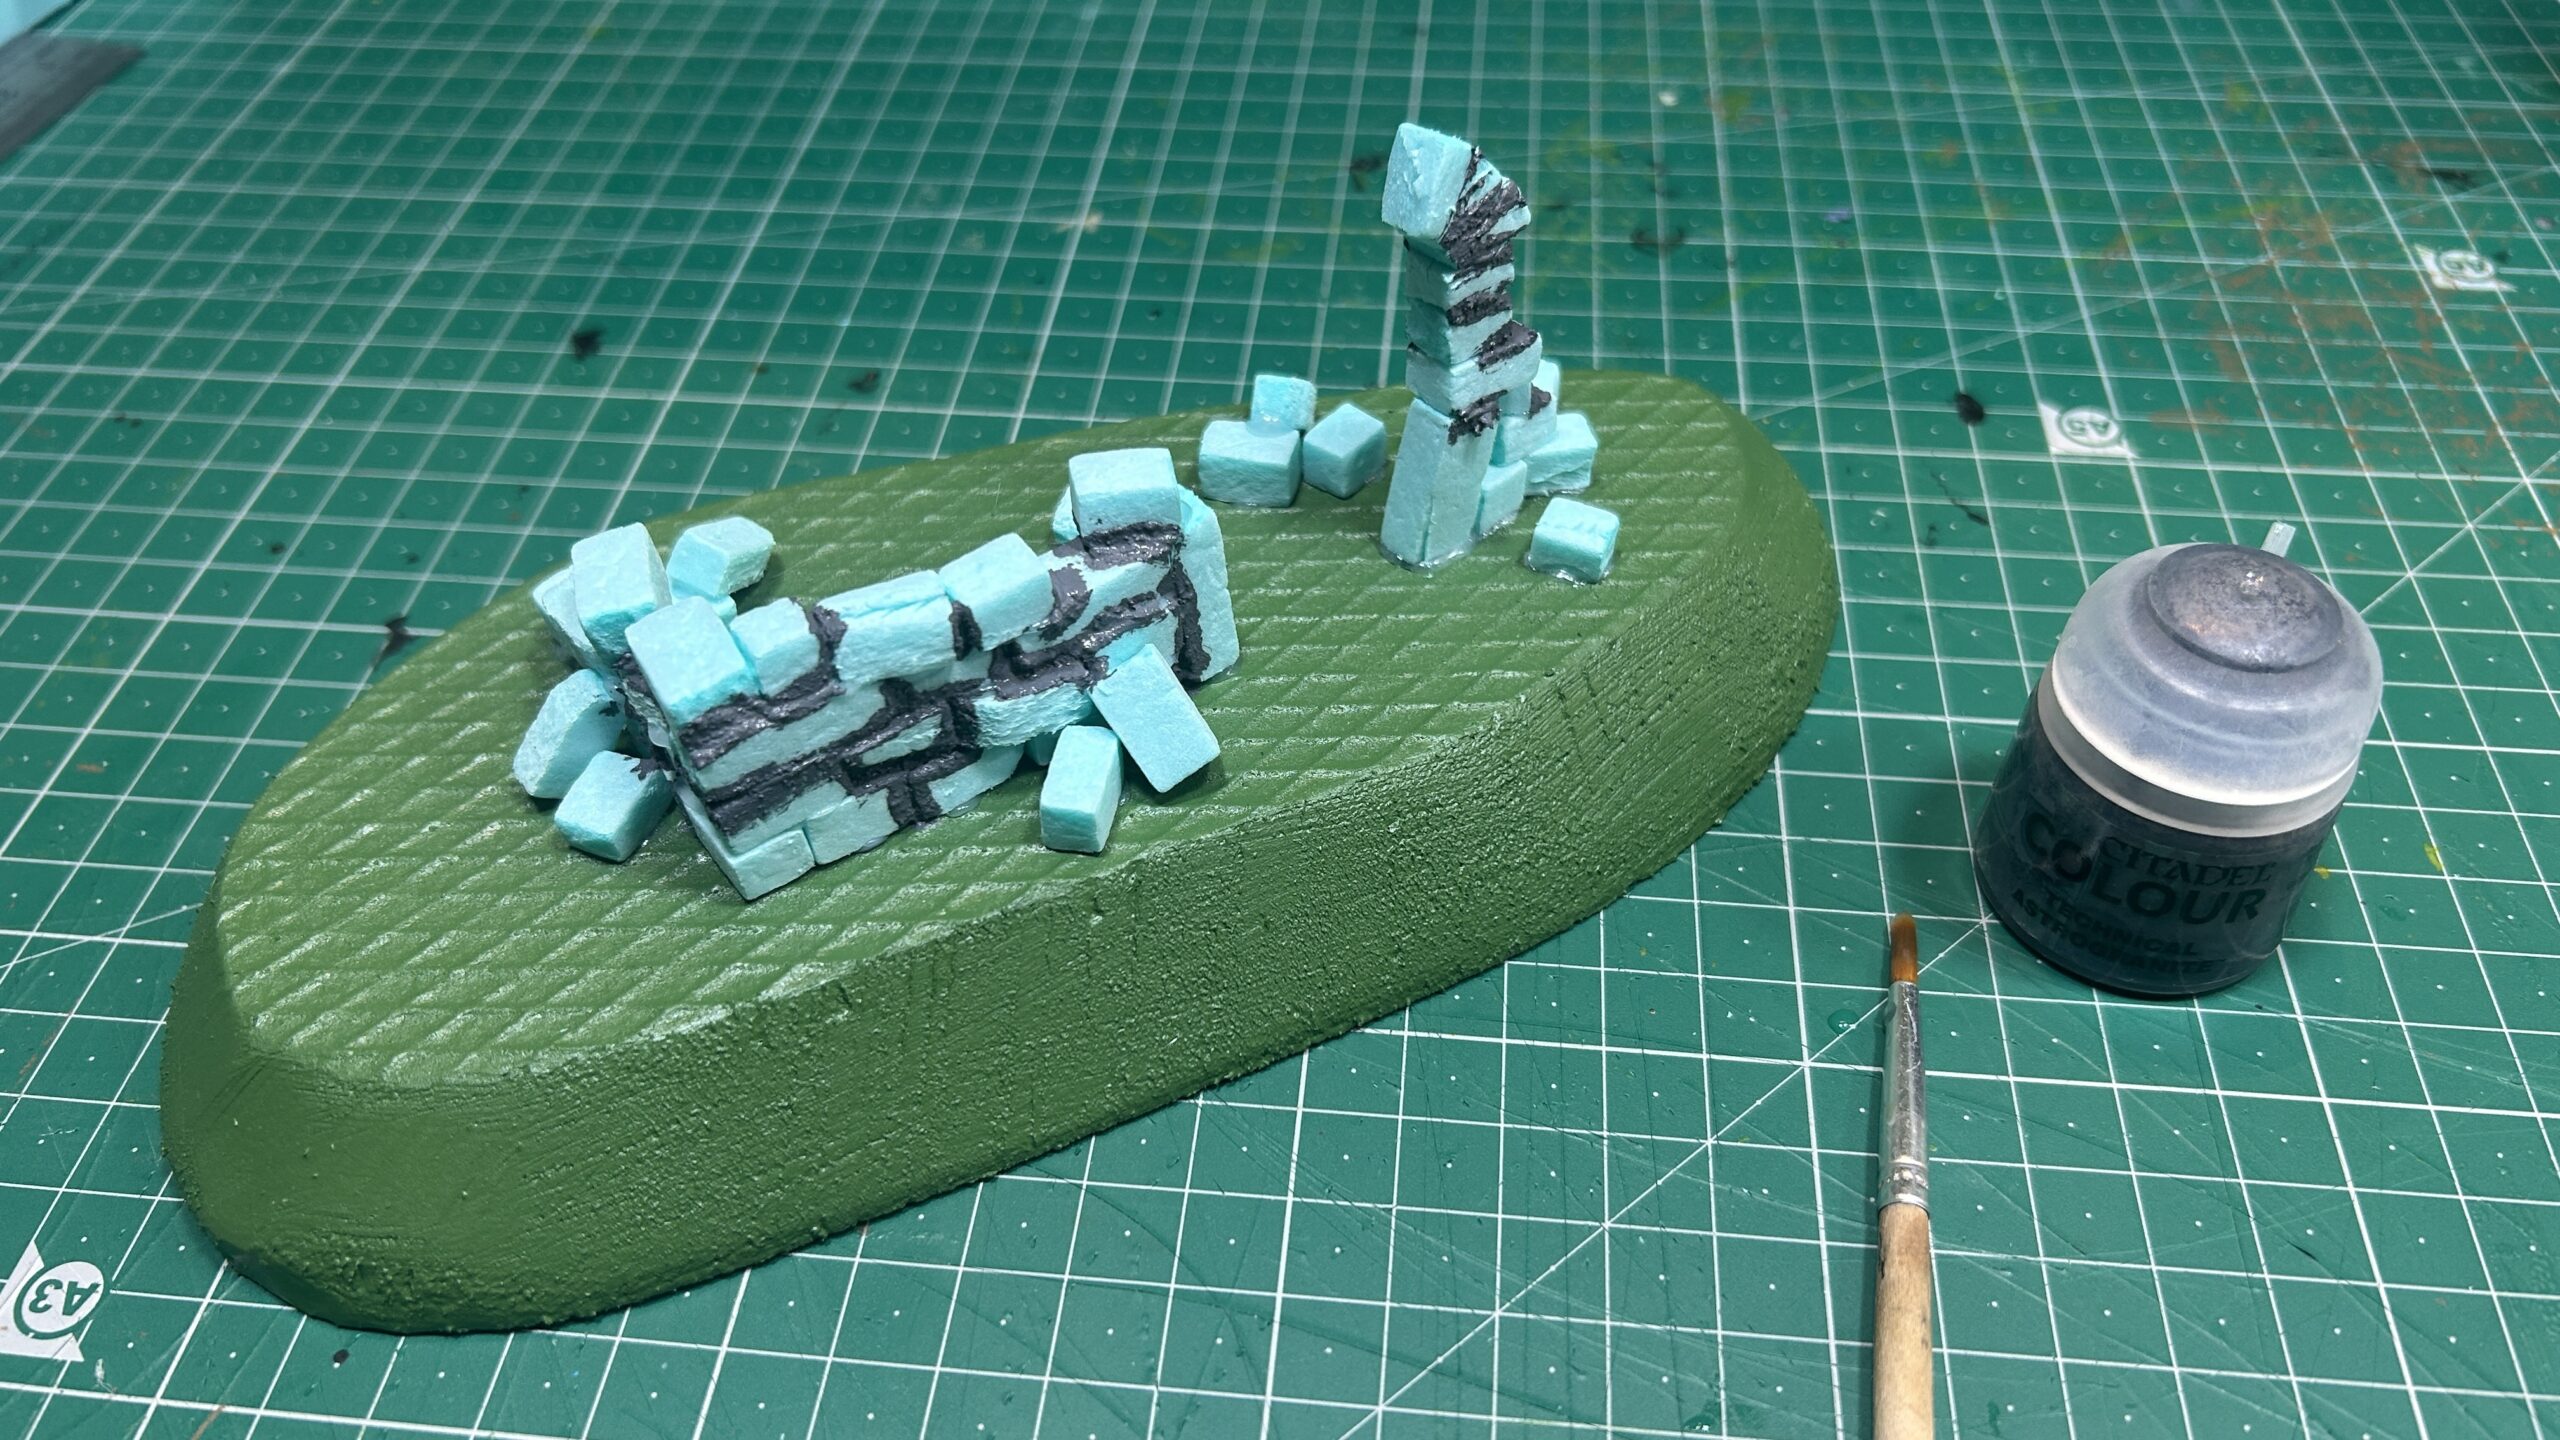
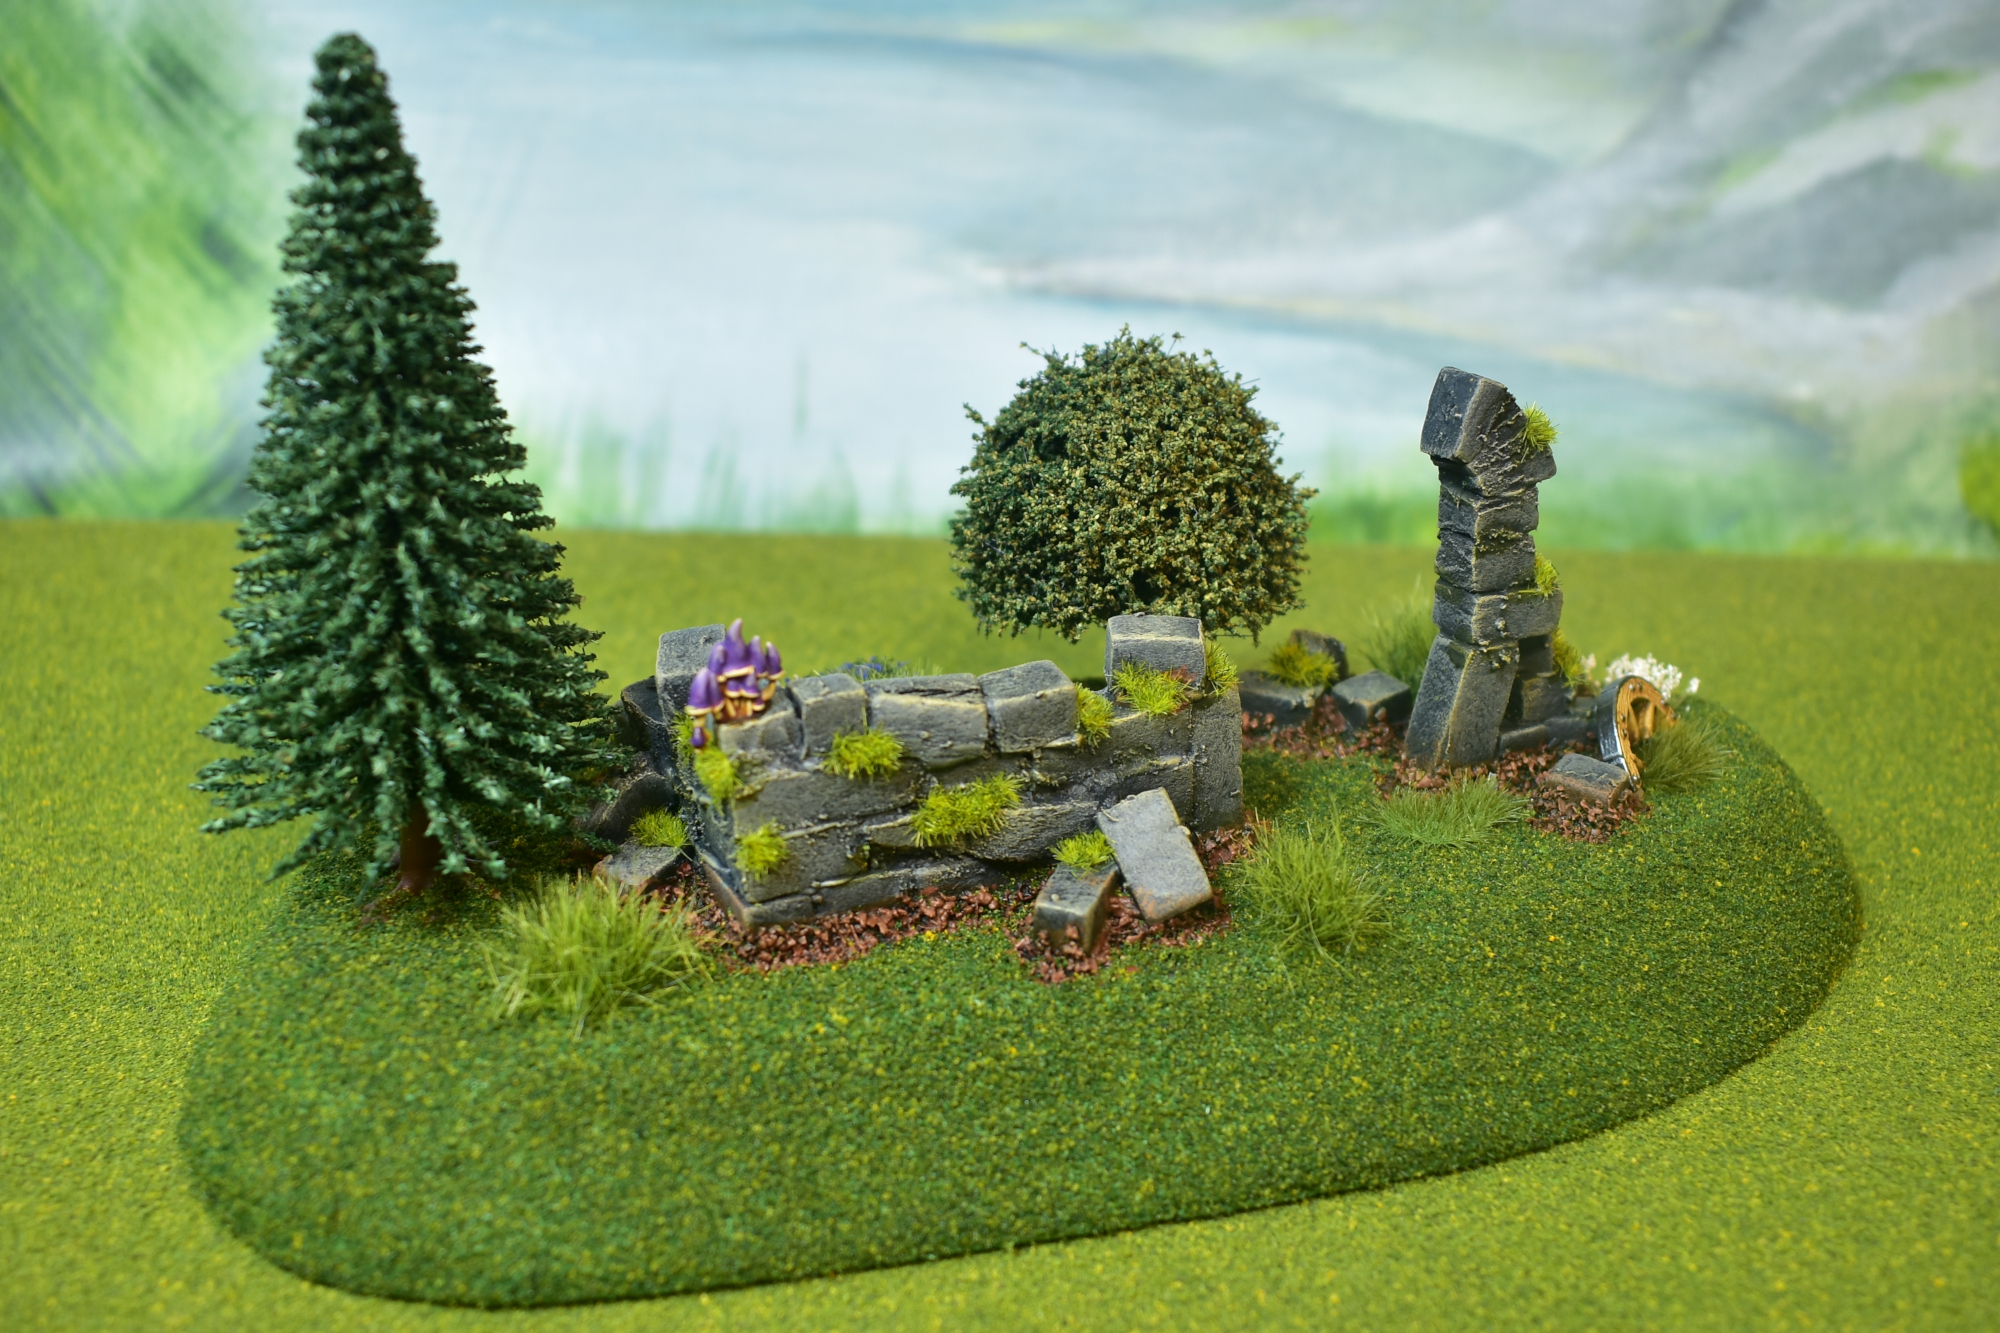
Next up, we start building our crumbled ruin by laying down the bricks one by one and gluing them down with our hot glue gun. I never used one of these things before, but it’s super easy to use and makes this process really fast! I started by creating the corner of the structure, building up a few rows high, and then started adding some bricks strewn about the floor, and bricks that are almost falling off the wall. I left some space for something that could look like a door opening. In the second step, I filled in the gaps, where you could see through the structure with some Citadel: Astrogranite. I think I got this from a starter set of Citadel paints I bought when I re-started my hobby some years ago, and never really used it. I guess a mixture of PVE glue and sand will do the trick, or any other texture paint, as long as the gaps are closed. I also decided to built up a little half-arch at the right side of the doorway, to add a bit more height and visual interest to the terrain piece.
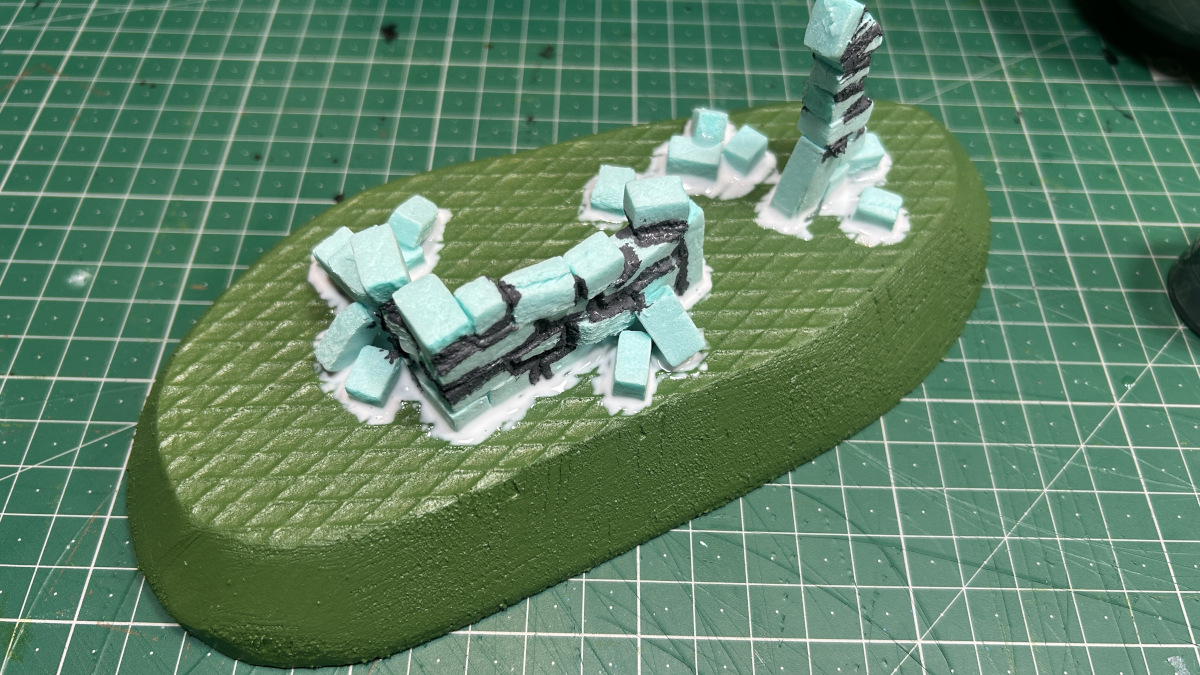
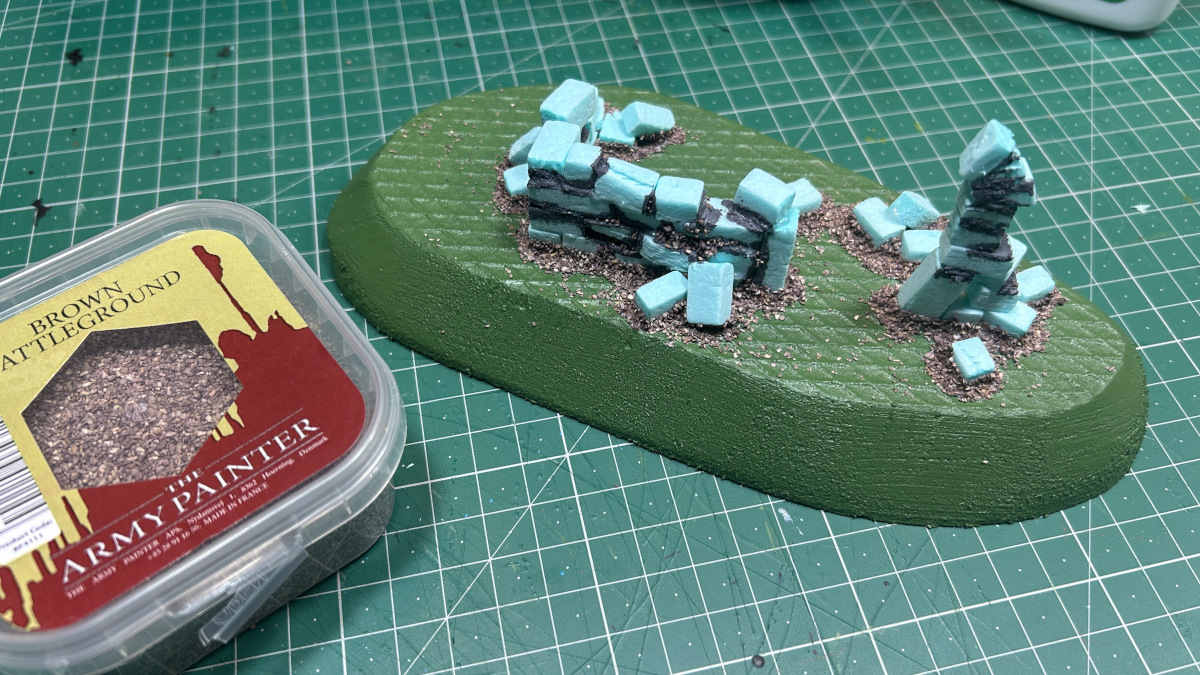
Next I applied PVE glue all around the edges of the bricks, and covered it with some coarse sand. I used this Army Painter “Brown Battleground”, but again any similar material would do the trick. The idea is to strengthen the connection of the structure to the base, as well as to create a mud effect.
The painting phase
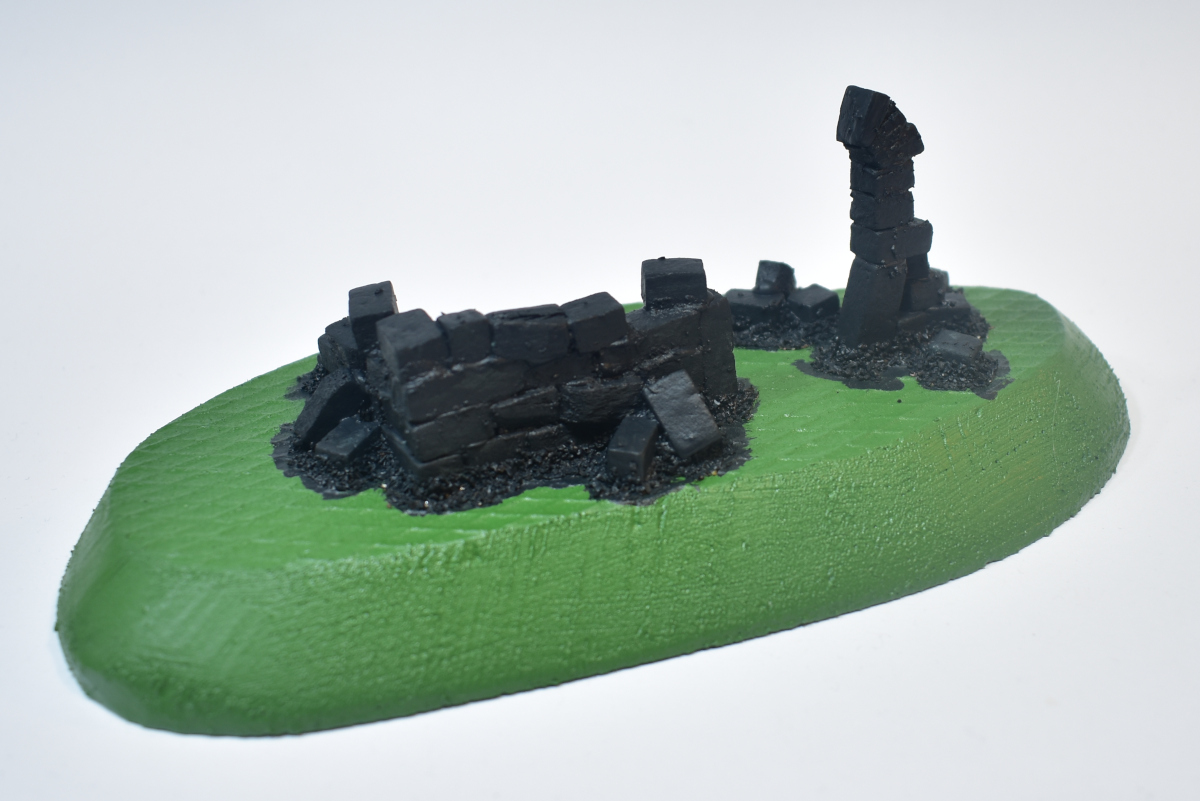
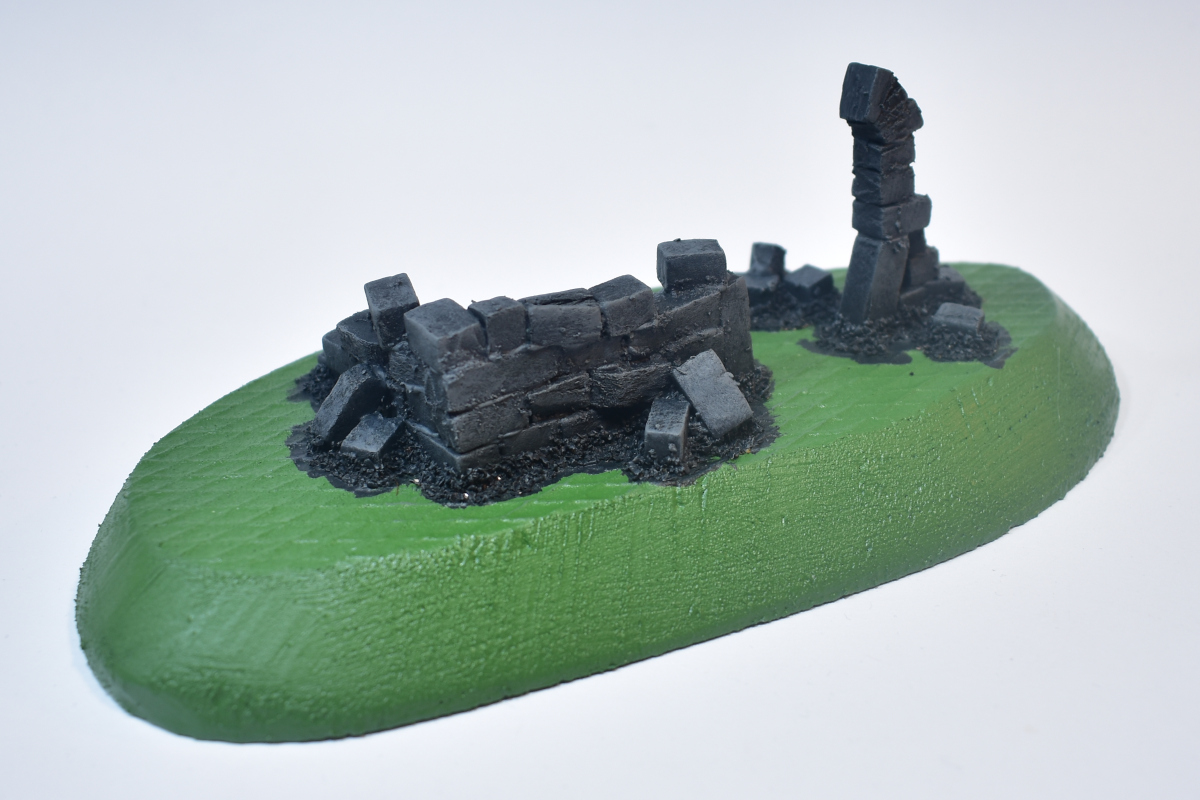
Time to apply some paint. If you have a cheap acrylic black paint, now is the time to use it. I didn’t have that, so I used my Citadel: Corvus Black, which I almost never use. Then, I applied a thick dry-brush over all the stones with Citadel: Dawnstone, and finally a lighter dry-brush focusing on the tops and edges using Vallejo: Elf Skintone. This may seem like an odd choice of highlight colour, but it results in a nice sandy look, which I kind of liked.
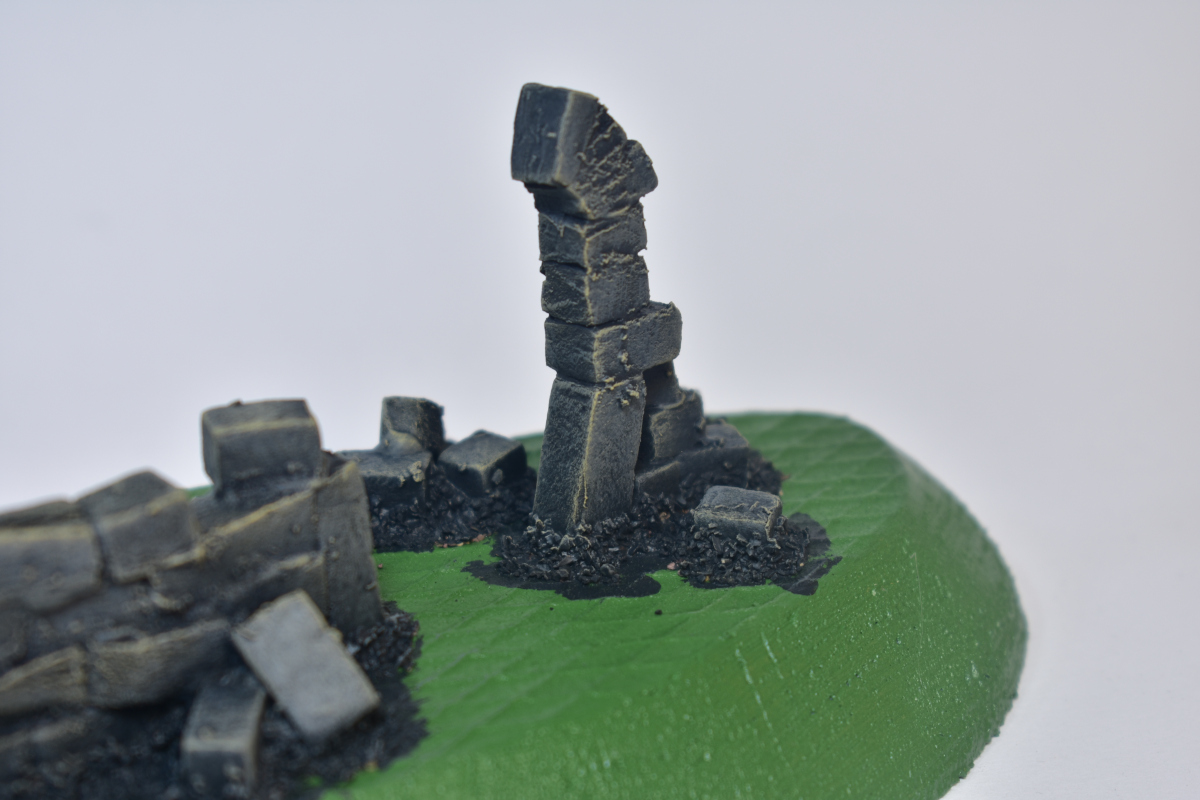
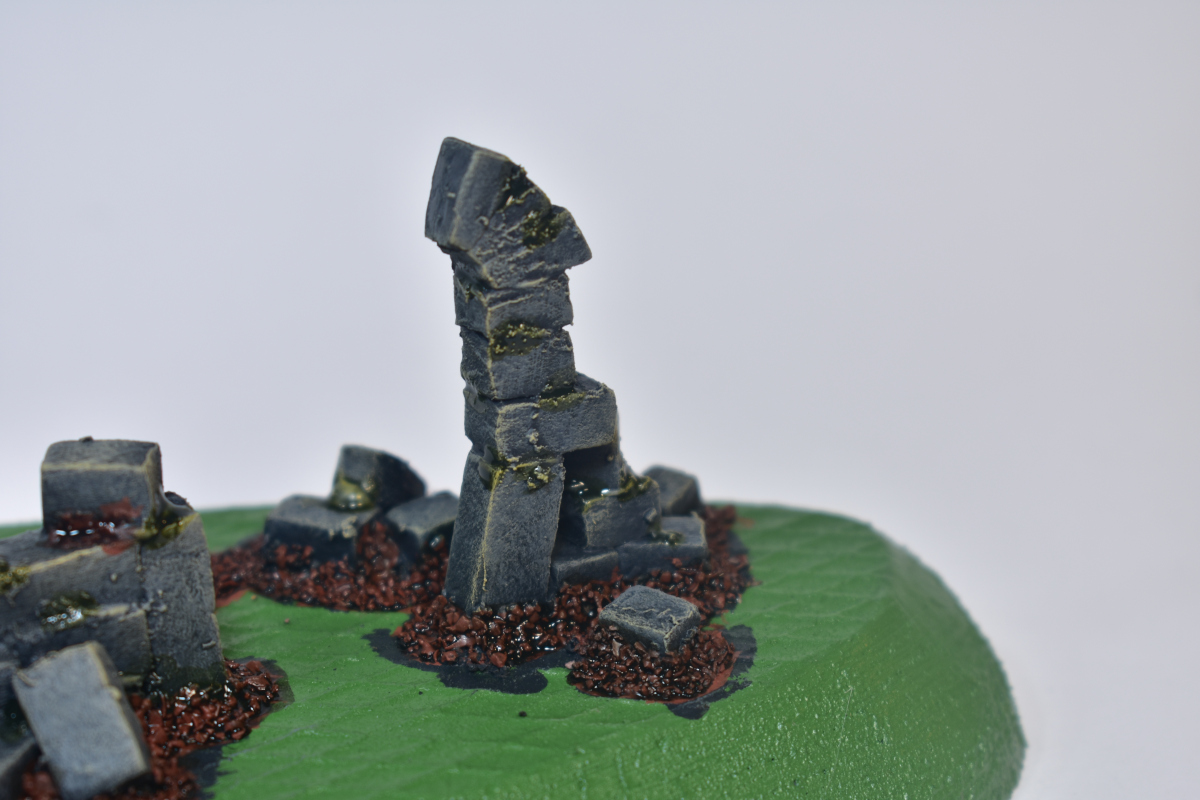
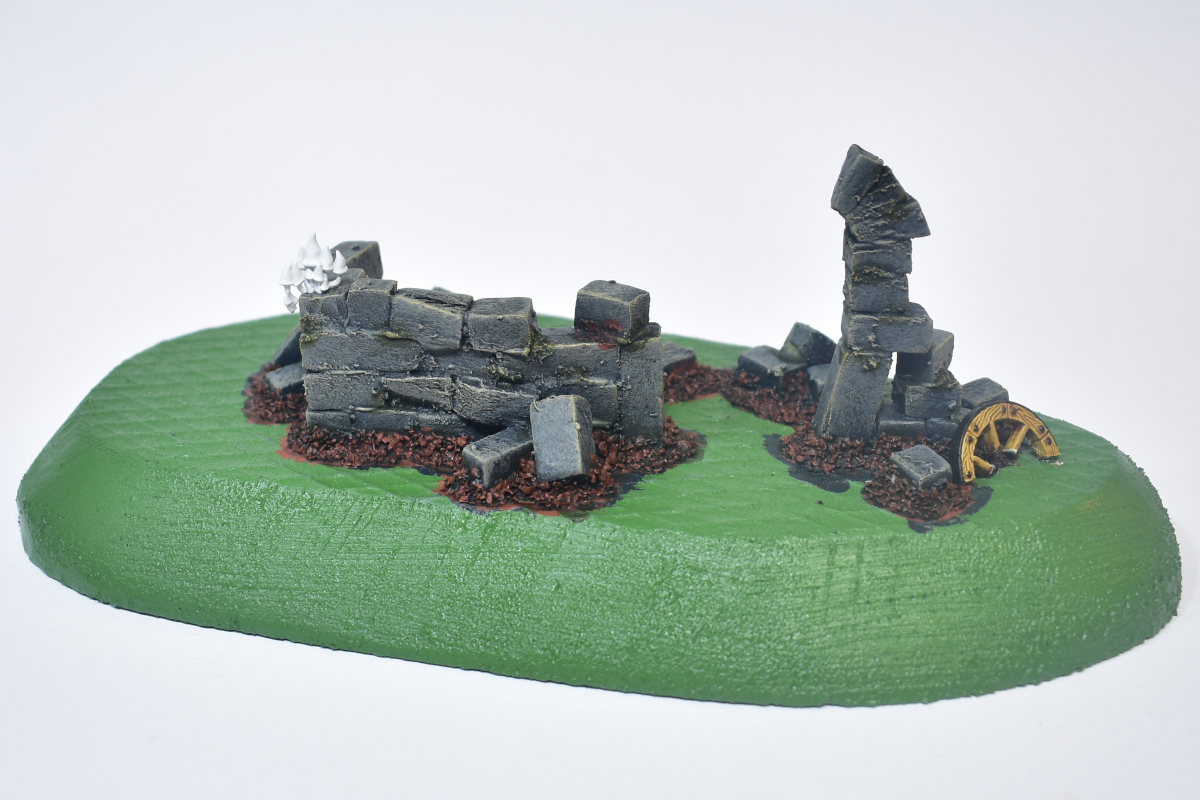
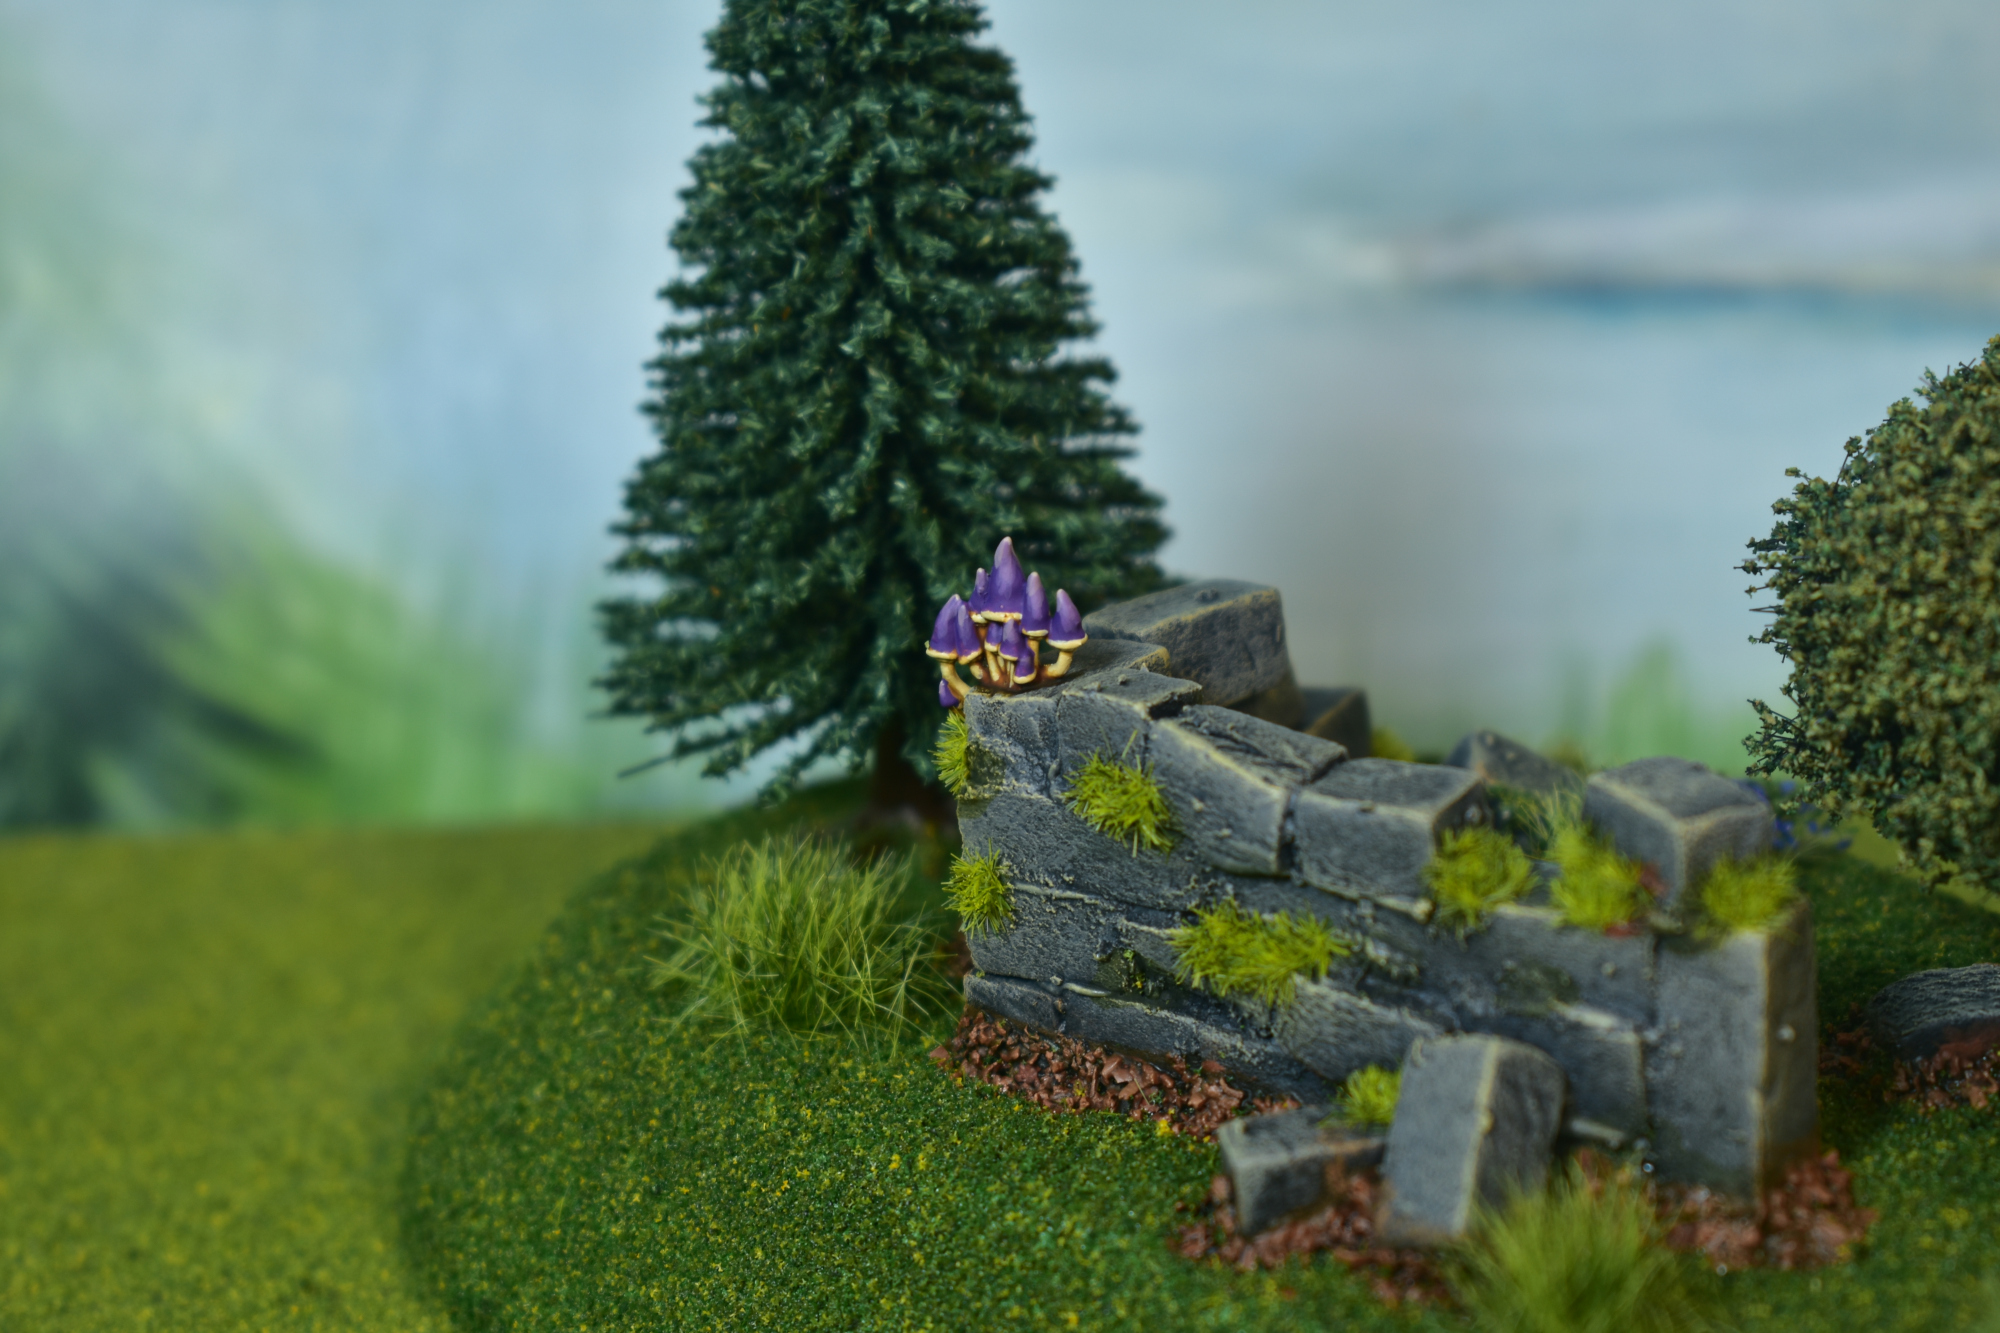
The final painting steps are to apply AK Interactive: Mahogany Brown (or any reddish brown) to the mud, and then cover it with Citadel: Agrax Earthshade. I also applied spots of Citadel: Athonian Camoshade on the rocks to represent moss – although later these would be mostly covered with “actual” moss tufts. In the next step I highlighted the mud by dry-brushing first with Citadel: Mournfang Brown, and finally with Citadel: Ratskin Flesh. As you can see, I also delved into my bitbox and added two small details. Some mushrooms on the left (from some Gloomspite Gitz box), and a half cartwheel from a High Elf Tiranoc Chariot (the old metal ones — the rest of which is unfortunately lost to time).
Decoration
Time to add some greenery! I’ve glued down a big fir tree first, since I wanted its roots to be covered in flock. Then I applied a layer of slightly watered down PVE glue to all the green areas. Adding a bit of water ensures that the flock layer doesn’t get too thick, and it makes it easier to apply the PVE as well. Don’t add so much water that the glue starts to “retreat”. With all the glue applied, I covered the base in Woodland Scenics: Blended Green Turf. From my research, this is the stuff that mimics the classic 90s Warhammer terrain look best. After everything was dry, I also applied a layer of Scenic Cement to make sure the turf doesn’t fall off.
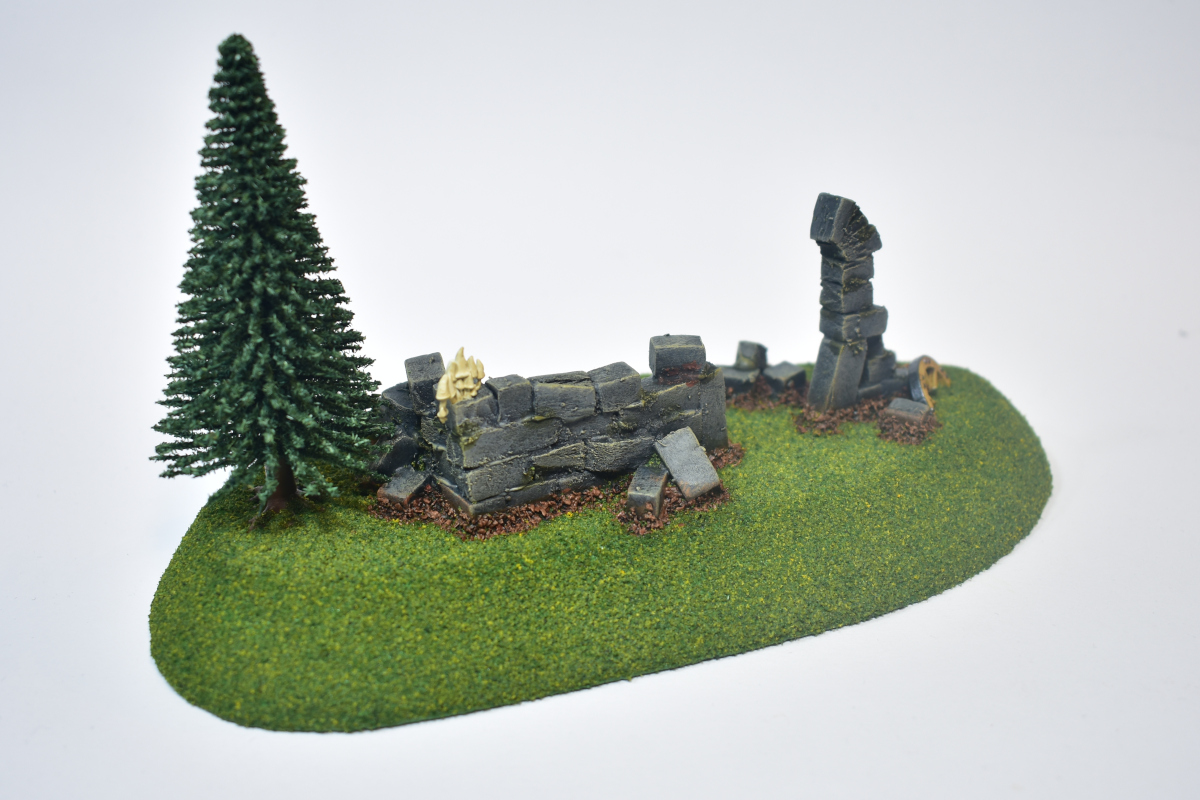
Scenic cement is basically a very thinned down PVE glue mixed with a little alcohol to remove the surface tension of the liquid (when applying it with a brush, it spreads out in a very satisfying way). If you want to actually use these terrain pieces on a gaming table, this step is essential, as without it, the turf will fall off, and it will leave green stains when touched. Unfortunately, it does darken down the bright green colour a little bit. If anyone has any idea how to prevent this, I would love to hear it!
Final steps…
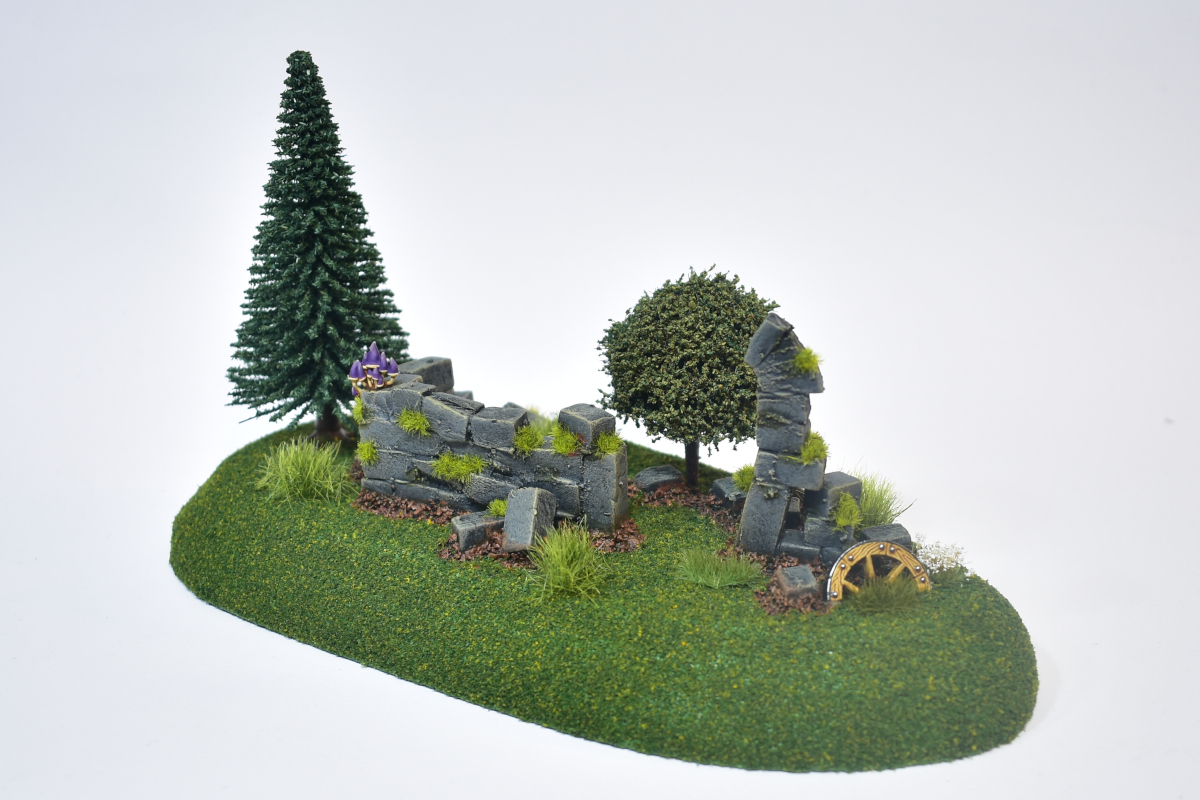
For the final steps, I finished painting the mushrooms and the cart-wheel, added a small classic K & M Tree, and applied various types of Gamer’s Grass tufts. Specifically, Gamer’s Grass 2mm Moss was used as moss on the stones, and then tufts of various sizes to add some detail and variety to the rest of the terrain piece.
The Final Result
And there we are, our first terrain piece for our Classic Warhammer Fantasy gaming table is done.
Reflection
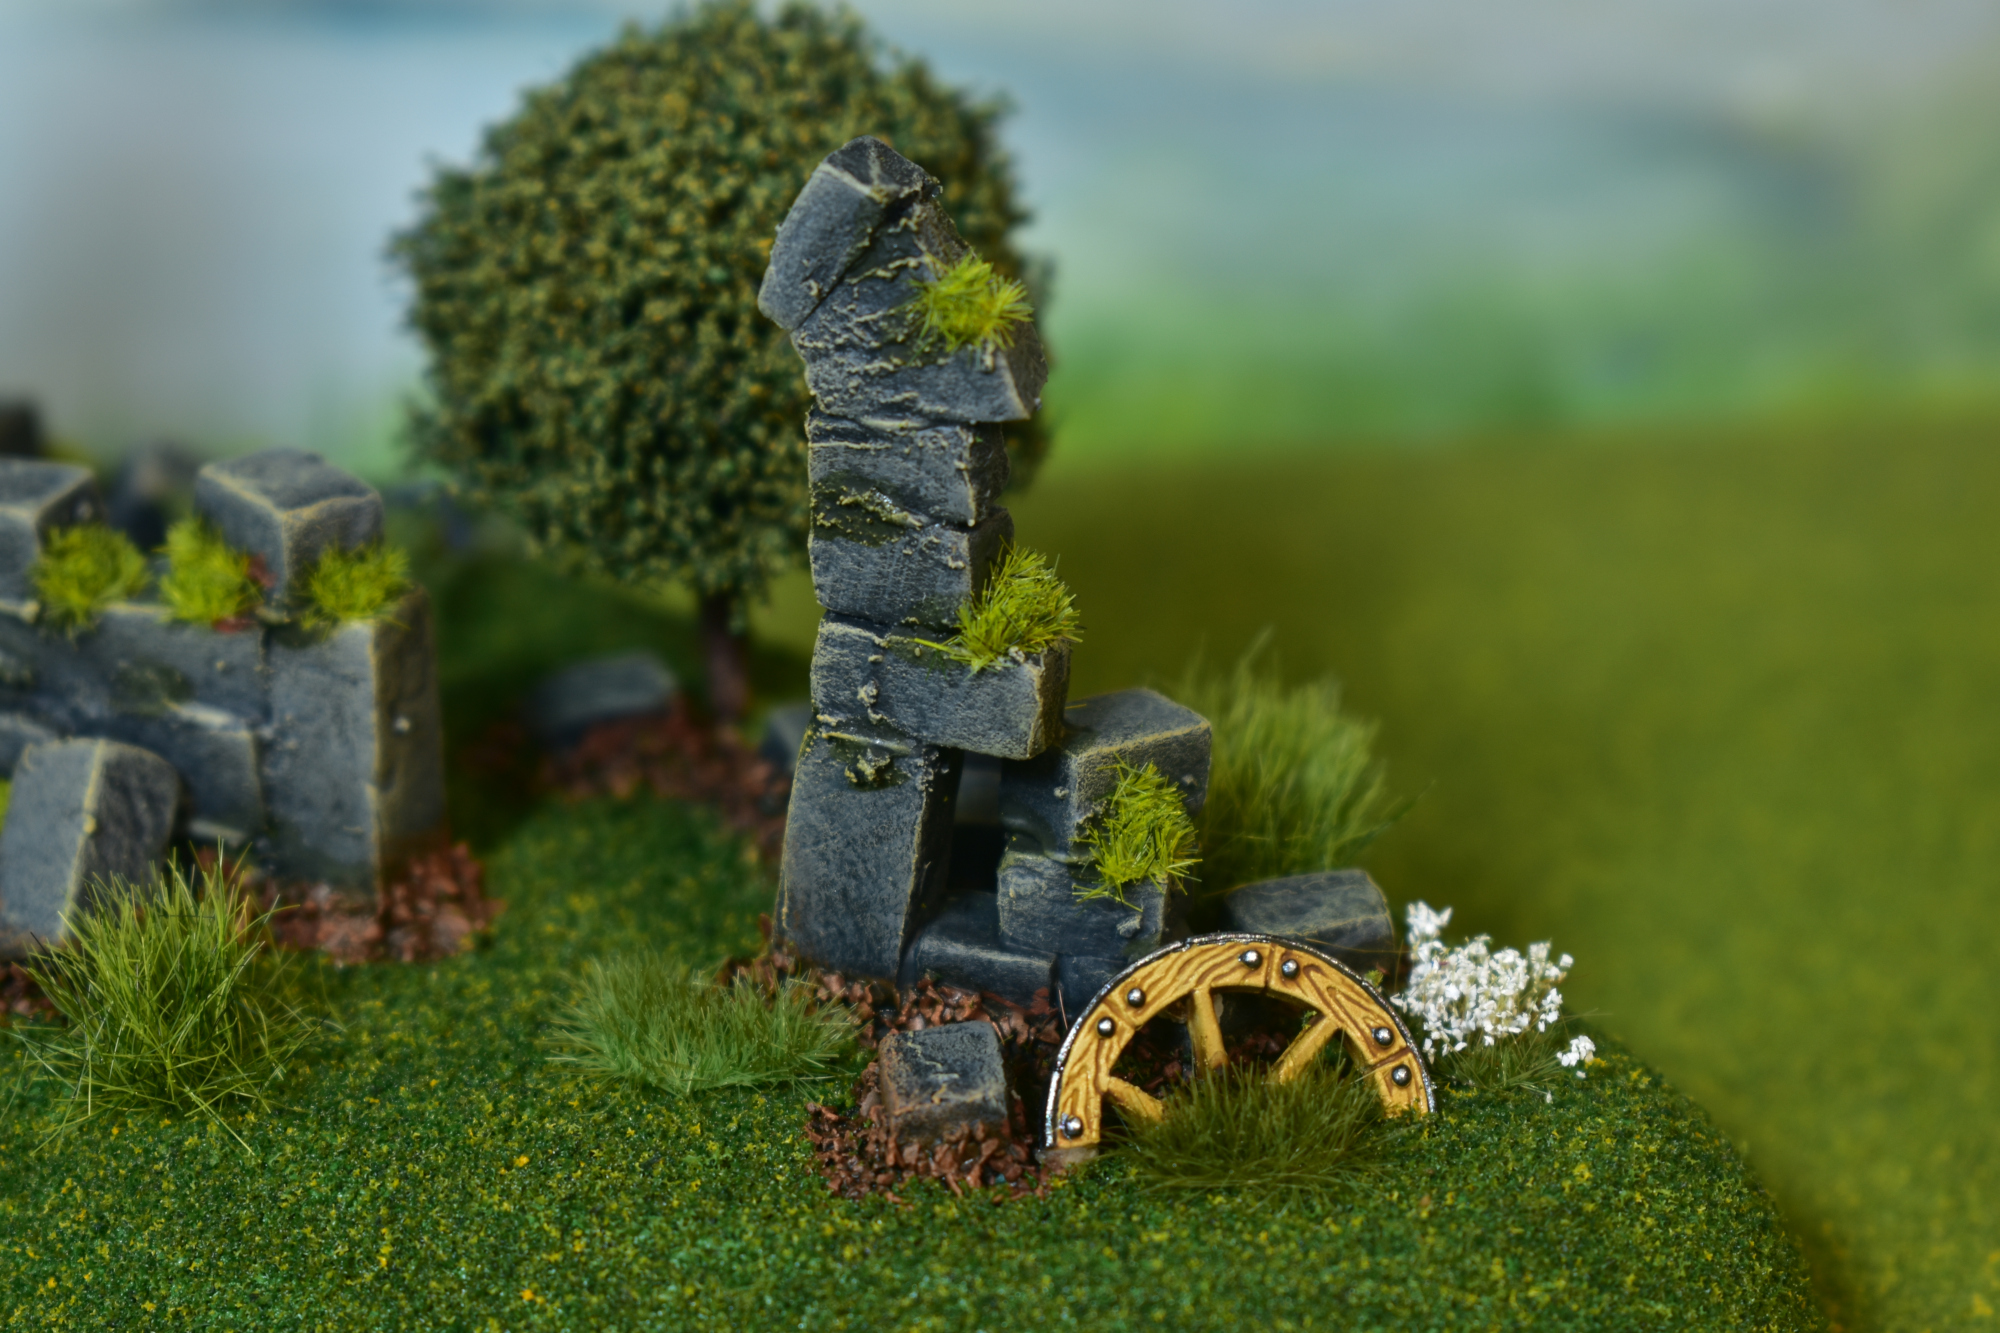
Overall I’m very happy with how this little project turned out. I would have liked the green flock to stay a little brighter after the scenic cement treatment. The little piece of flocked wood on which the last photos were taken is covered using the same flock, but without the scenic cement, and it clearly stands out brighter. I also think the stones could have been a bit brighter, although I am happy with the combination of the grey and flesh tone used.
As this is definitely a learning experience for me, I would love to hear your feedback in the comments below, or drop me a message on my Instagram.
Closing Words…
If you have any question, feel free to leave a comment below, or drop me an email at harm@harmsworkshop.com. If you found this very useful and want to show some support, you can do so via my Ko-Fi page.
Chapter 3: Coming Soon… >>
Great stuff, I have recently made my first building with foam and did things a bit different.
Rather than put the bricks in with stones, I actually filed the edges down brick by brick, edge by edge.
It took a long time, but I feel that the added attention created more worn bricks which in turn allowed for a mortar effect to be added between the bricks which I always think looks nice.
I don’t add alcohol to my water/PVA mix I actually add some liquid dish soap, maybe try a test with this and see if it has the same darkening effect as the alcohol?
PS: I love the broken wheel and not that anyone cares, you get extra points for the colour. I think all cart wheels should be that sort of yellow ochre type colour!!
What are you doing next?
This is an excellent article. Can’t wait for Chapter 3. Keep it up!
These little details are very important. I did a lot of terrain pieces like fence and wall sections and was too cautious on placing them, because I feared it could be too much. But at the end I think many of the pieces are looking boring. Maybe every terrain piece should have some little special feature – ‘a diorama in its own right’.
For the bricks, I suggest to apply thinned instant filler, the next time, to conceal the flat surface of the foam (I use a cheap one from the Action stores – it’s perfect). The ‘eavy metal team used instant filler extensively on their terrain pieces, also.
Go on – I am looking forward for part III!
Regarding the dark grass, I would try a lighter tone of Woodland Scenics turf as basis to get the desired tone after applying the scenic cement. Maybe Yellow grass, or a (2:1?) mix of Yellow and Burnt Grass.