
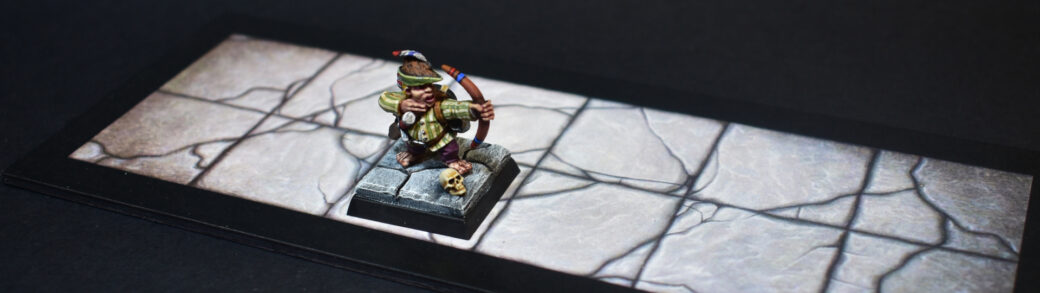
In this tutorial I will show how I make “Dungeon Tile Bases” for my Warhammer Quest project.
The Build Phase
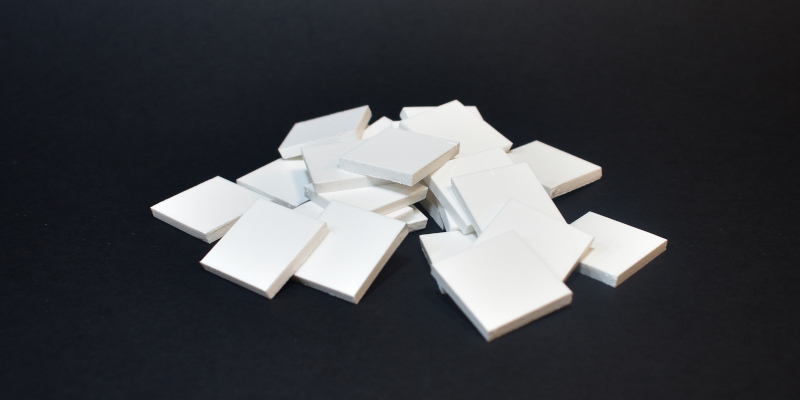
We start by cutting out foam core squares in the exact measurements of the top of the base. As I’m using 25mm square bases, this means the top of the base is a 22mm square.
Make sure you use a sharp knife and make smooth cuts. While you’re at it, might as well cut a whole bunch of these…
Now it’s time to make these perfectly flat squares look like old worn slabs of dungeon stone. To do this, we first cut of the edges, so we don’t have any 90 degree angles on the edges of our stones. Then, we cut off small pieces of the edges and corners to create some damage. Don’t overdo it and make every base look a bit different.
Next, we take a rather blunt pencil and start drawing in some natural looking cracks. I’m using the Warhammer Quest Floor Tile art for some inspiration. When the thick pencil lines are done, we take a slightly sharper modeling tool (or the non-sharp edge of a knife) to deepen the cracks. We don’t want to cut through the foam, but we need some deep recesses.
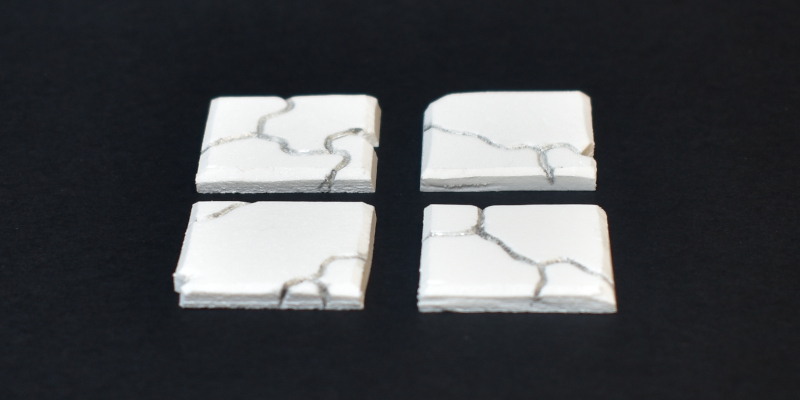
Now it’s time to add some natural texture to our dungeon floor. For this we take our pile of actual rocks, ideally some with sharp edges. If you’re doing a large batch at once, it may be worth throwing all your foam core tiles in a plastic container, add the rocks, and shake vigorously for a few minutes. This will give the foam core slabs some initial dents and damage.
When using XPS Foam, this shaking may provide all the texture we need, but since foam core is rather tough, we need to create some additional texture manually.
Here is a close-up shot of how these slabs look when coming out of the rock-shaker:
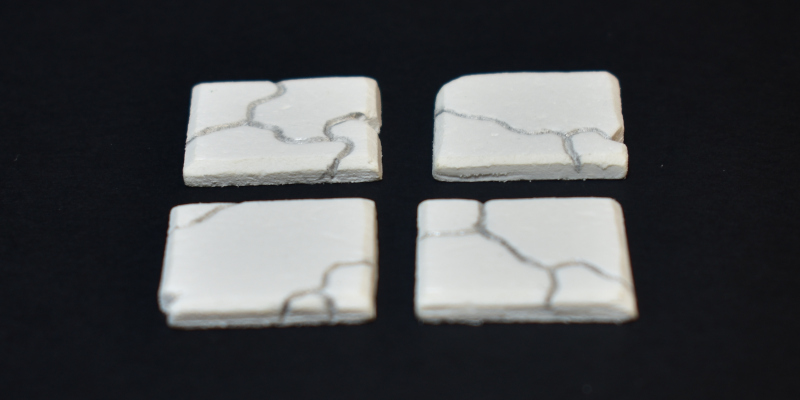
Starting to look better, but as said, we need some more texture and sharp edges that will take a dry-brush well during the painting phase. For this, we take our sharp-edged rocks again and start pressing them firmly into the foam. Don’t be gentle, foam core is pretty tough, and we need a lot of dents and scratches to make for a natural look. Use different stones with different edges to create variation. Really take some time on this step, and really rough up the foam.
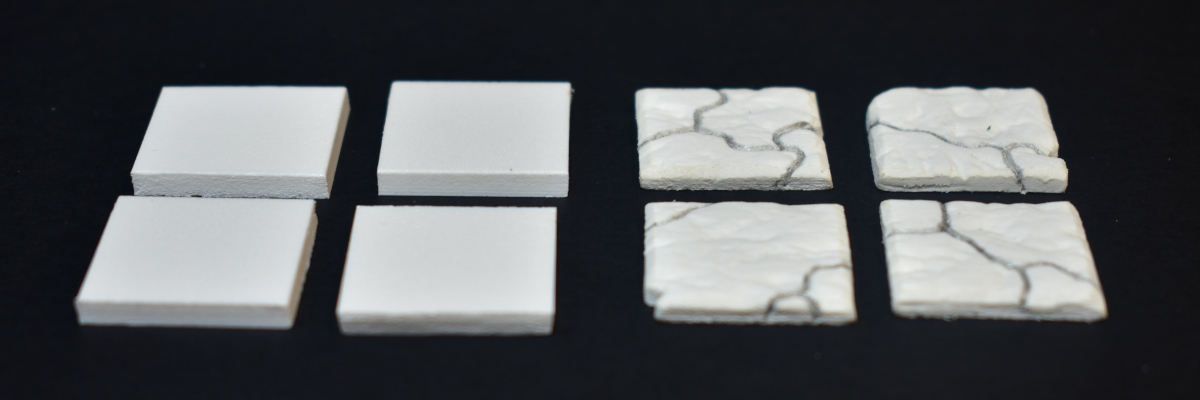
At this point, we can glue the foam core tiles on our bases. I used super glue, which is fast and firm, and I was in a rush. If you don’t mind some drying time, PVA glue will also do the trick.
Finally, I’m not a fan of having too many “gimmicks” on a base. For example, I don’t like adding things like an old dusty book on a miniature’s base. It will probably look cool, but for a model that is moving around the dungeon, I just think it looks a little strange – as if he keeps picking up that book and carrying it around with him all the time. With that said, a few small “natural” basing elements could work well – things that simply appear all over a Warhammer Quest dungeon – like skulls, small mushrooms, or small piles of rubble.
If you’re doing a display base, it may well be a good idea to add many little details, but for “game pieces” I prefer to keep things simple.
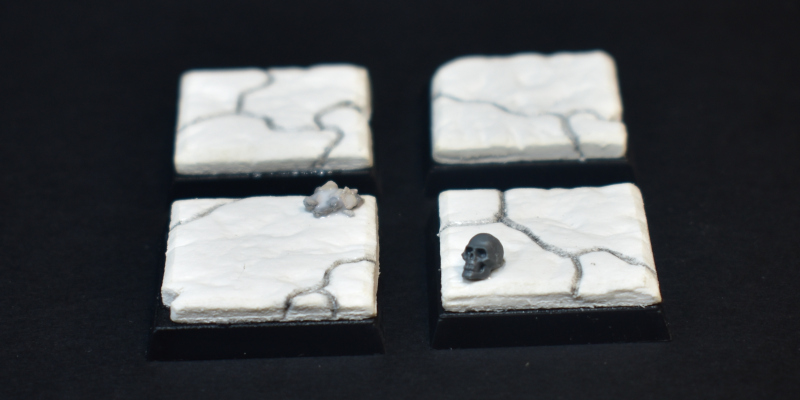
Below I’ve added a small skull to one base, a little pile of rubble to another and kept the other two bases free of additional gimmicks, so we can see the difference later on.
The Painting Phase
The natural instinct is to paint slabs of stone using different grey tones, and there is something to say for using a neutral colour like grey on a miniature’s base. It is just a base after all, and it shouldn’t distract too much from the paint job on the miniature itself. That said, the traditional Goblin Green base is far from a neutral colour, and it has been the defining look for Warhammer for the longest time, also for games like Warhammer Quest and even Necromunda. So why not try something a little more colourful?
I’m going to show four different colour schemes for our dungeon stone slabs, each inspired by the artwork on the different Dungeon Tiles that make up the Warhammer Quest Dungeons. These are (I) Basic Grey, (II) Murky Green, (III) Enchanting Blue, and (IV) Sandstone Yellow.
To start though, four all four bases I’m applying an undercoat of black paint using a spray can. Unlike XPS foam, foam core is not at risk of “melting” by the chemicals in spray-can primers. So, here we go:
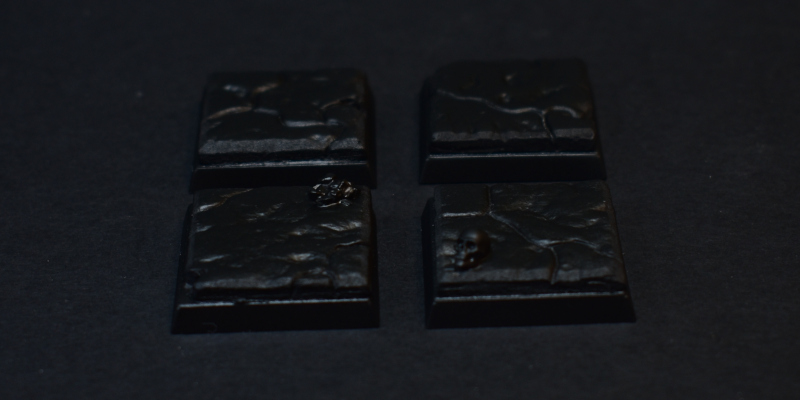
I start with a black undercoat because (a) I have it available, and (b) I want the rims of the bases to be black. But you could just as well use white or grey if that’s what you have on your shelves. When the undercoat has dried, check to see if there is any white showing, and if needed, clean up with some Citadel: Abaddon Black.
Up next, the four different colour schemes…
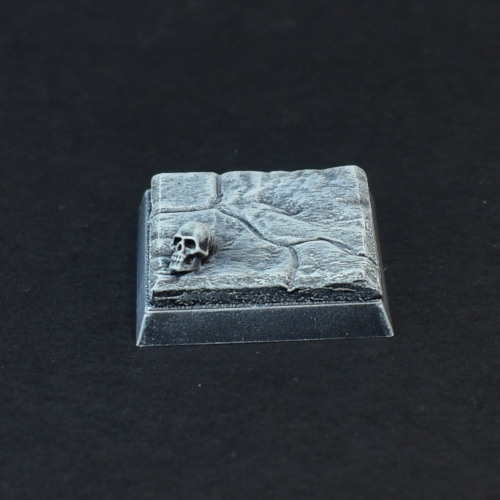
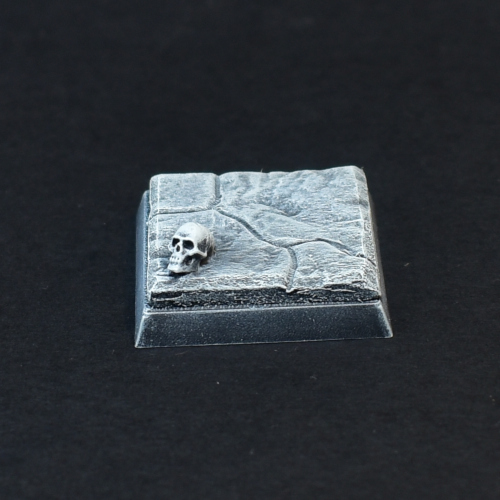
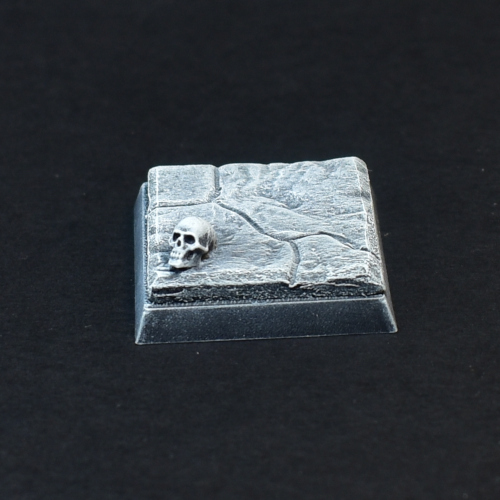
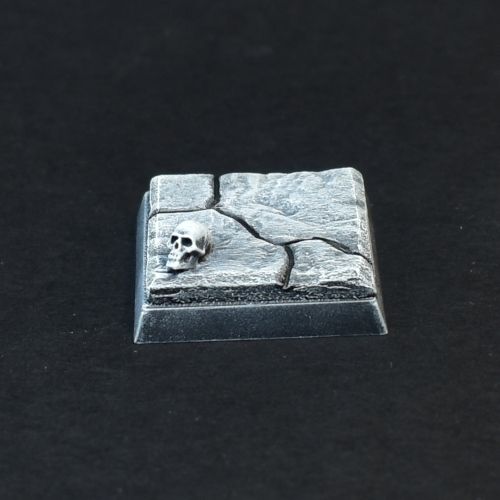
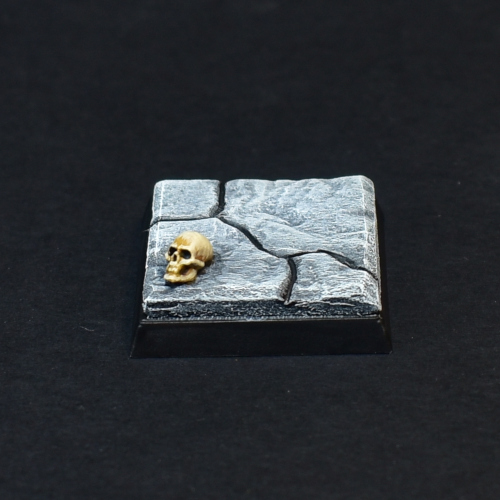
I. Basic Grey
- Apply a heavy layer of dry-brushing using Citadel: Celestra Grey.
- Next, dry-brush using Citadel: Ulthuan Grey.
- Apply a final layer of dry brushing using Vallejo: Dead White.
- Finally, darken the recesses of the cracks using Vallejo: Dark Grey Wash (or use any other blackish wash like Citadel: Nuln Oil).
- If you have a skull on the base and don’t feel like spending too much time, you could simply apply a layer of Citadel: Skeleton Horde contrast paint (since we already have the bright highlights dry brushed on). Or, paint the skull using your preferred recipe (mine is using Citadel: Morghast Bone, then applying a wash of Citadel: Agrax Earthshade, then highlighting using Morghast Bone and slightly adding more Citadel: Screaming Skull). Finally, clean up the rim of the base with some Citadel: Abaddon Black, and done!
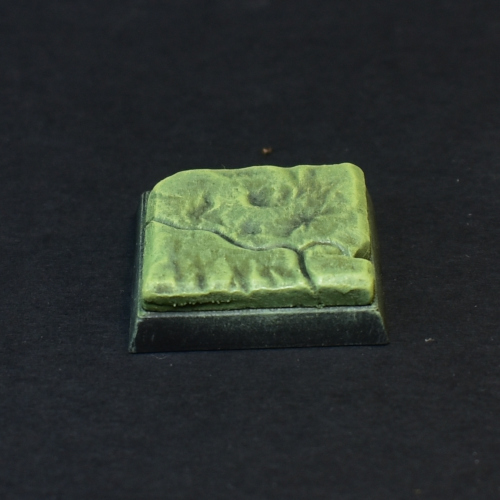
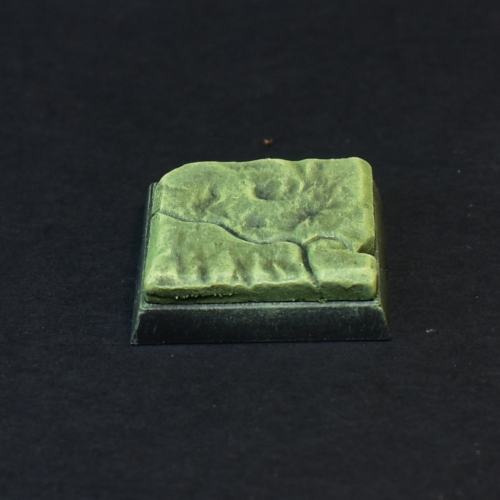
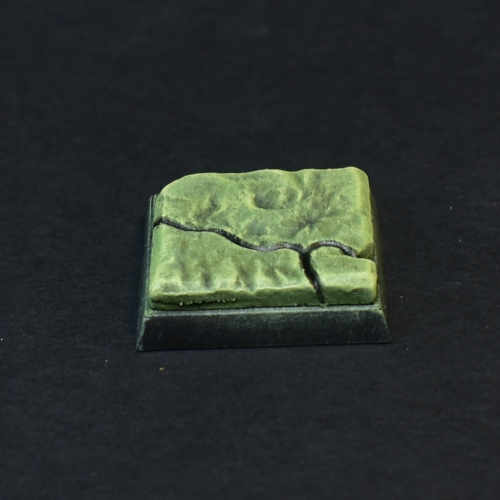
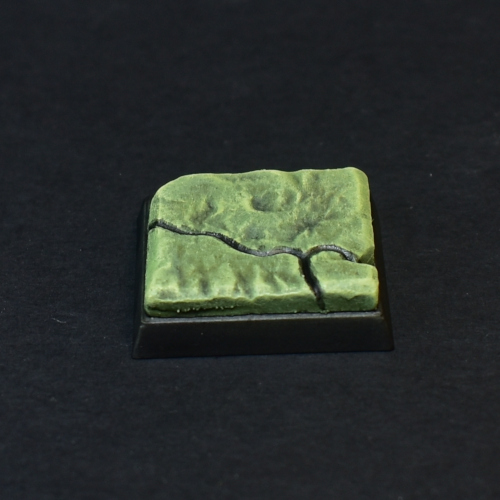
II. Murky Green
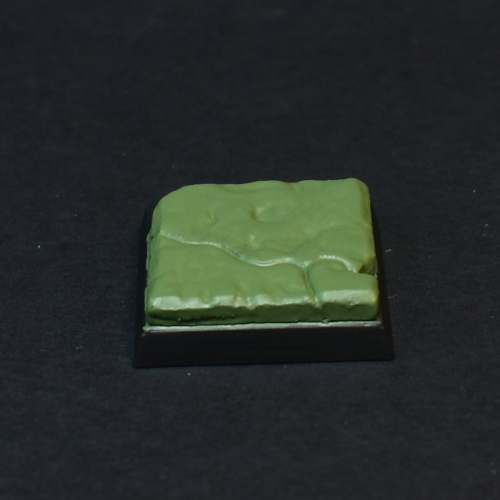
- Apply a base coat of Citadel: Loren Forest. Apply multiple thin coats until you get a smooth even cover.
- Next, apply a wash of Citadel: Athonian Camoshade.
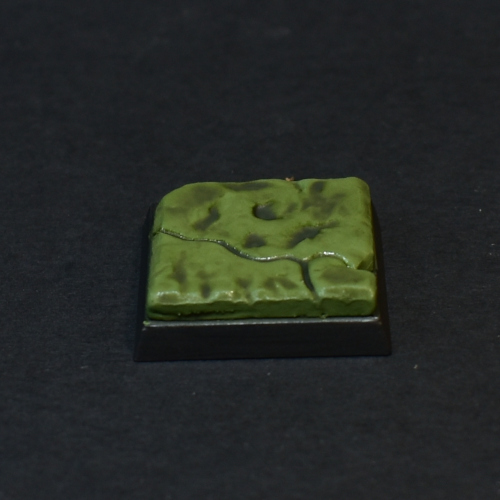
- Next we apply several layers of dry-brushing to bring in some colour variation and highlight the textures, starting with Citadel: Loren Forest.
- Then dry-brush Citadel: Orruk Flesh.
- Then dry-brush Citadel: Ogryn Camo.
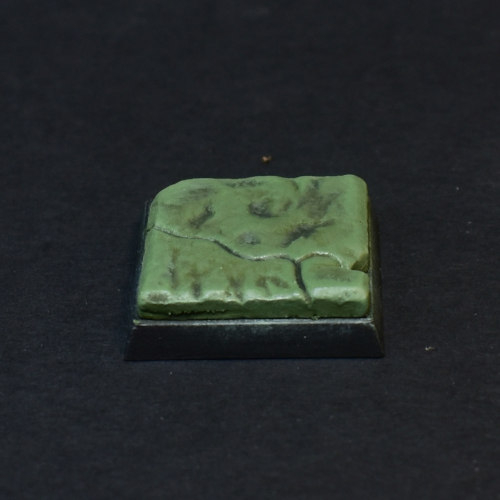
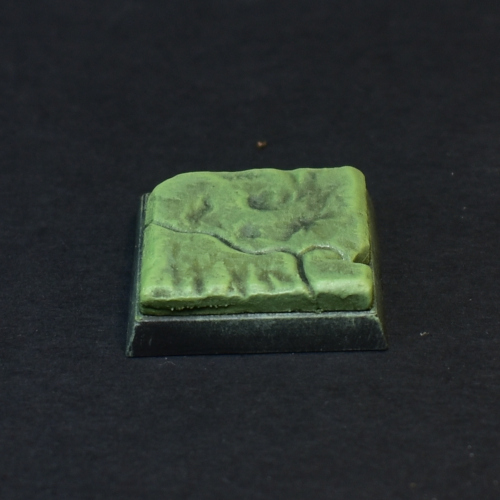
- Then dry-brush using Citadel: Ogryn Camo mixed (50/50) with Citadel: Screaming Skull.
- As a final step, we darken the cracks in the stone with some dark wash. I use Vallejo: Dark Grey Wash.
- Clean up the rim of the base with some Citadel: Abaddon Black, and done!
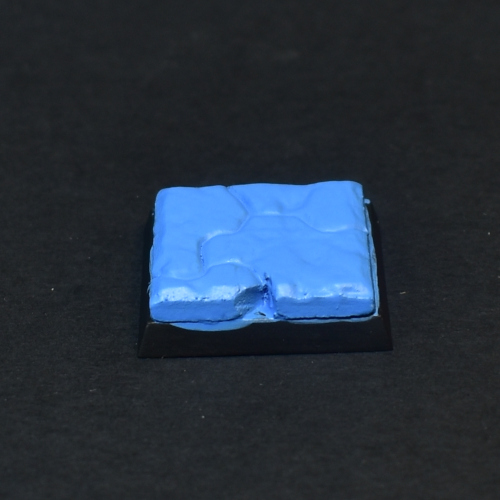
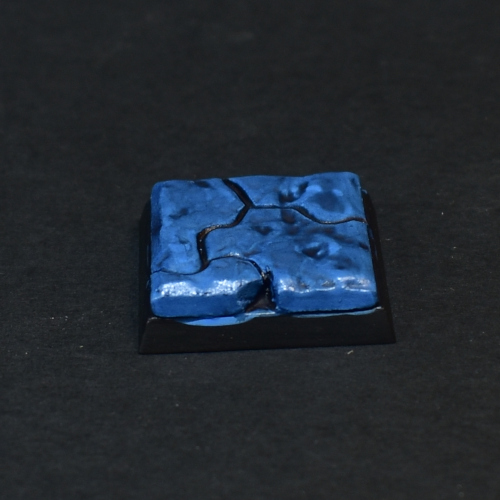
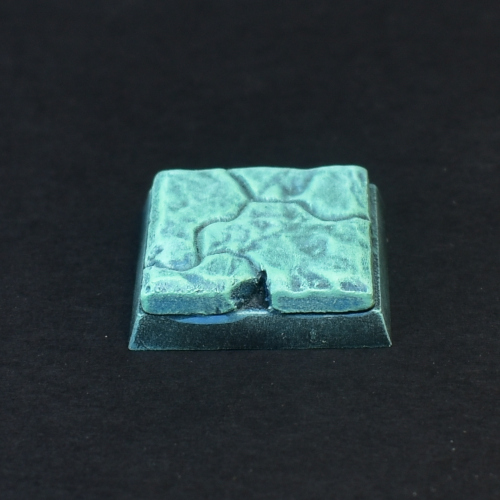
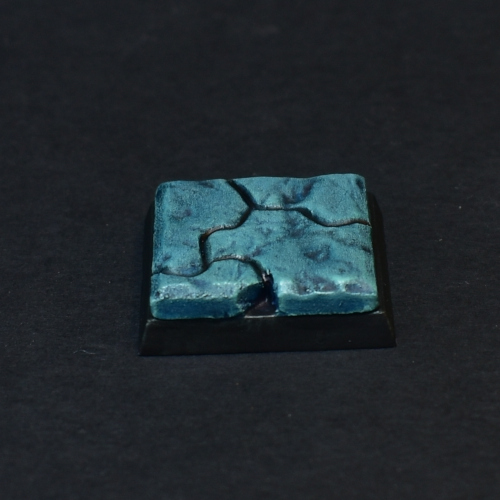
III. Enchanting Blue
- Apply a base coat of Citadel: Hoeth Blue. Apply multiple thin coats until you get a smooth even cover.
- Next we apply a wash of Citadel: Drakenhof Nightshade.
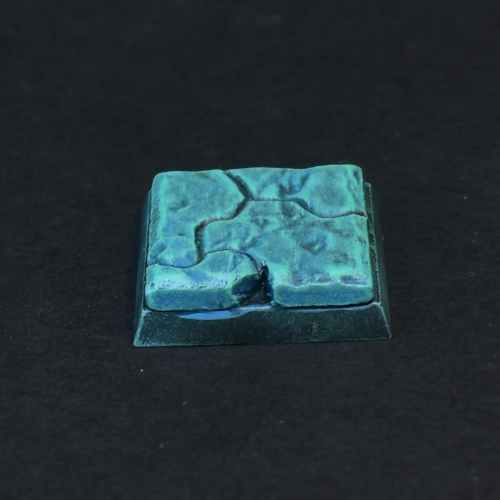
- Next we apply three layers of dry-brushing, using teal colours. For this I’m trying out some new Army Painter “Warpaints Fanatic” paints, starting with: Army Painter: Hydra Turquoise.
- Then we dry-brush using Army Painter: Aquamarine.
- Then we dry-brush using Army Painter: Marine Mist.
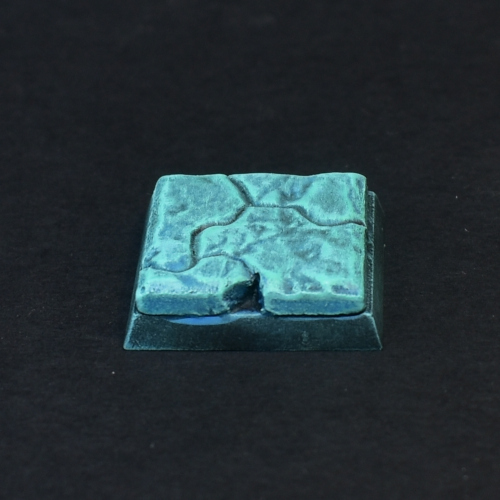
- Finally, we add another thinned layer of Citadel: Drakenhoff Nightshade, to mute the “turquoise” colour in favour of a more blue-ish hue. Add a little more Drakenhoff Nightshade to darken the cracks, and then clean up the rim of the base with some Citadel: Abaddon Black.
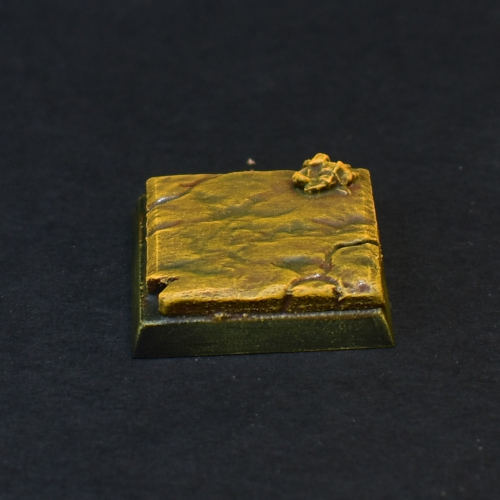
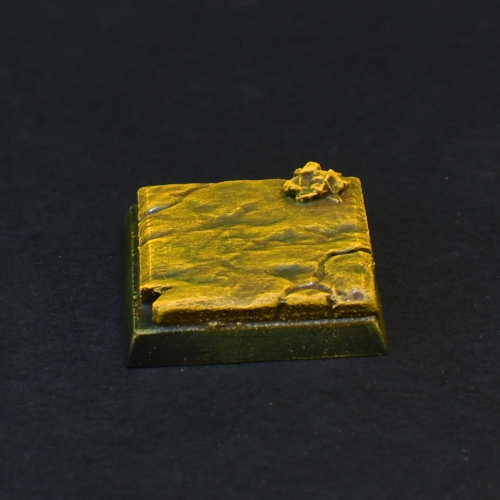
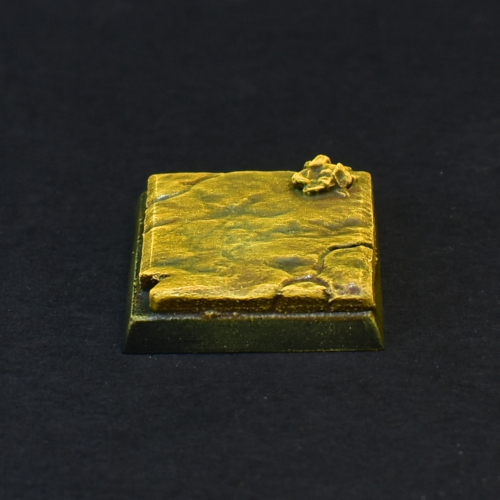
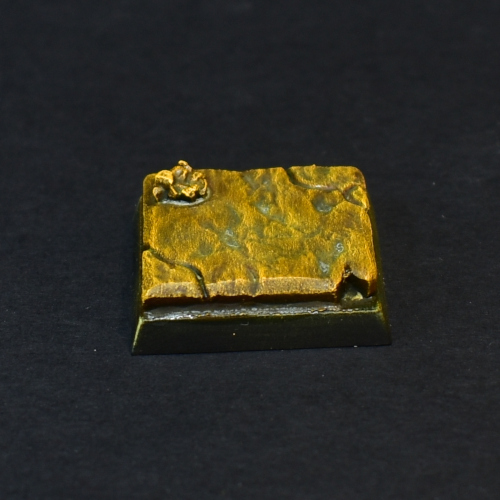
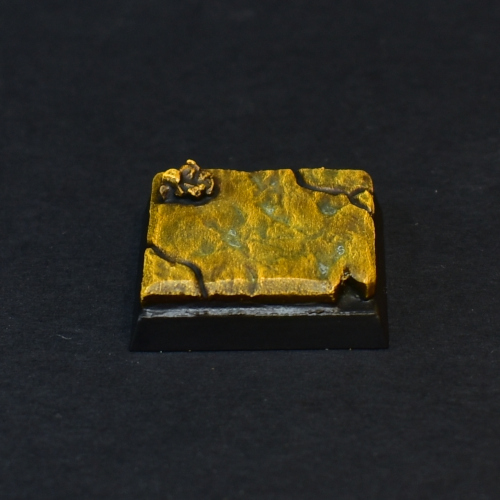
IV. Sandstone Yellow
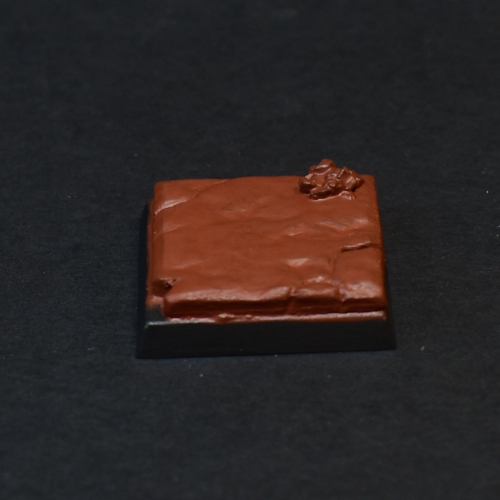
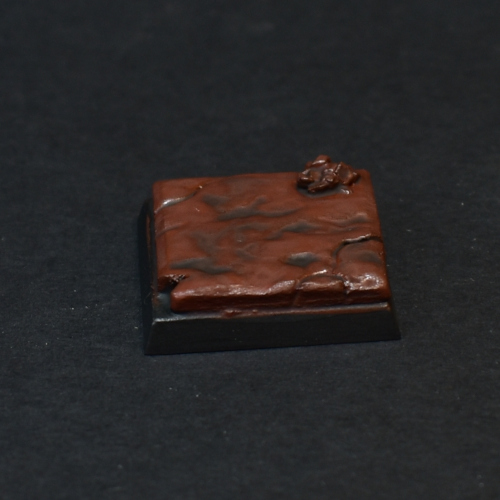
- Apply a base coat of Citadel: Doombull Brown. Apply multiple thin coats until you get good coverage.
- Next we apply a wash of Citadel: Agrax Earthshade.
- Next we apply a dry-brush of Citadel: Averland Sunset.
- Then a dry-brush layer of Citadel: Yriel Yellow.
- Then a dry-brush of Citadel: Dorn Yellow.
- Since the colour tone is a little too yellow, we now apply a final thinned down layer of Citadel: Snakebite Leather Contrast.
- Finally, we darken the cracks using some Agrax Earthshade (and I also use this to darken down the little pile of rubble). Then we clean up the rim of the base with some Citadel: Abaddon Black, and done!
Final Results
Time to look at all the final results! For this I re-purposed and slightly touched-up my 2023 Olden Demon Entry (I gave him an actual bow, so he can work as my Warhammer Quest Halfling Thief).
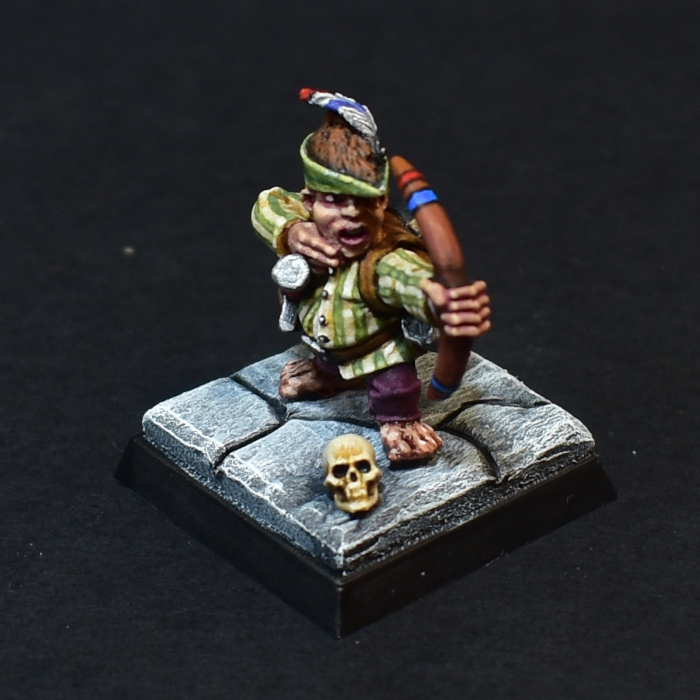
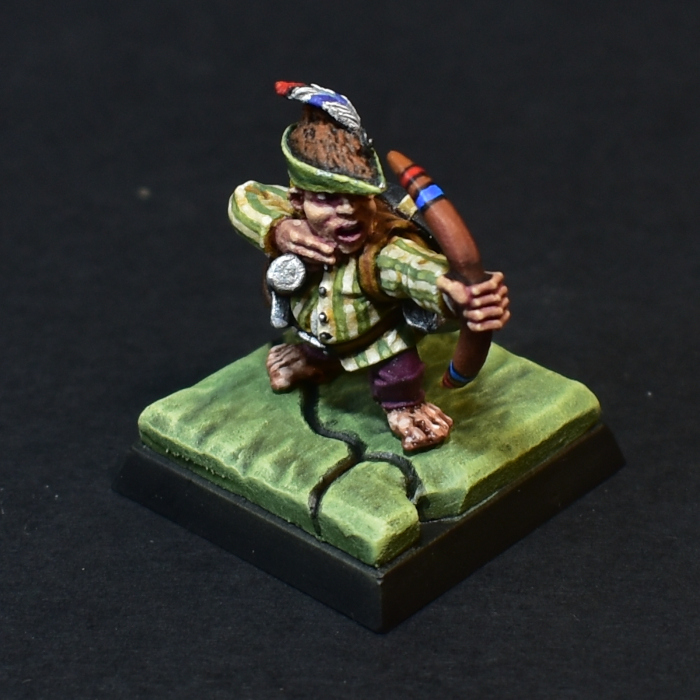
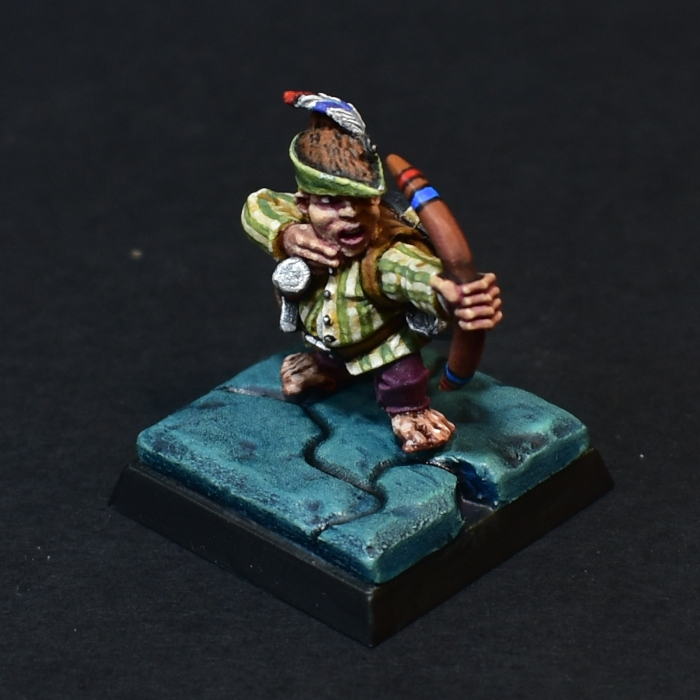
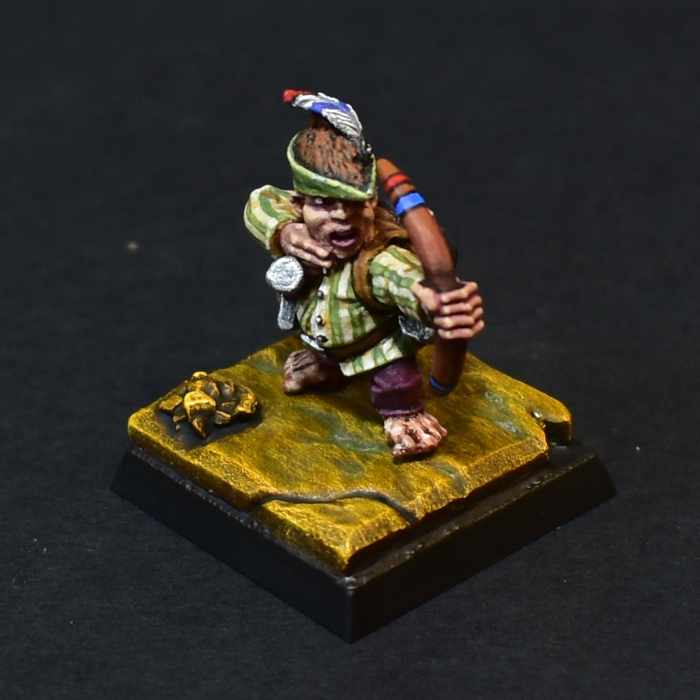
And here is our little Halfling Thief again, in his natural Warhammer Quest habitat.

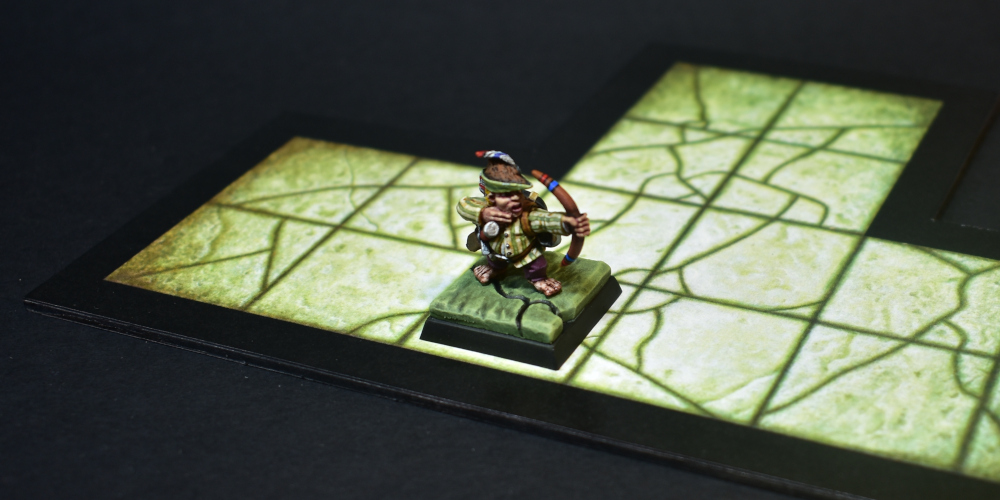
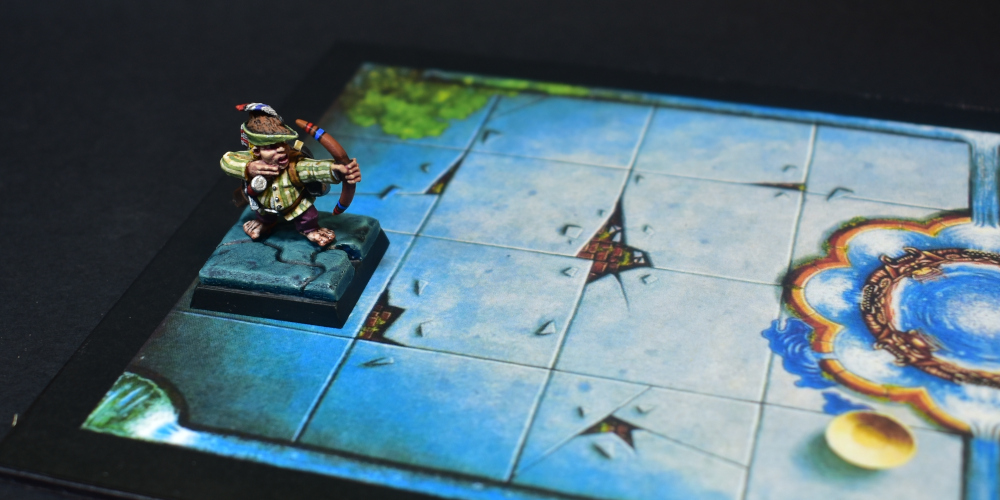
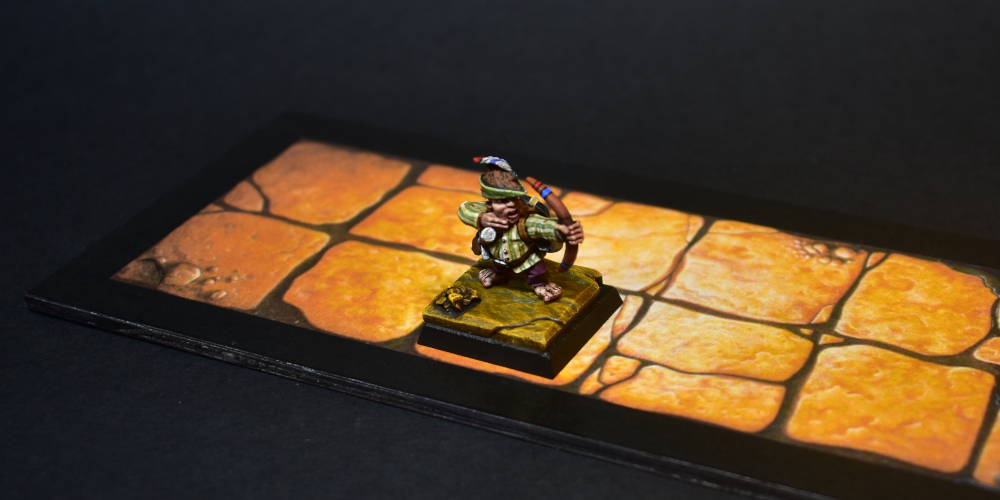
Hope you found it useful! And please let me know in the comments below which one of these colour schemes you like the most (if any…)
Closing Words…
If you have any question, feel free to leave a comment below, or drop me an email at harm@harmsworkshop.com. If you found this very useful and want to show some support, you can do so via my Ko-Fi page.