
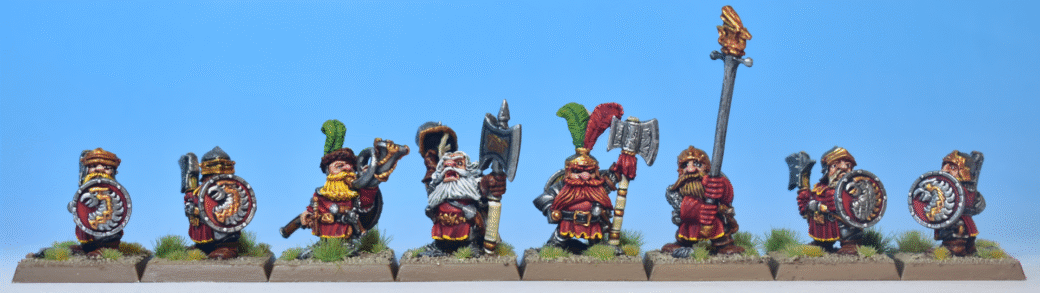
Originally released in 1987 and re-issued as a limited time Made to Order during the launch of the Dwarfen Mountain Holds faction of Warhammer: The Old World, Prince Ulther and his Dragon Company are a classic set of miniatures, that are as old as they are charming. In this tutorial I will show how to re-create the classic dark-red with yellow paint job, with some minor modifications.
Starting point…
In this tutorial, we pick up from the previous set of tutorials on Painting Dwarf Faces and Skin and Painting Dwarf Beards: Golden, Grey, Red, and Brown, and show how you could paint up the rest of these models using a “box art” style. Additionally, I already painted their bases following the Basing for Warhammer The Old World: Box-Art Style tutorial.
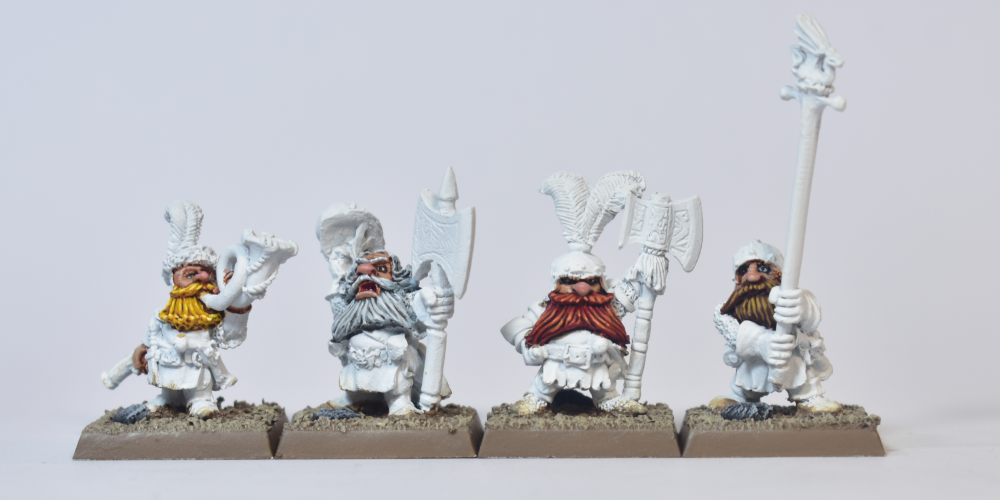
Steel Armour and Weapons
Most Dwarf armour and weapons are nicely textured, making it ideal to use a dry-brushing approach. Most Dwarfs also are covered in a significant amount of armour, so tackling this stage quickly helps give us more time to focus on more important details later on. Finally, dry-brushing can often result in a “rough” look, which is not always desirable, but fits well for Dwarf armour and weapons.
The first step is to base coat all “Steel” areas using Vallejo: Gunmetal. We leave out some metal details here, which will be painted gold later.
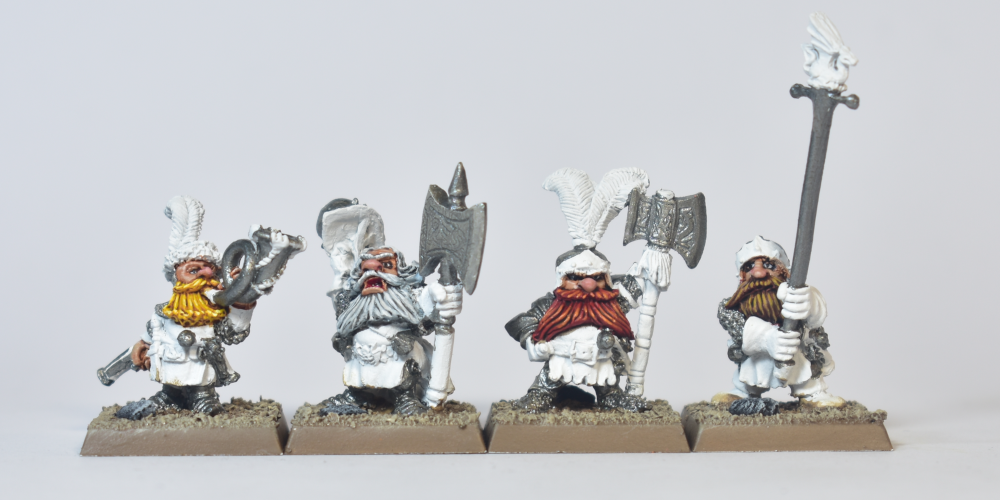
The second step is to cover all steel areas with a generous coat of Citadel: Nuln Oil.
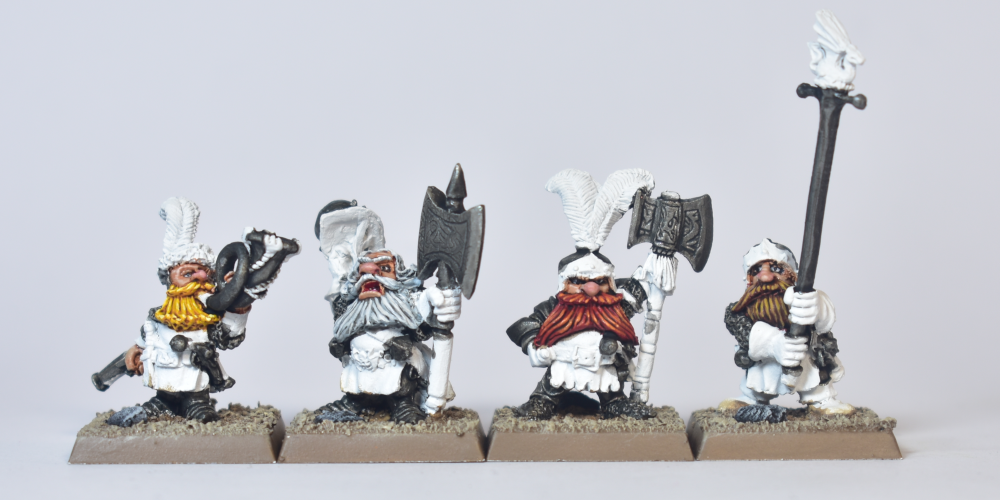
Then, we start our dry-brushing phase. Assuming you haven’t already painted the skin and beards, you can be really quick and rough, and don’t need to worry about hitting other parts of the model. This first highlight is again using Vallejo: Gunmetal, and should cover up everything except the deepest recesses.
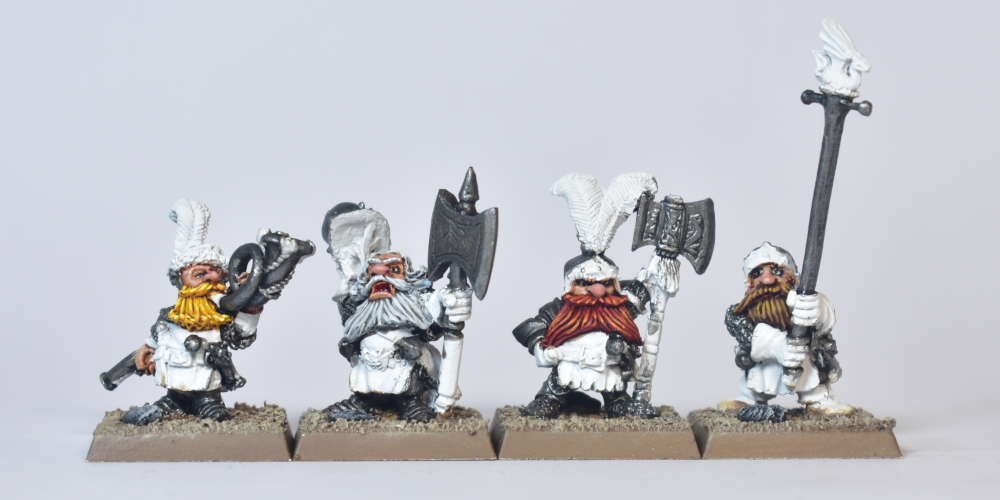
The second highlights are applied, again using a dry-brushing technique, using Vallejo: Silver.
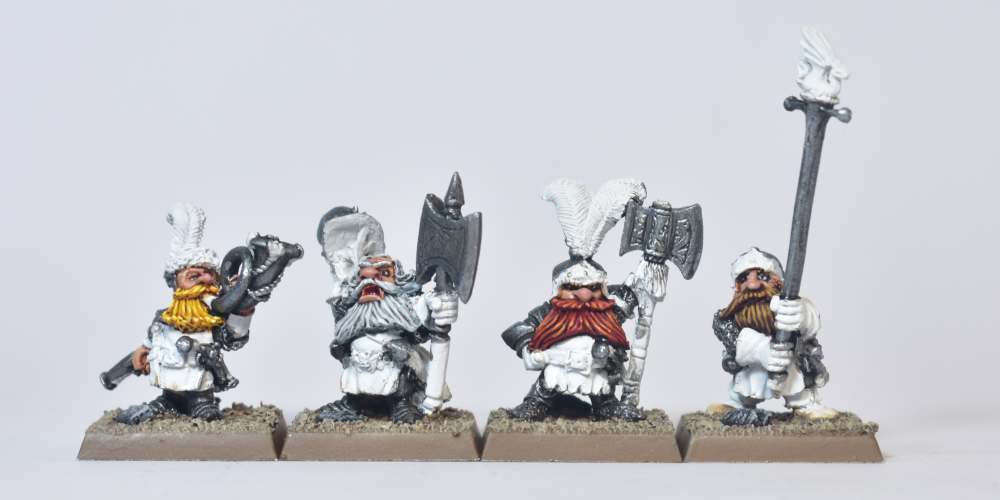
And finally, for a little more control, we use a regular brush, and apply Vallejo: Silver on the most pronounced elements (rivets, weapon tips, etc).
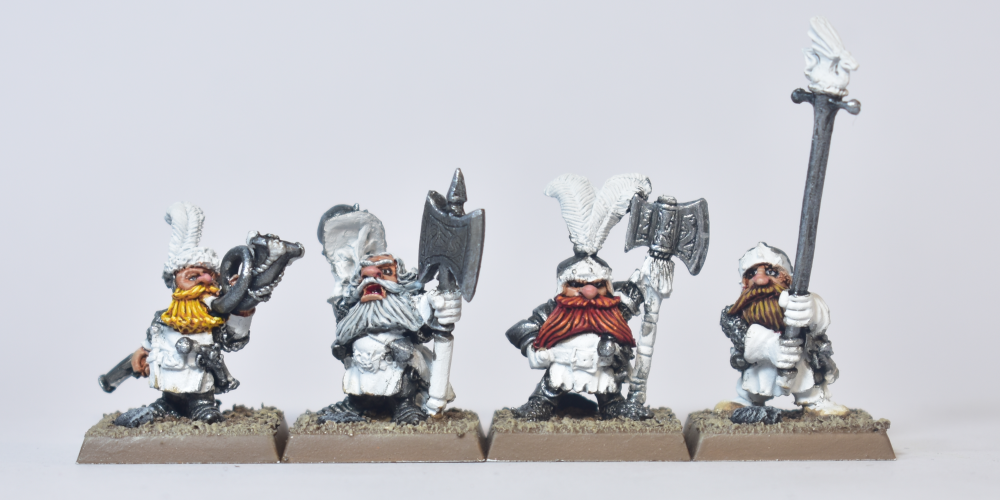
Base coating
With all the dry-brushing out of the way, we can grab our quality brushes and start with applying all the base coats. At this point, you would normally apply the skin (e.g. Citadel: Cadian Fleshtone), and beard base coats, but to keep this tutorial to the point, we will not discuss those elements. The base coats applied here are:
- Citadel: Khorne Red for the tunics and some decorative elements.
- Citadel: Doombull Brown for brown leathers (e.g. the shoes on the standard bearer as well as regular trooper models).
- Citadel: Gehenna’s Gold for the decorative weapon and armour elements, including the gun hafts.
- Vallejo: Goblin Green for some decorative elements (feathers, and the back of Ulther’s cloak).
- Citadel: Abaddon Black for belts, as well as to fill up some “gaps” (if any part of the model you can’t understand what it is supposed to be – just paint it black and don’t touch it again).
- Citadel: Zandri Dust for Ulther’s and Borri’s Weapon Haft, as well as some other details like Ulther’s helmet strap, and the inside of Ulther’s cloak.
Shading
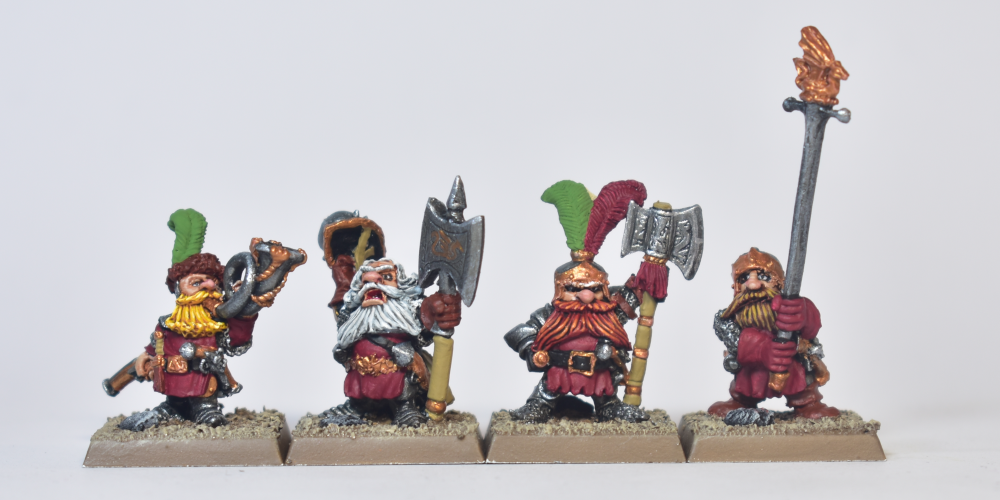
Next up is the shading phase where we apply washes to most of the elements base coated before. These are:
- Citadel: Flesh Tearers Red (Contrast) to the red areas.
- Citadel: Agrax Earthshade to the dark brown areas (e.g. boots).
- Citadel: Guilliman Flesh (Contrast) to the gold.
- Citadel: Seraphim Sepia to the bone-coloured parts.
- Citadel: Biel-Tan Green to the green details.
Highlighting the Tunics
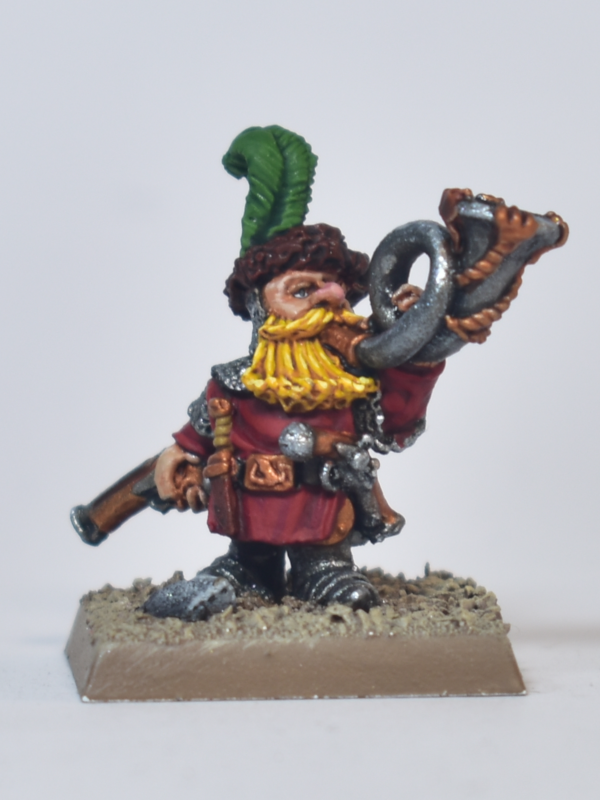
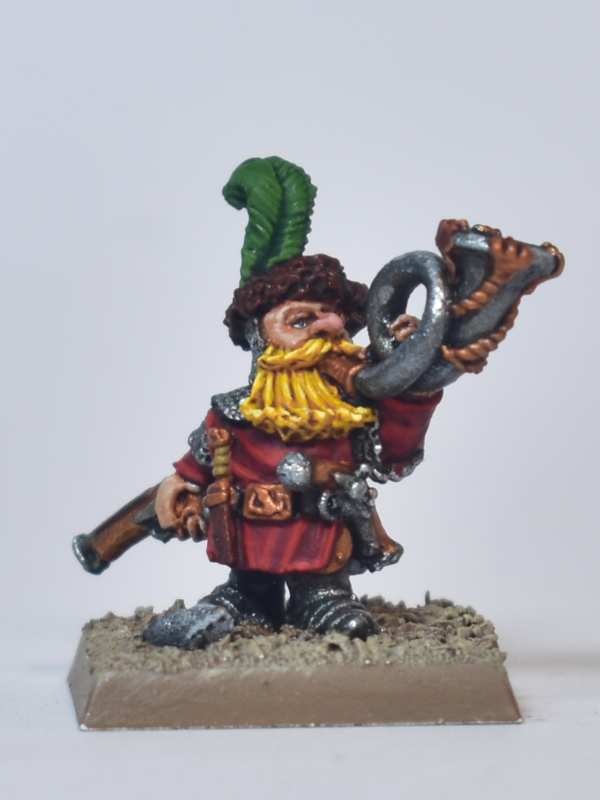
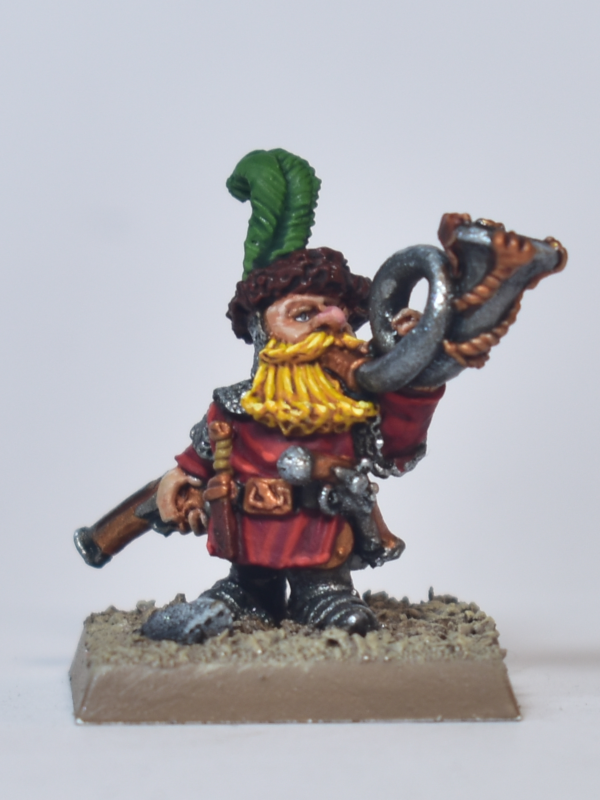
Now we’ve reached the best part of the painting process that will bring all of our colours to live. Starting with the tunics (and other red details), we apply four successive highlight layers, as follows:
- Re-base the red areas using Citadel: Khorne Red.
- Apply a first highlight using Citadel: Mephiston Red.
- Apply a second highlight using Citadel: Evil Sunz Scarlet.
- Apply a final dot-highlight using Citadel: Wild Rider Red.
The overall look we are aiming for a is a deep “crimson” red. It should be vibrant as it’s the main colour of our unit, but should stand out from the typical “Games Workshop Red” as seen for example on Night Goblin weapons. As such, we don’t want to enter into the orange spectrum with our highlights and end with Wild Rider Red just to accentuate the most extreme corners.

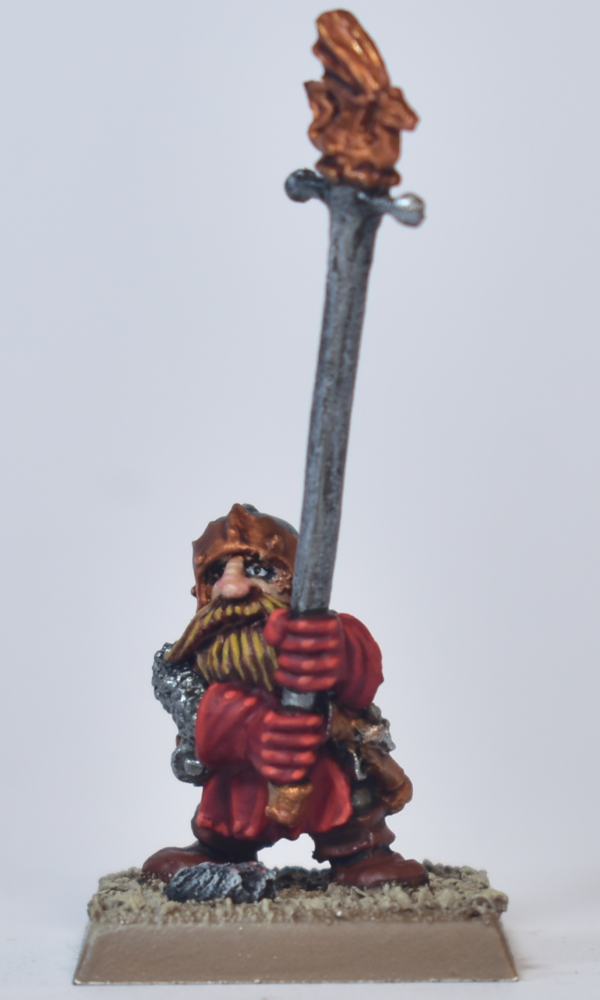
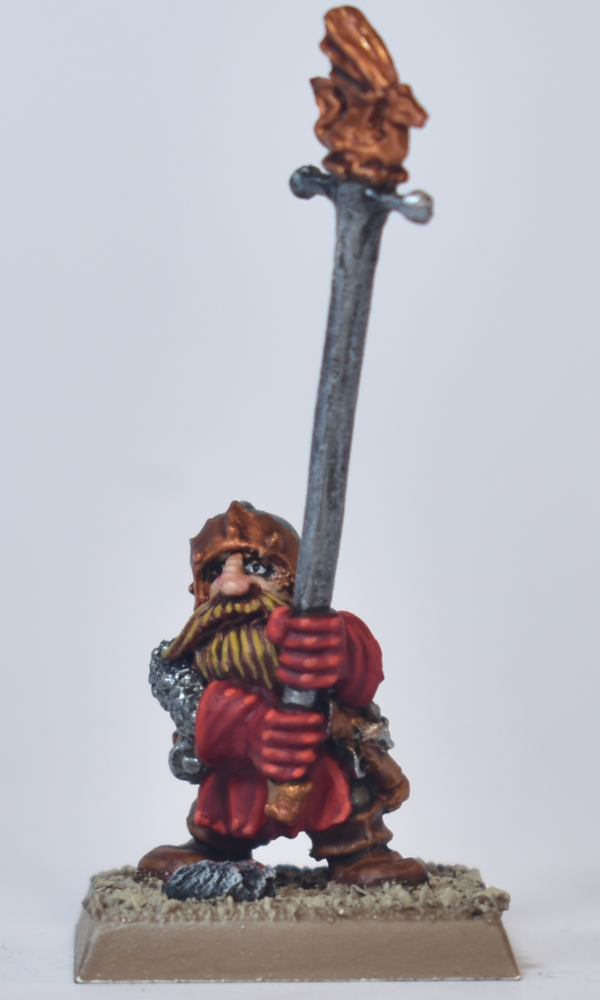
Highlighting Brown Leather
These brown leather’s are only found on some small details that shouldn’t draw too much attention. So wasting little time, we apply two simple highlights, starting with re-basing to Citadel: Doombull Brown, and then applying Citadel: Skrag Brown on the raised edges.
Highlighting Gold
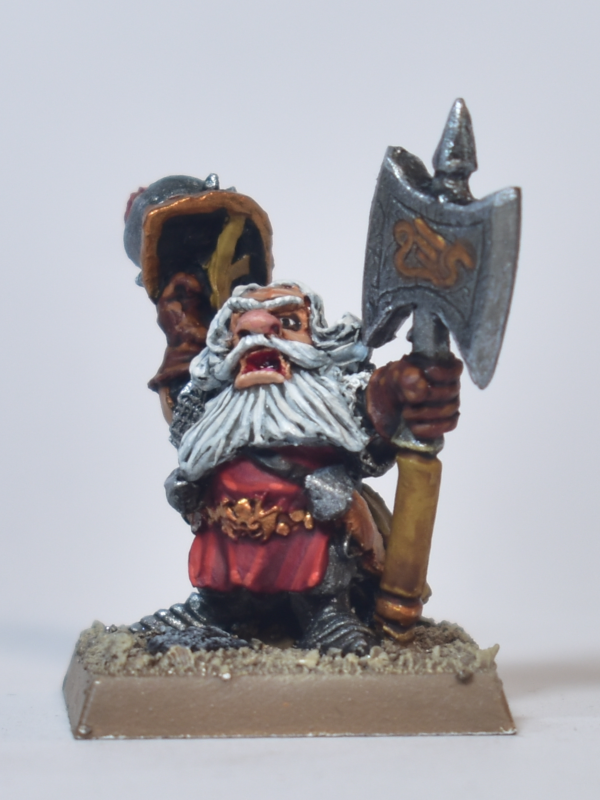
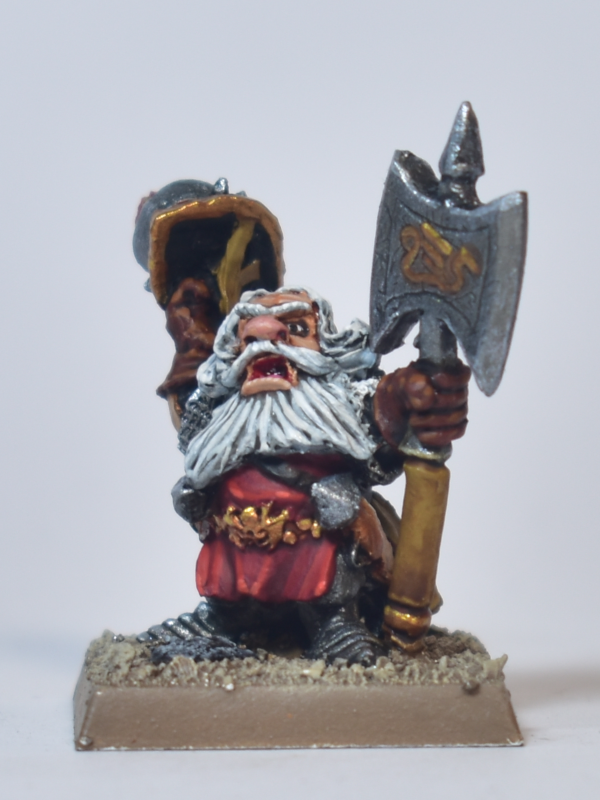
For the gold armour and weapon details we also stick to two simple highlight layers, starting with re-basing to Citadel: Gehenna’s Gold, and finally applying a thin highlight of Vallejo: Polished Gold.
Highlighting Green and Bone-colours
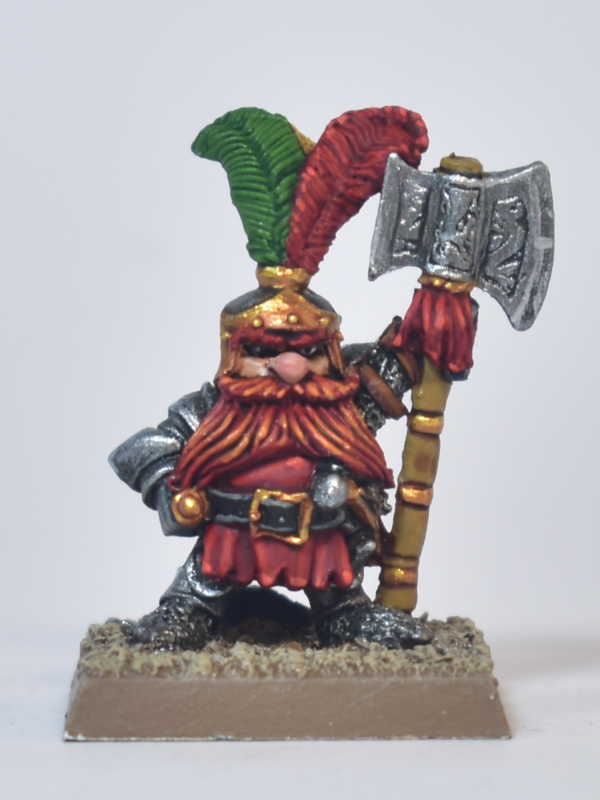
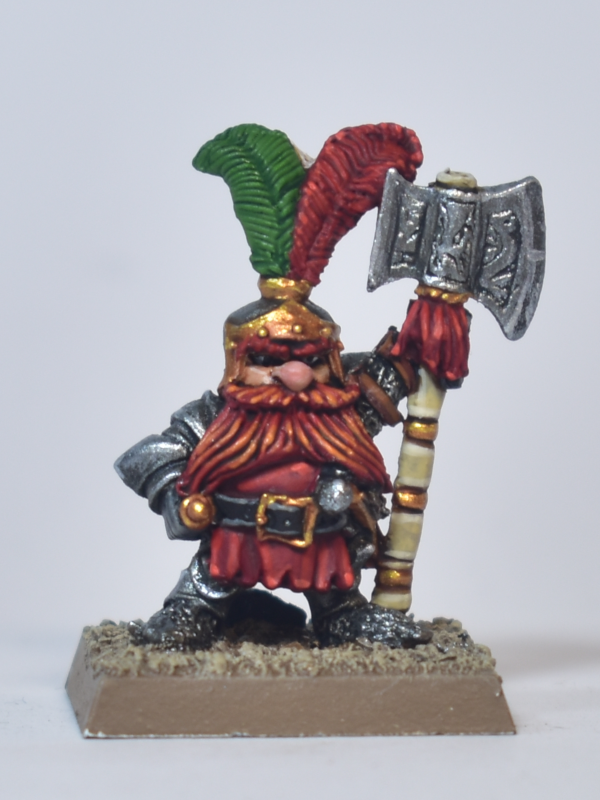
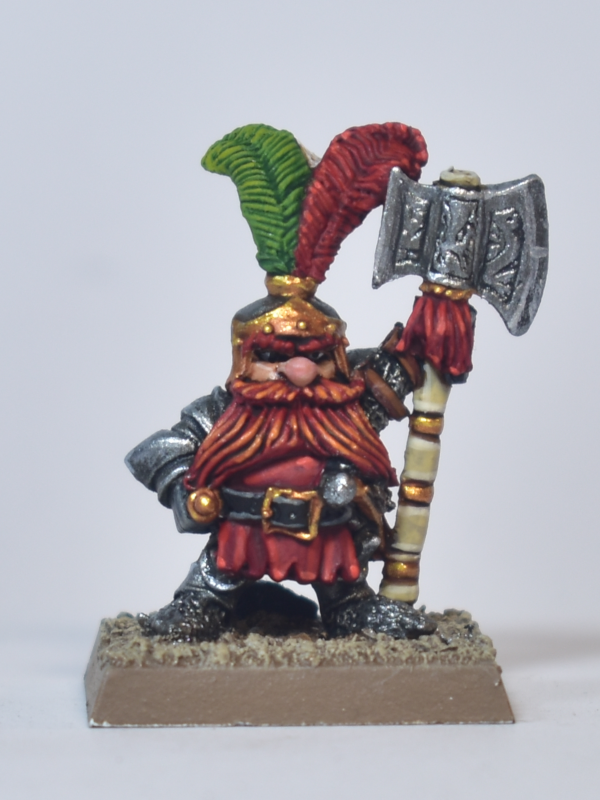
Both for the greens and the bone-colour (i.e. Borri’s weapon haft pictured below), I don’t have a clear “step by step” approach. The greens are highlighted the same as Goblin skin, starting with Vallejo: Goblin Green, and progressively adding more Citadel: Yriel Yellow to the mix.
For the weapon haft (and other bone-coloured areas), I use a similar approach, starting with Citadel: Ushabti Bone and progressively adding more Vallejo: Dead White, until the desired level of brightness has been reached.
Decorative Yellow Trim
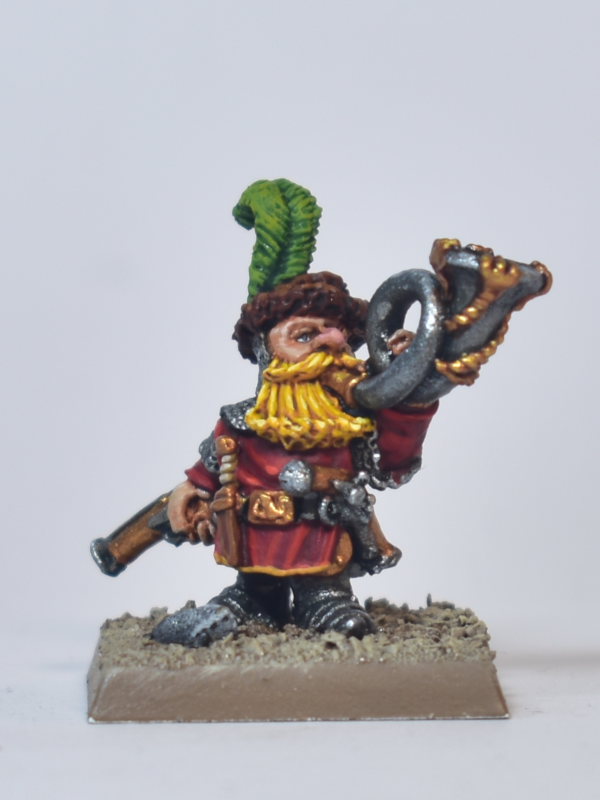
An iconic part of the original box art paint job is a thin yellow trim on the tunics, which we will replicate here in three steps.
- Starting by defining the thin yellow line using Citadel: Averland Sunset which covers well enough over the red and provides a dark enough shade colour.
- Highlight most of the raised parts using Citadel: Yriel Yellow.
- Highlight (almost a dot highlight) the highest parts using Citadel: Flash Gitz Yellow.
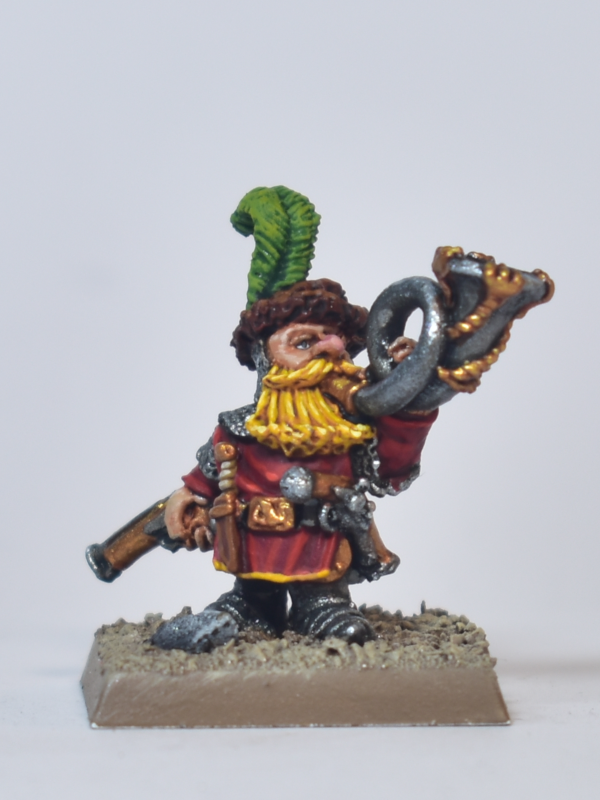
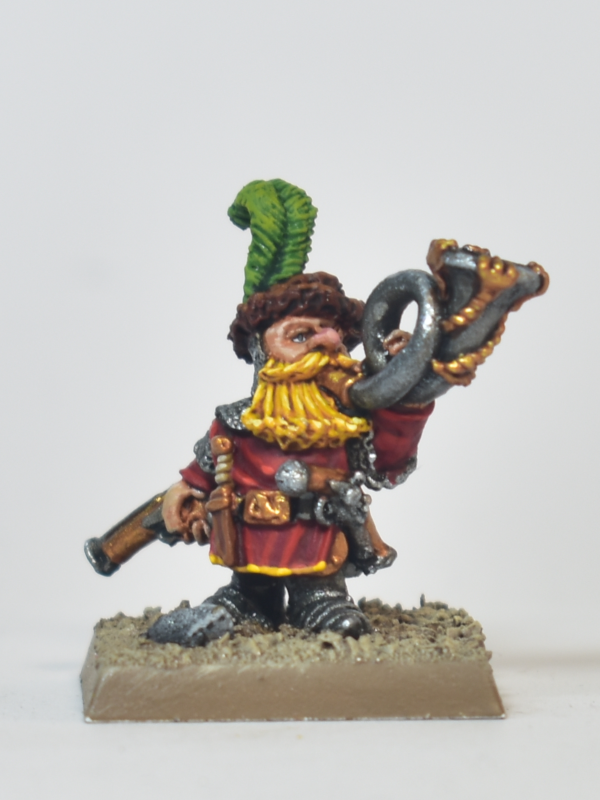
The result
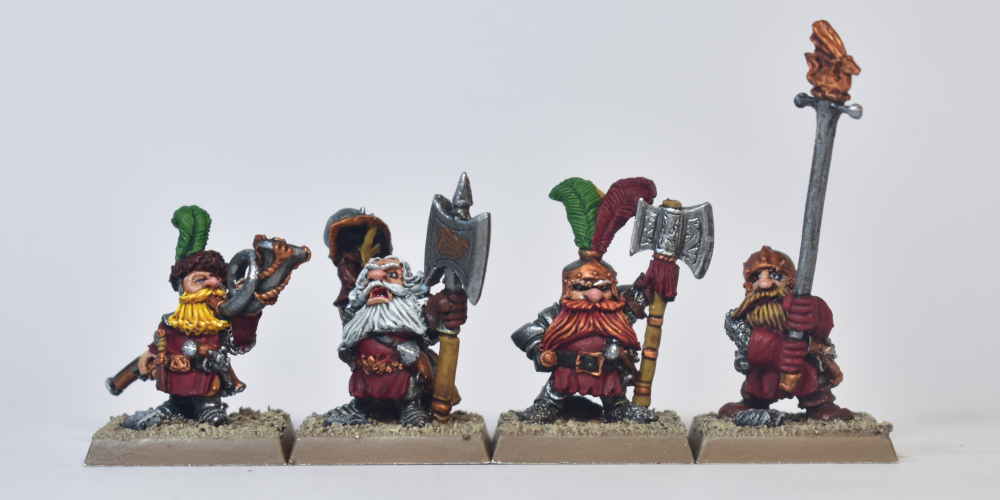
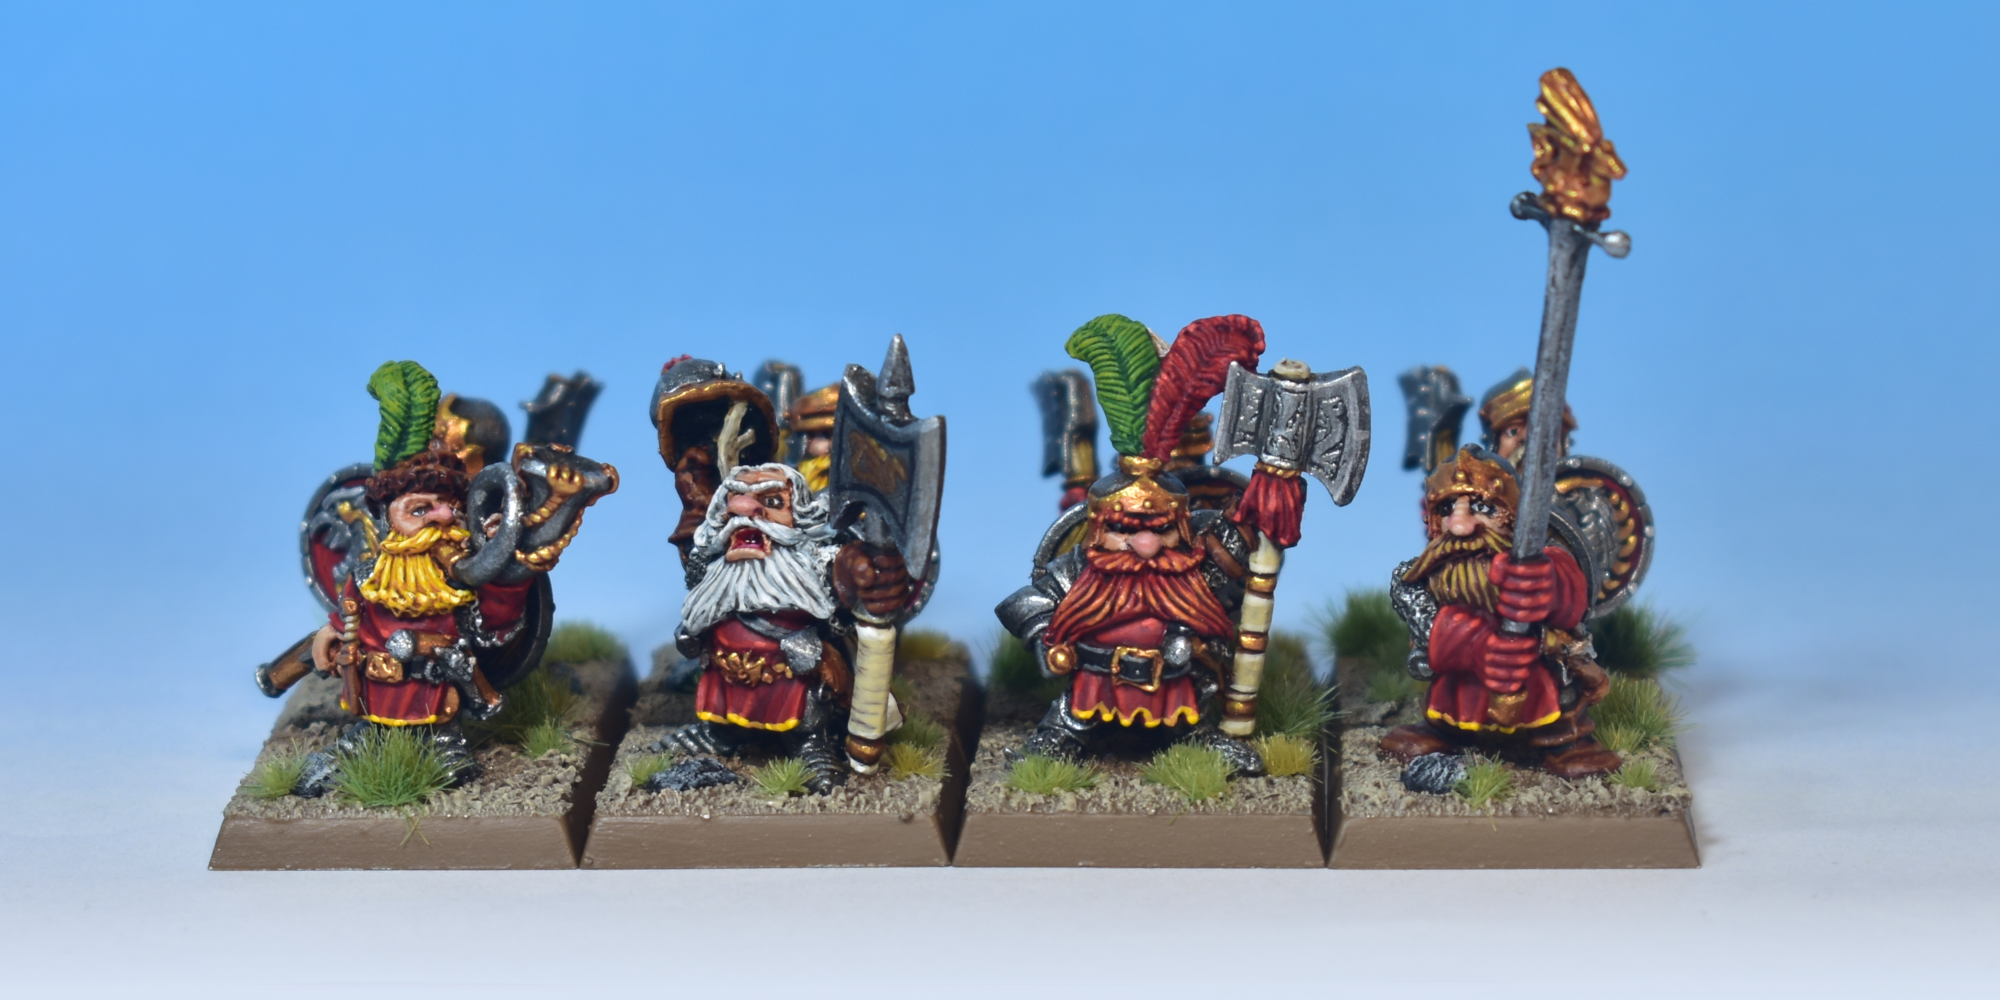
And that’s it! A classic paint job on these very classic models. There’s quite a lot of steps, but the process lends itself very well for batch-painting (as I did while writing this tutorial). Results below…
Closing Words…
If you have any question, feel free to leave a comment below, or drop me an email at harm@harmsworkshop.com. If you found this very useful and want to show some support, you can do so via my Ko-Fi page.