

In this tutorial I will show you how I create bases for miniatures in the typical style of Warhammer: The Old World, as seen in most official publications. This is the basing scheme I use for my Dwarf army, and you will see it on most Dwarf miniatures on this website.
Summary
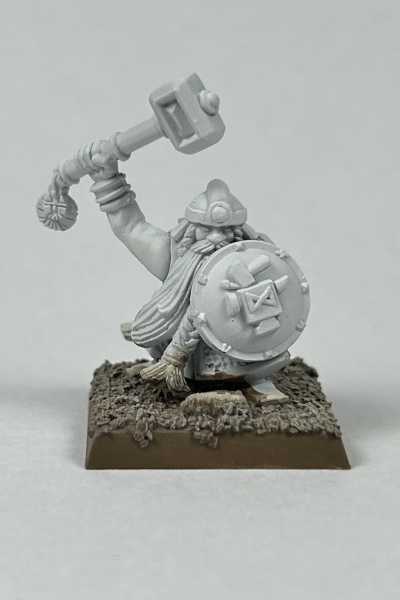
- Apply sand and optionally some small rocks using PVE glue.
- Undercoat with a spray can.
- Paint the sand by applying a base coat of Steel Legion Drab, then dry-brushing using Karak Stone and then Screaming Skull.
- Paint the stones by applying a black base coat, then dry-brushing Eshin Grey, a 50/50 mix of Eshin Grey and Ulthuan Grey, and finally pure Ulthuan Grey.
- Apply different combinations of green tufts.
Step 1: Basing Material
First we apply some PVE glue to the base, making sure we don’t get any on the rims (wipe it off with your thumb if you accidentally get some glue on there).
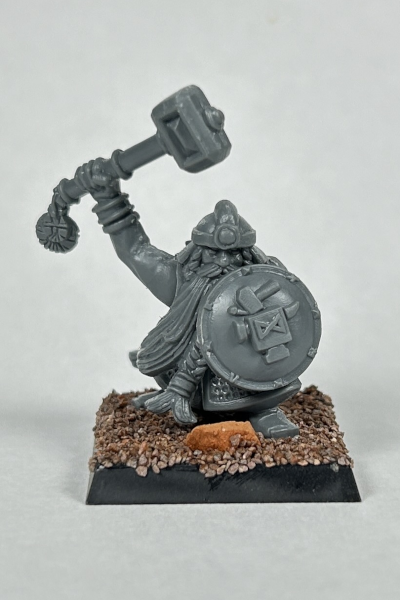
Then, on some bases we place small stones (for small infantry bases, just one will do, but for larger bases we can place a few random stones).
Finally, we cover the rest of the base with sand. You can use sand from the playground, or the beach, or use a modelling material with a slightly coarser grain.
When the PVE glue has dried (usually after a few hours), we can cover the sand with another layer of very thinned down PVE glue. Mix 1 part PVE glue with 5 parts water to create a very milky substance and drop it onto the sand with a brush. This will help keep the sand firmly in place.
Most of the time it’s best to apply your basing materials after the model has been glued to the base, carefully applying the glue around the feet of the model. But sometimes it’s easier to work on the base and the model separately. In such cases, you can loosely attach the model to the base with Poster Putty, then apply the glue and basing materials, and then carefully remove the model again.
Step 2: Undercoat
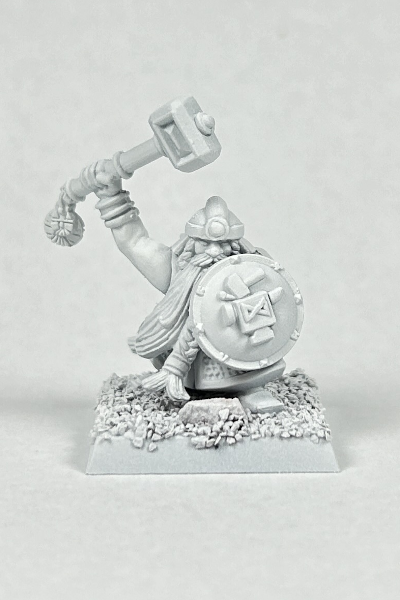
Just as you need to undercoat your miniatures before painting, it’s best to apply an undercoat over your basing material as well. We use a rattle spray for our undercoat, and in this case we use white. You can use any colour you like though, it won’t matter much for the following steps.
Step 3: Painting the Sand
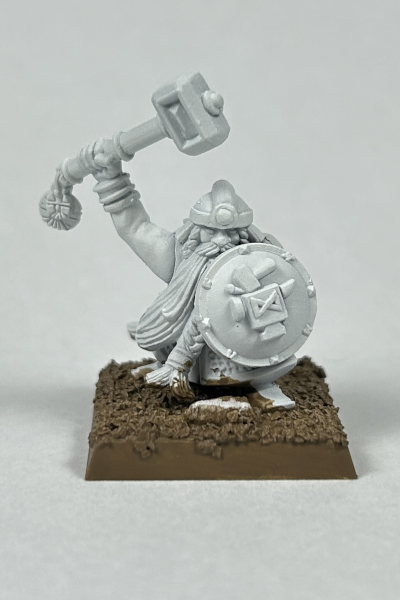
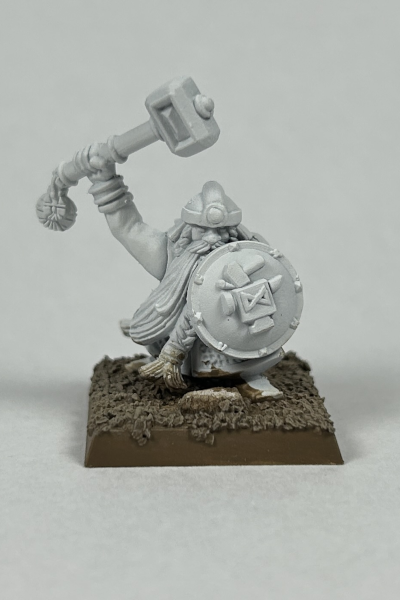
Now it’s time for some colour. First we apply a base coat of Citadel: Steel Legion Drab to all the sandy areas. It’s best to thin down this paint and apply a few layers to get a good coverage. Use an old brush, as painting the sand will quickly damage your brushes, especially when you need to get a little rough getting all the paint in the recesses.Next, we use dry-brushing to apply some highlights to the sand. With dry-brushing we use a flat brush – make-up brushes are perfect for the job – applying paint, and then wiping most of it off. With only a little paint left on the brush, we wipe the brush over the surface, leaving paint to catch only on the raised areas. We first apply a heavy dry brush of Citadel: Karak Stone. Then, we follow up with a lighter dry-brush of Citadel: Screaming Skull.
Step 4: Painting the Stones
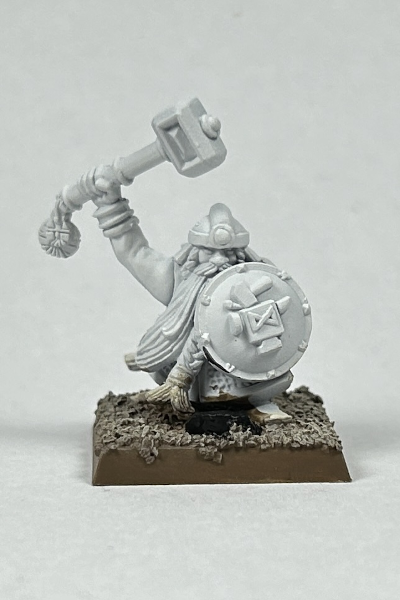
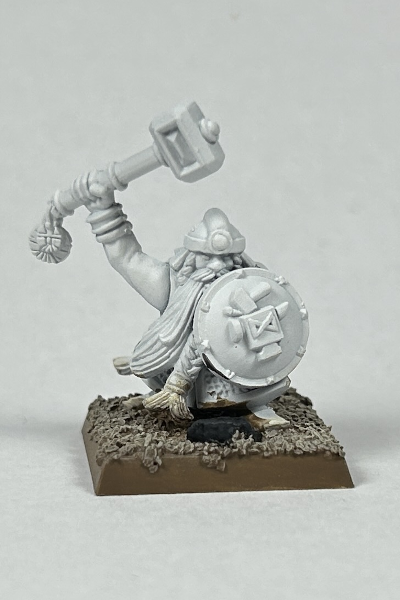
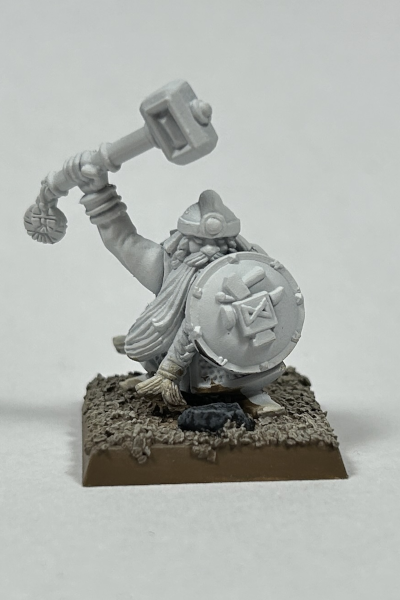
With the sand all done, it’s time to move on to the stones. These will be base coated black (e.g. Citadel: Abaddon Black – but basically any black will do).
Next, we highlight using our dry brush – starting with Citadel: Eshin Grey, then using a 50/50 mixture of Eshin Grey and Ulthuan Grey, and finally using pure Ulthuan Grey for the sharpest edges.

Step 5: Tufts
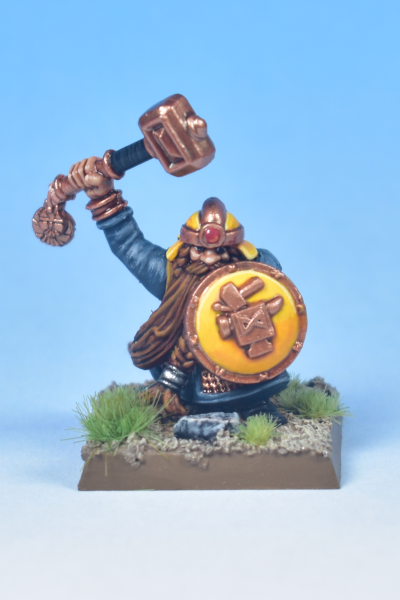
To finish things off, we add a mixture of different green-coloured tufts. For my bases I use a combination of three different tufts from Gamer’s Grass: Tiny Light Green, Tiny Beige, and Green 4mm. First though, we should get some paint on the rest of the model (see Tutorial: Dwarf Warriors), leading to the final result below…
Closing Words…
If you have any question, feel free to leave a comment below, or drop me an email at harm@harmsworkshop.com. If you found this very useful and want to show some support, you can do so via my Ko-Fi page.