

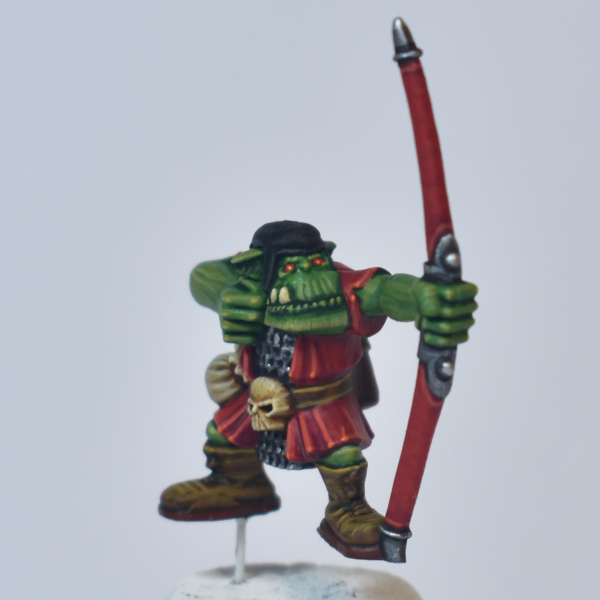
There’s something special on the painting desk today! The first painted model for my Warhammer Quest (1995) build, which also happens to be from the very first Warhammer miniature box I’ve ever bought: a Classic Monopose Orc Archer…
Undercoat
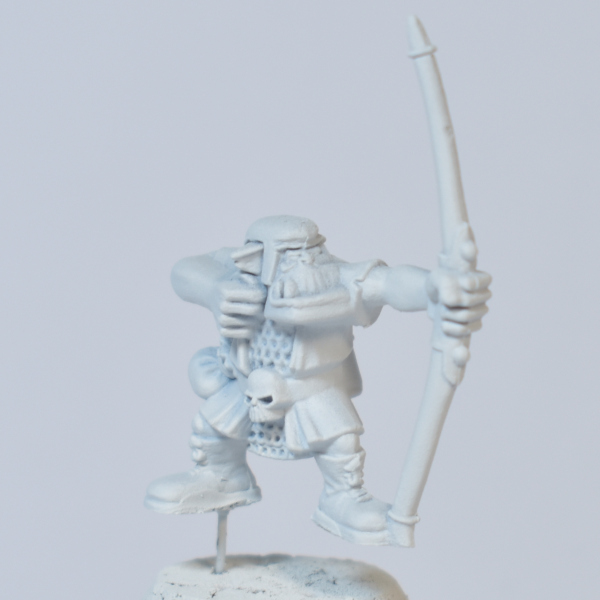
For this paint job I start out with a white undercoat. I use Citadel: White Scar from a spray can, but any white undercoat will do.
Usually I tend to start with models glued to their base, and having the base already painted (because painting bases typically involves a lot of dry-brushing). But this miniature will be mounted on one of the Warhammer Quest Bases from my previous tutorial. Since these are “stone” bases, it makes sense that the model is actually glued on top of the base, rather than standing in the base, as with my typical army basing. So in this case, I drilled a small hole in the foot, and pinned the model on a piece of premium Portuguese cork.
Base coats
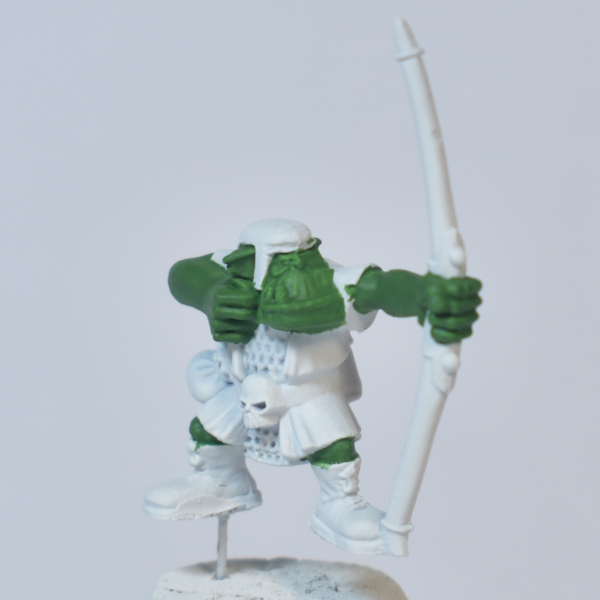
When applying the base coats on this model it becomes clear that these older plastic models are not the most detailed ones. We start with a coat of Citadel: Warboss Green (going for a darker skin tone than Goblins and Night Goblins), and notice that, in some places, we need to carefully define where the skin ends and the tunic starts. As usual with our base coats, we apply two thin coats to get a nice coverage.
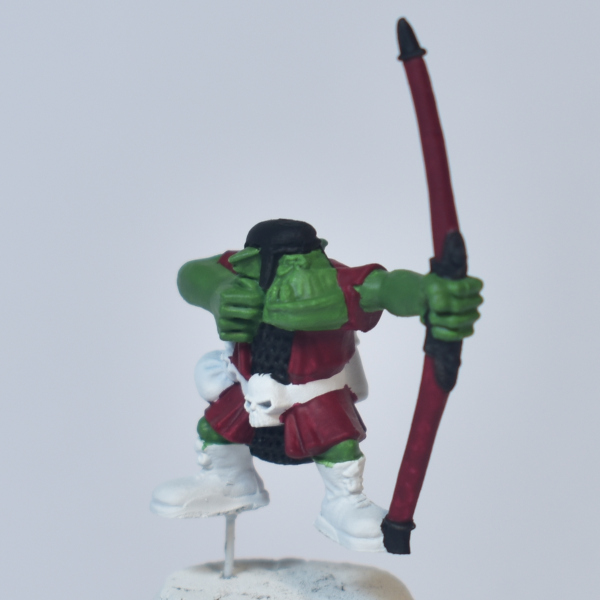
Next up, we use Citadel: Abaddon Black to cover all the parts that will be painted in metallics later on: the chainmail and parts of the bow. A black layer under a metallic “silver”-coloured paint will help it stand out more, and the black even serves as the shading on the chainmail. We also paint the little cloth hat black.
Then, the tunic and bow are base coated using Citadel: Khorne Red. Because of the lack of detail on these models, the edges between the tunic and other parts of the model (like the skin, or the belt) are not that well defined, which makes it more difficult to use washes for shading. Therefore, we start with a deep dark red, which will serve as the darkest shade colour.

Moving on to the details (of which there are few), we paint the top part of the boots, the belt, and part of the quiver on the back using Vallejo: Leather Brown. A darker leather brown colour on the bottom rim of the boots, the major part of the quiver, and the little rope holding the pouch is achieved using Citadel: Doombull Brown. The skull and pouch are base coated using Citadel: Zandri Dust.
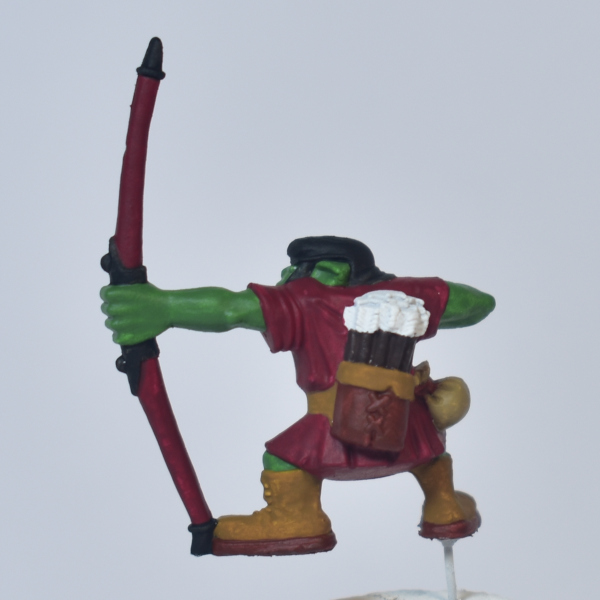
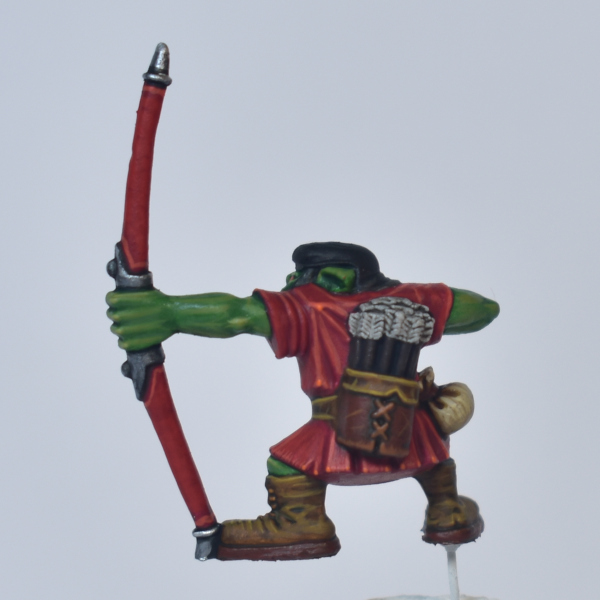
Finally, moving to the back of the model, we paint the arrow shafts using Citadel: Dryad Bark, and we leave the feathers of the arrows white (touch them up with some Vallejo: Dead White if you spilled anything on them).
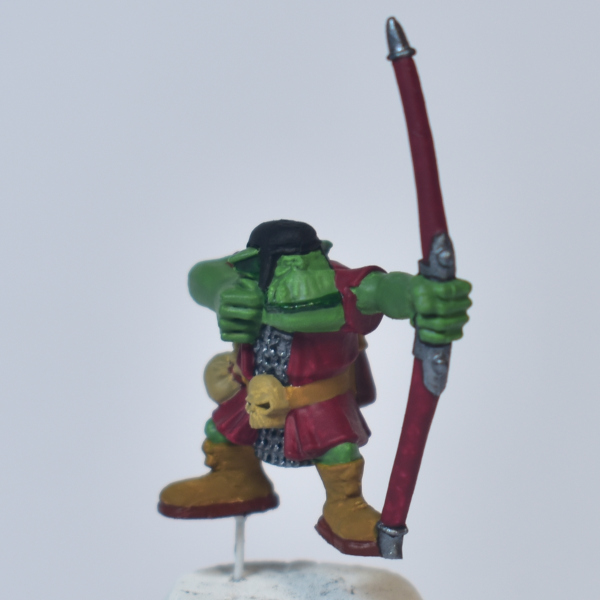
Now everything has some paint on it, but we have two things left to do before moving to shading. First, the lip of the orc is getting a darker green tone using Vallejo: Dark Green. In old 1990s paint jobs of Orcs (& Goblins), you only rarely see these different tones used on the lip, but I think it’s a simple addition that helps out a lot! We also apply our Vallejo: Gunmetal (from the Model Air range) on the metallic parts.
The Shading Phase
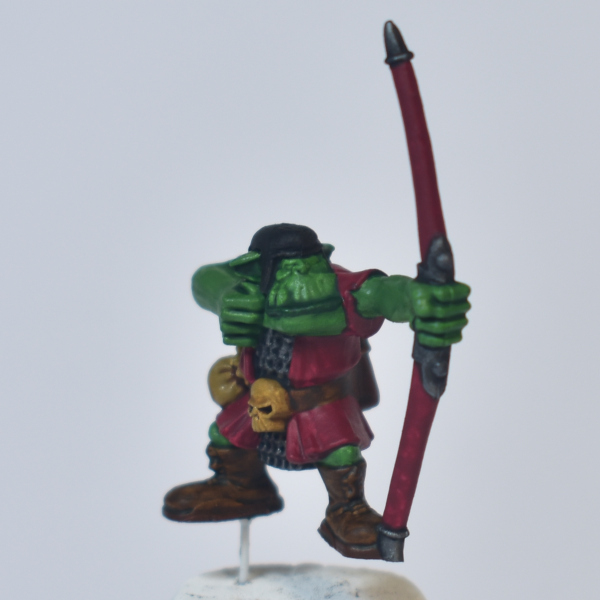
Now, the nice and satisfying (and simple) step of adding some shades using various washes. The paints used are as follows:
- Citadel: Biel-Tan Green for the skin.
- Citadel: Nuln Oil for the metallics, arrow shafts and feathers.
- Citadel: Snakebite Leather (Contrast) for all the light and darker leathers.
- Citadel: Seraphim Sepia for the skull and pouch.
Highlighting
Now it’s time to bring this Orc to life with various layers of highlights.
Skin
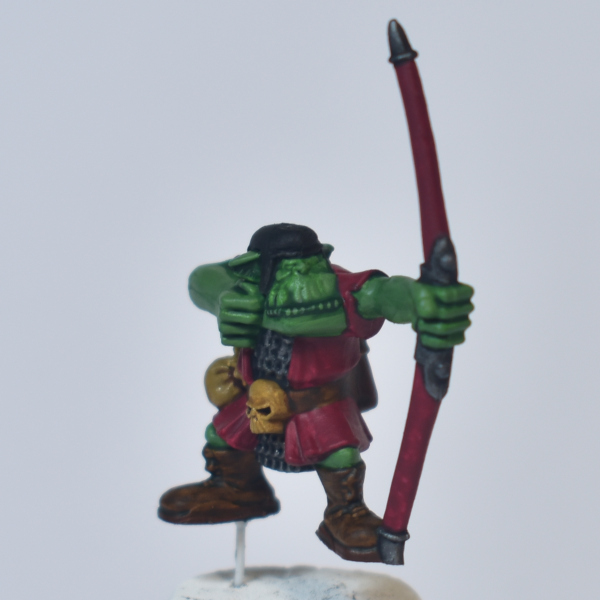
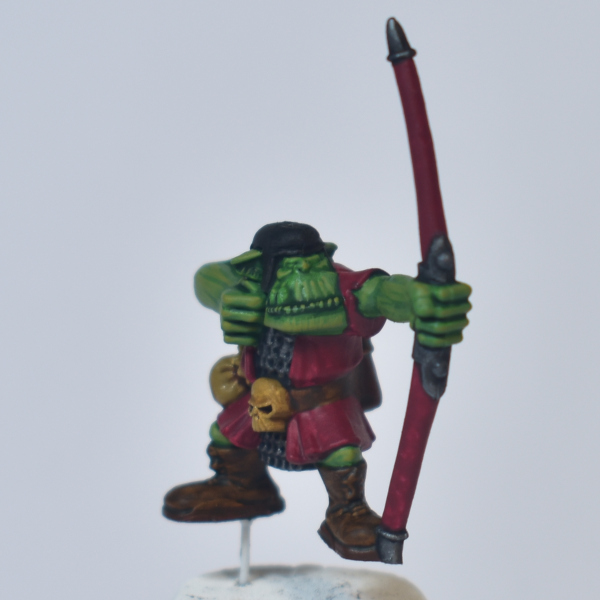
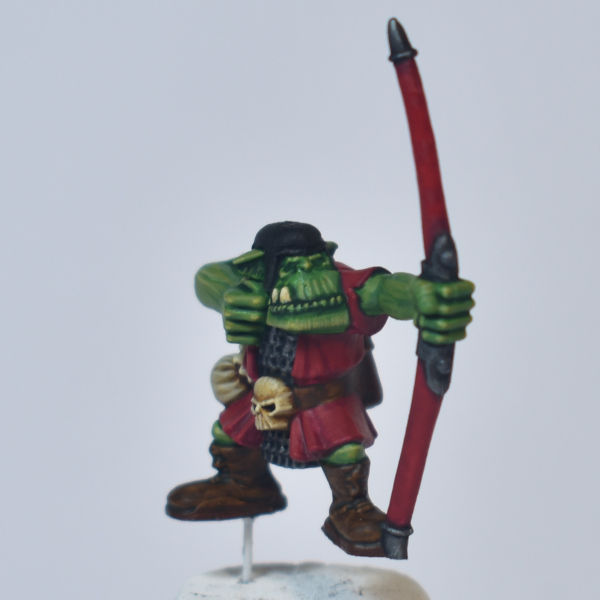
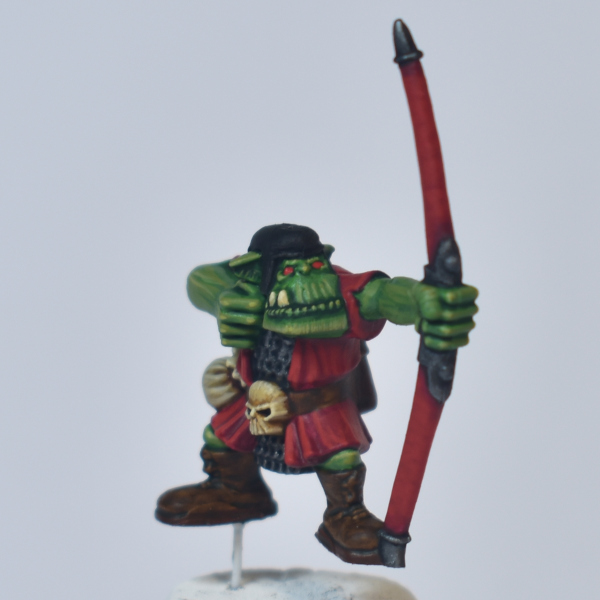
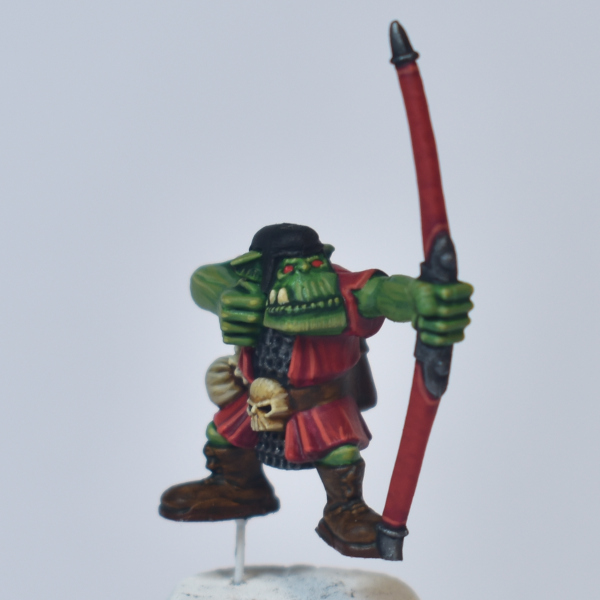
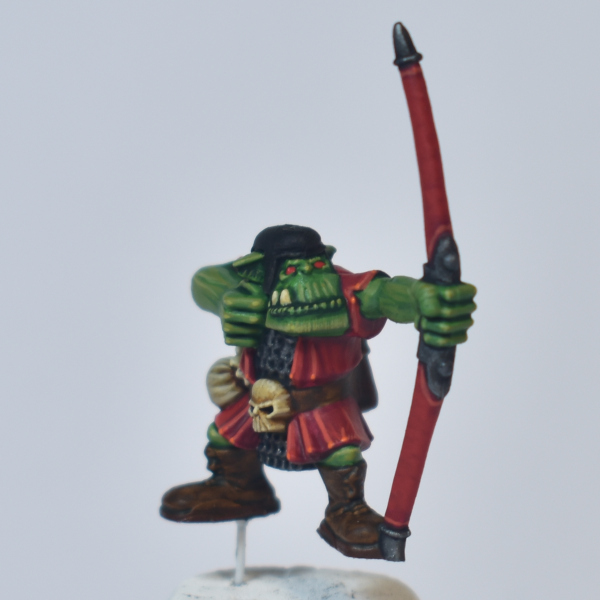
We highlight the skin in three steps, starting with re-applying the base colour of Citadel: Warboss Green, covering large parts of the skin, while keeping the darkest recesses. Then, we apply Citadel: Elysian Green to smaller areas, focusing on the top parts of the muscles and facial features. Next, we accentuate some extreme parts (like the nose and knuckles) with small dots and lines of Citadel: Ogryn Camo. Then, to help make the eyes, lips and teeth stand out a little more, we apply a thin line of our shade paint (Citadel: Biel-Tan Green) around those areas.

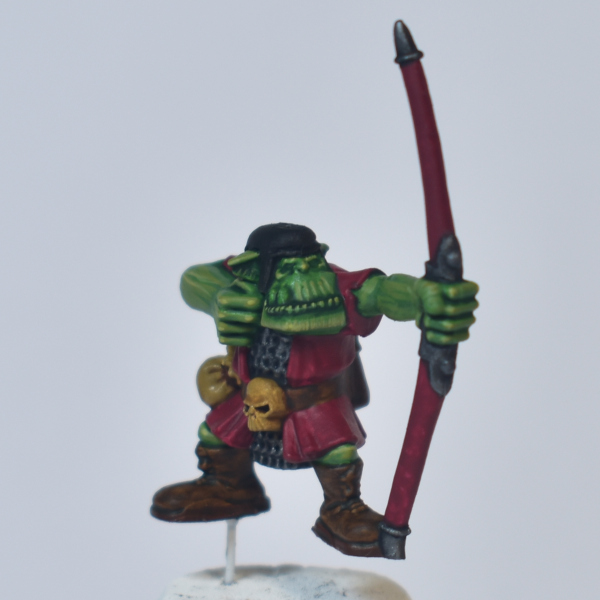
Teeth, Skull and Pouch
Three different elements are getting the same treatment, starting with a highlight of Citadel: Morghast Bone, then Citadel: Ushabti Bone, and finally Citadel: Screaming Skull.
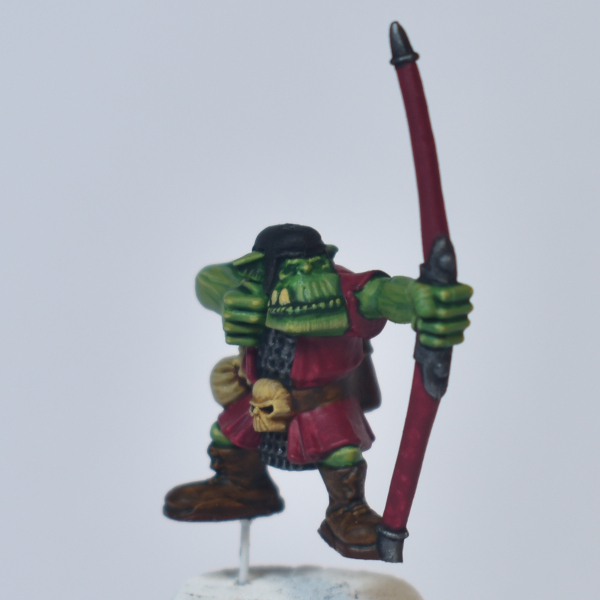
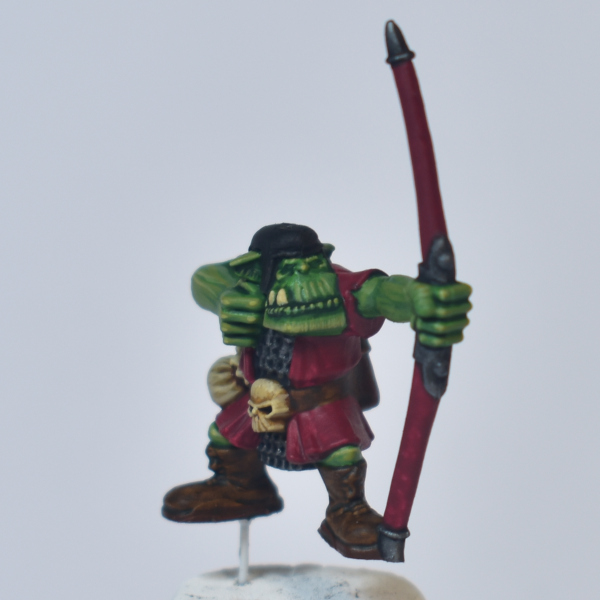
Tunic and Bow
The tunic and bow also receive the same highlights, starting with a layer of Citadel: Mephiston Red covering most of the area, leaving only the deepest recesses. Then, progressively covering more raised areas, we first apply a layer of Citadel: Evil Sunz Scarlet and then Citadel: Wild Rider Red. While we have the Evil Sunz Scarlet on our wet palette, we also paint the eyes. Finally, the tunic gets a few dots of Citadel: Trollslayer Orange on the most extreme edges of the cloth.
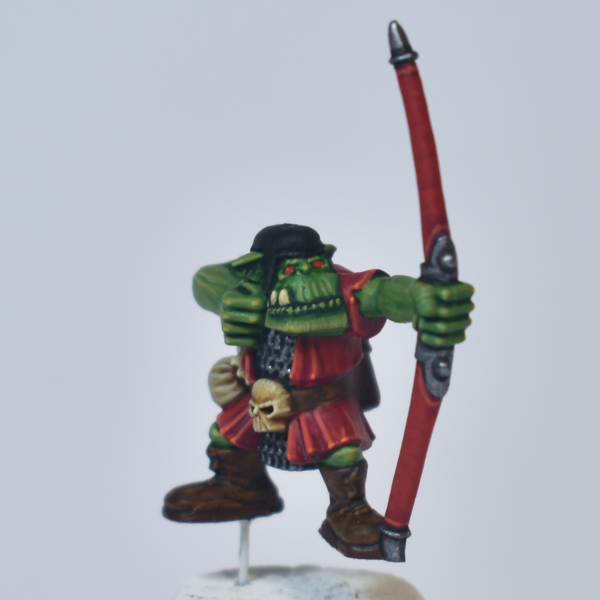
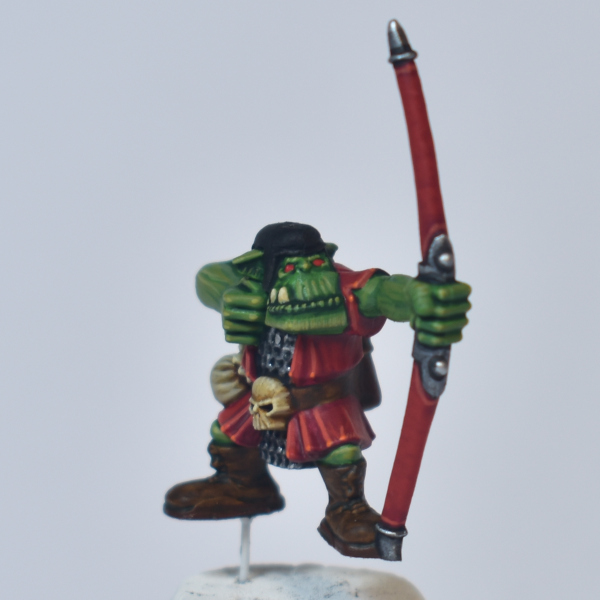
Metallics
Highlighting the true metallic metals is done first using Vallejo Air: Gunmetal, and then Vallejo Air: Silver.
Light Leathers
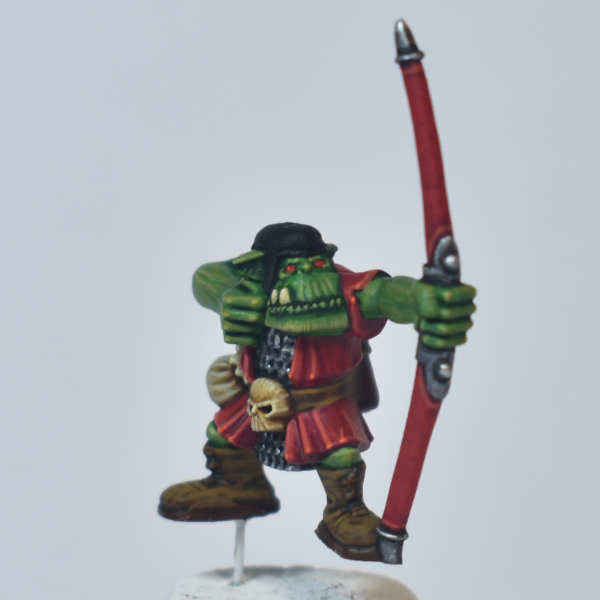
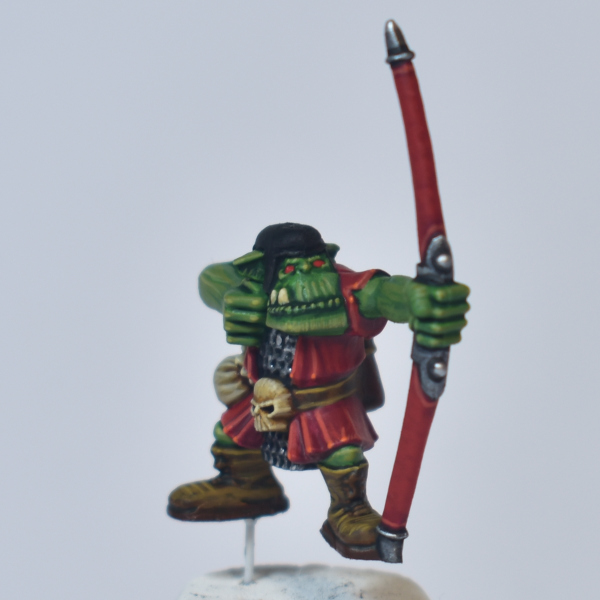
The light coloured leathers (boots, belt and part of the quiver) are first highlighted using Vallejo: Leather Brown, and then given an edge highlight of Citadel: Zamesi Desert.
Dark Leathers
The darker leather (bottom of the boot and the larger part of the quiver) is first highlighted using Citadel: Doombull Brown, and then given an edge highlight of Citadel: Skrag Brown.

Arrows
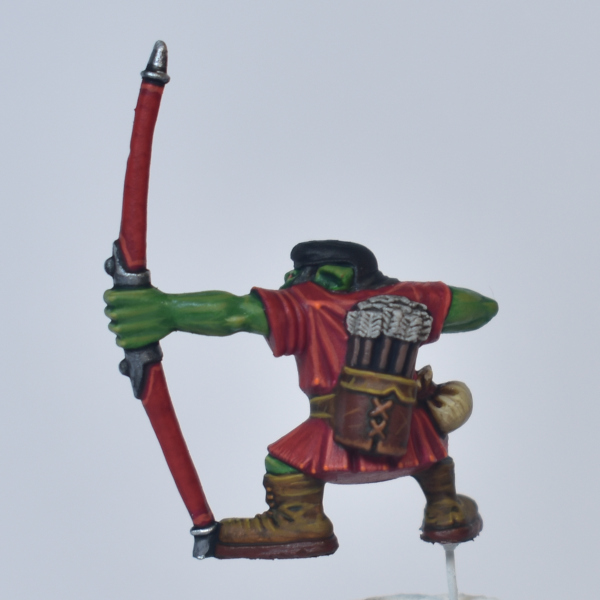
The arrow shafts are highlighted using Citadel: Gorthor Brown, and the feathers are given a semi-dry brush of Citadel: Blue Horror. For this I use a regular brush (e.g. a Size 0), but wipe off most of the paint on a piece of paper, and draw the brush over the feathers. You could also simply highlight the feathers using white, but I like the slightly blue tone…
Final Steps
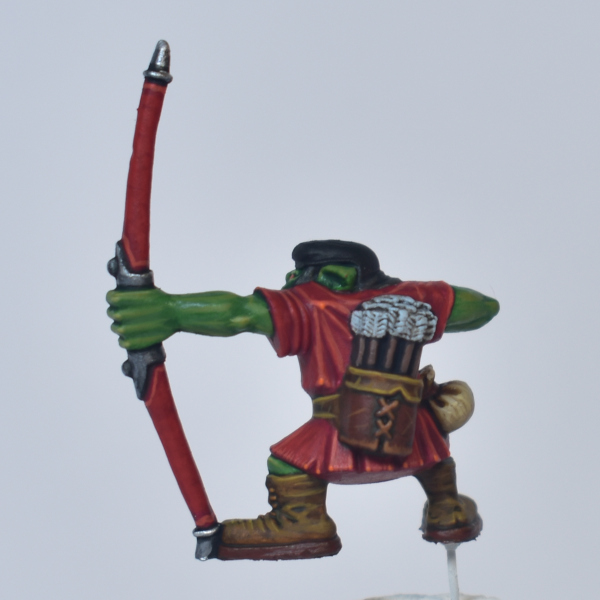
For the final steps, three little details. First, we apply a very thin line of highlights to the black cap. I like “black” to look as dark as possible, so I only apply a single layer using Citadel: Eshin Grey.
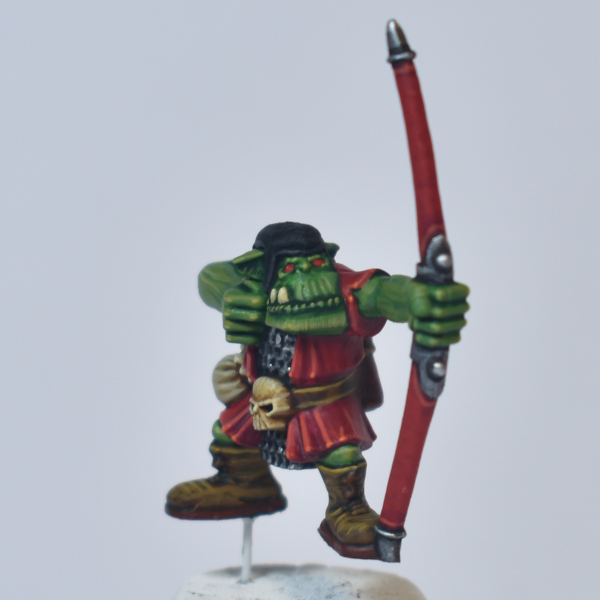
Next, we try to carefully dot the eyes using some Citadel: Yriel Yellow.
And finally, we draw some markings on the bow using Citadel: Abaddon Black.

The Result
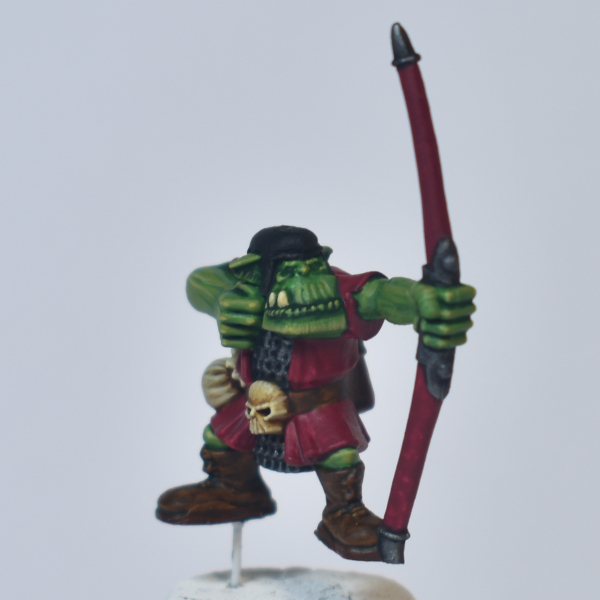
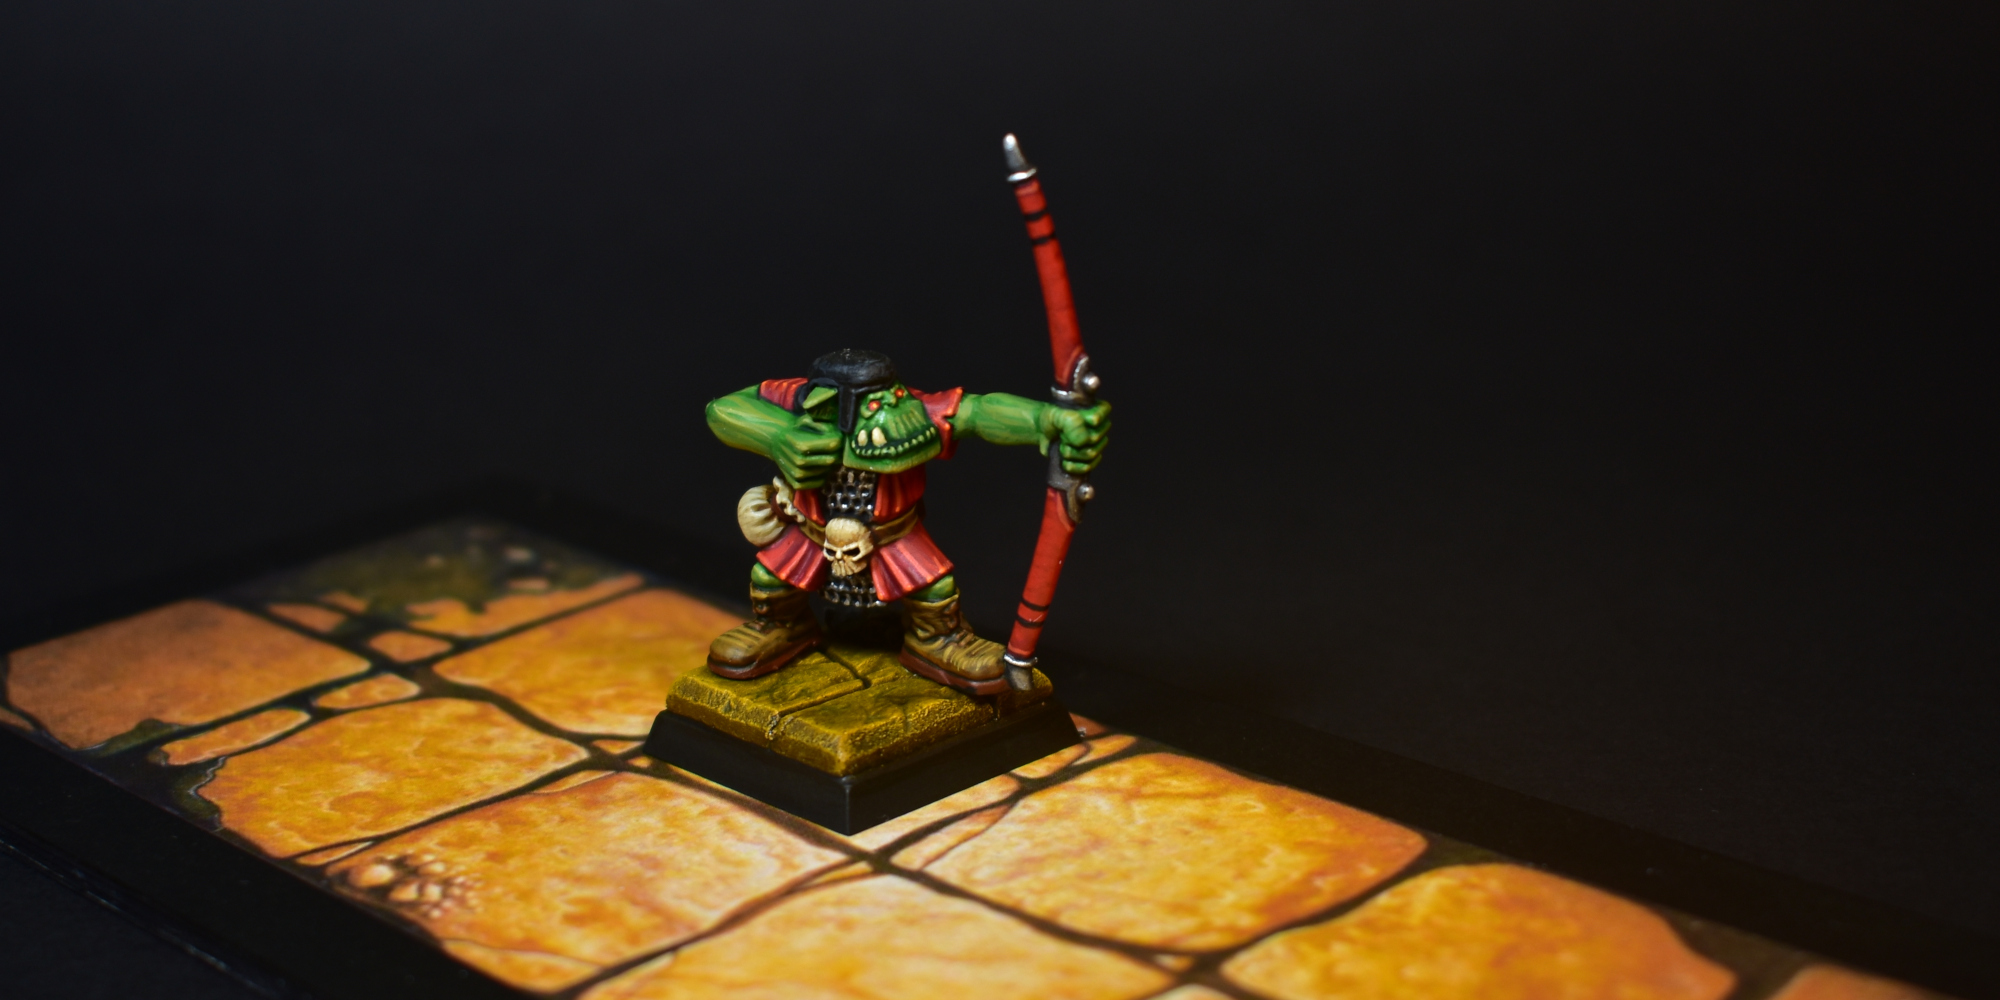
After pinning and glueing the model to one of our Warhammer Quest Bases, our glorious Monopose Orc is ready to rain death from afar (on a 4+) on our unsuspecting Warhammer Quest heroes…
Closing Words…
If you have any question, feel free to leave a comment below, or drop me an email at harm@harmsworkshop.com. If you found this very useful and want to show some support, you can do so via my Ko-Fi page.
I managed to source a couple of these in an ebay purchase, along with some 4th ed. gobbos and dwarves. Looking forward to give this tutorial a try! Thanks!
Great! Would love to see your result! Good luck!