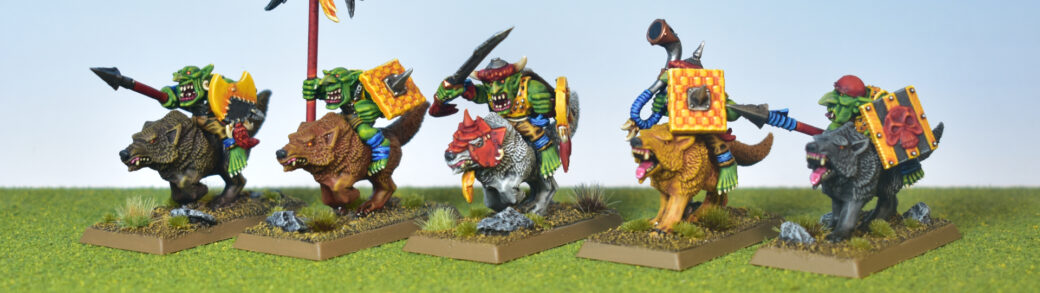
This tutorial is about how to paint the Goblin Wolf Riders, focusing on the riders themselves. If you want to know how I painted the Wolf mounts, check out the tutorial on Painting Wolves: Additional Fur Colours.
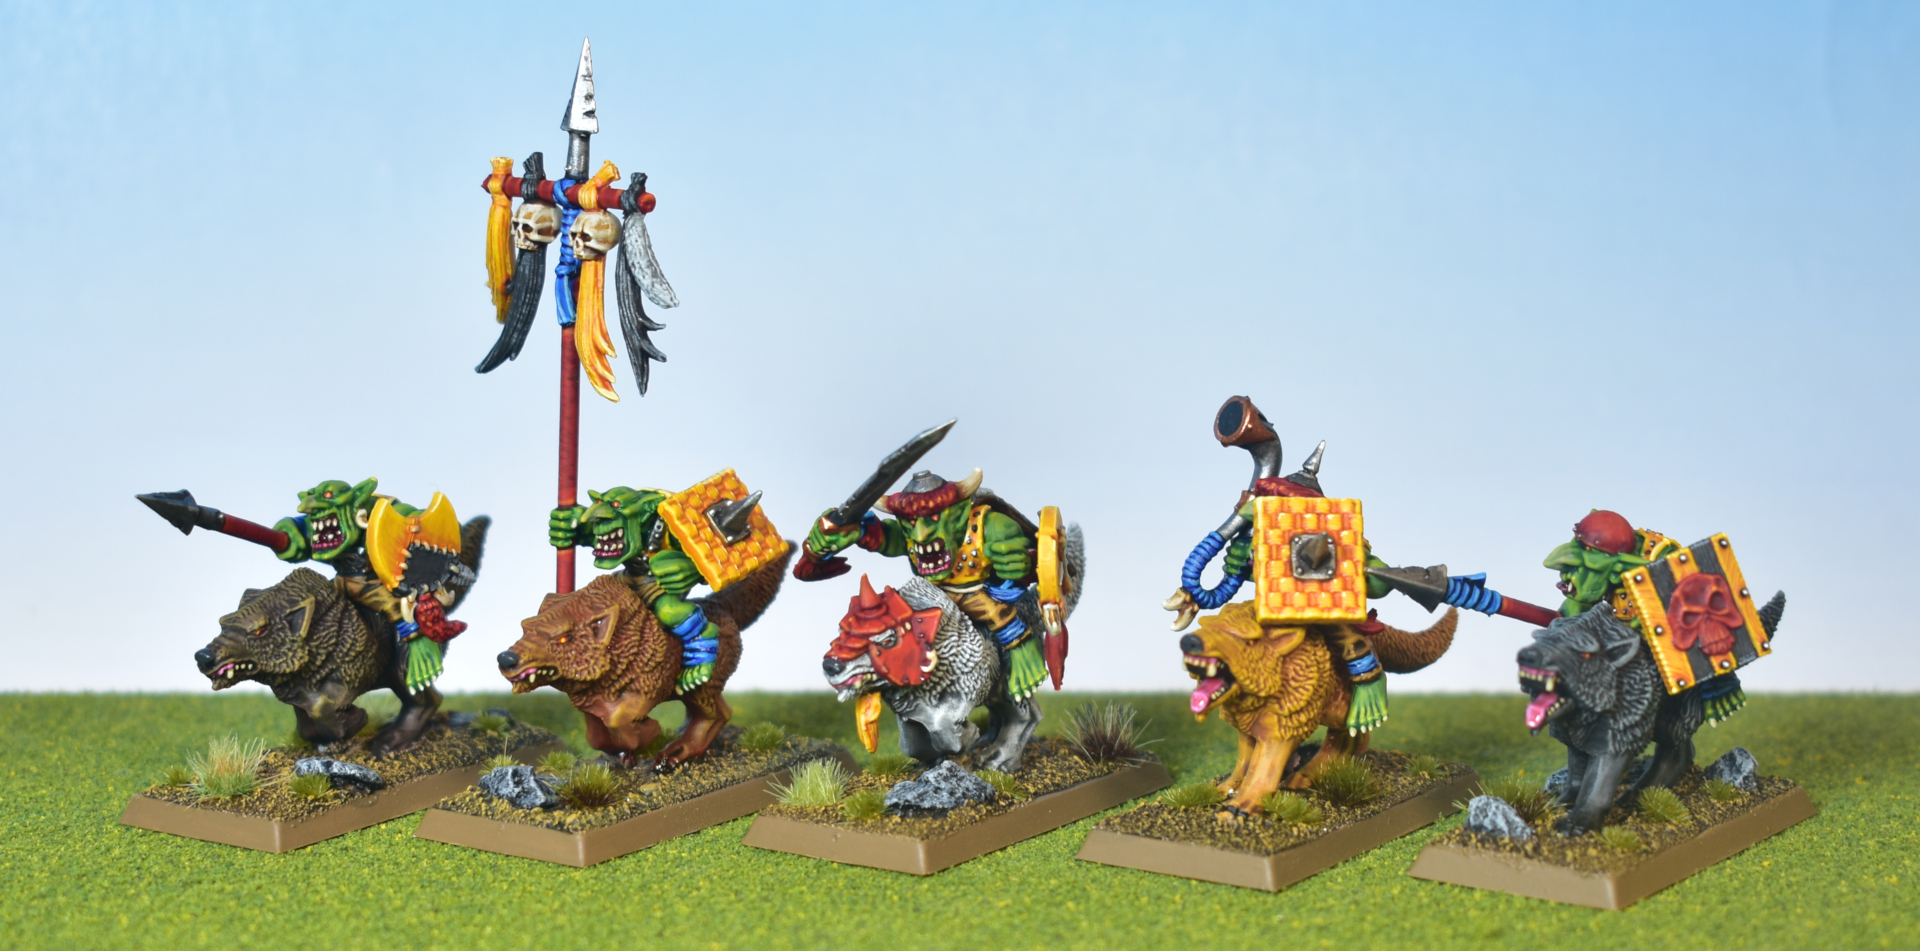
These models are from the currently available Goblin Wolf Rider Mob kit from the Warhammer: The Old World range, which consists of very old Wolf models and 6th edition riders that are slightly more “modern”. As with most Old World models, I find the box-art paint job not very exciting, using a lot of greys, browns and overall muted colours. For this tutorial, we’re trying something a little more exciting with bright yellow as the main colour, with typical reds and blues as spot colours. Since we’re adding a little bit of black as well, I imagine these guys once saw a regiment of Empire Knights of the Blazing Sun, and copied their fashion style. Here come Da Ladz of da Blazin’ Sun!
‘Ere we Go
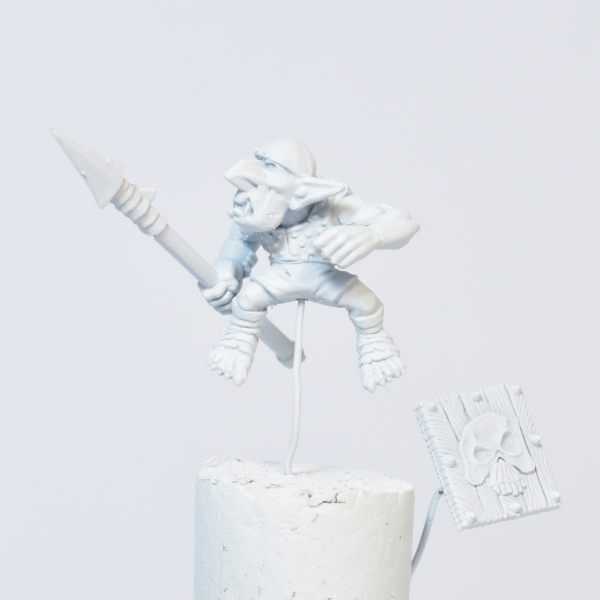
For preparation I mounted the model and its shield separately on a piece of cork using some metal wire. By drilling a small hole in the plastic and attaching the wire with some super glue, it should be strong enough to survive the painting process, and easy enough to break off once we are done. As always, everything is undercoated using Citadel: White Scar from a spray can.
Base Coats
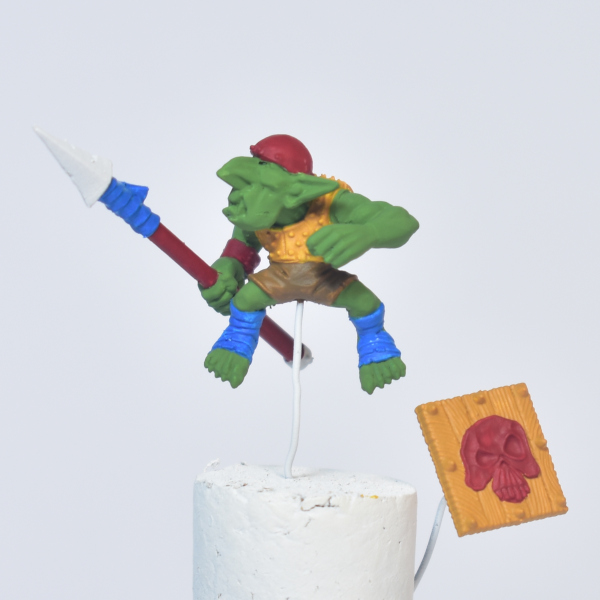
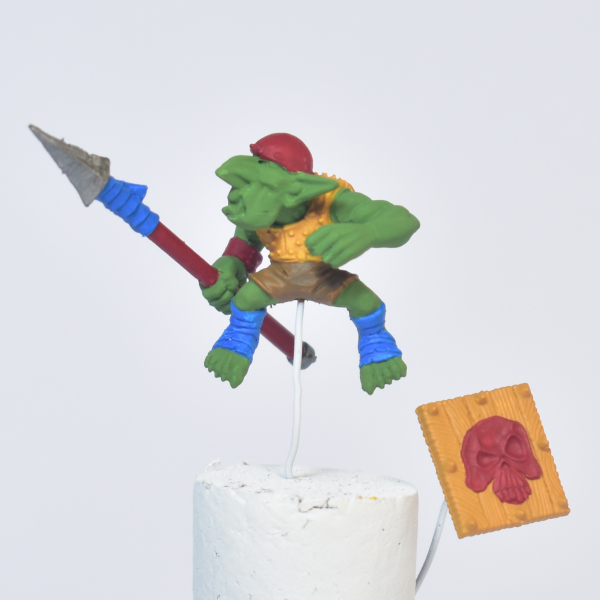
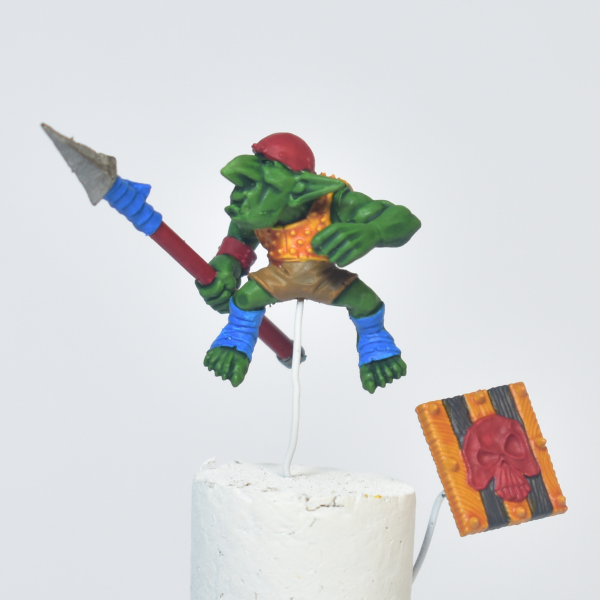
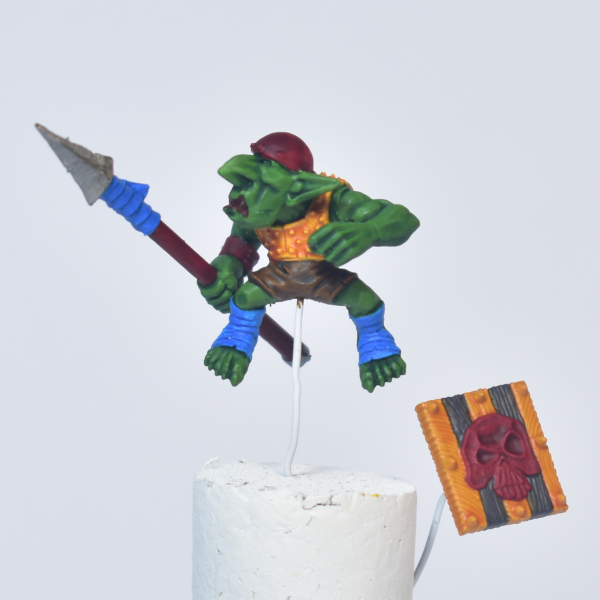
If you want to achieve vibrant colours on your model, it’s important to start with a solid base colour. The best way to do this, is by heeding the advice of Duncan Rhodes and apply two thin coats of every colour to achieve a smooth, well-covering finish. The two images below show the first thin coat of Vallejo: Goblin Green (first image), and then the second thin coat (second image).
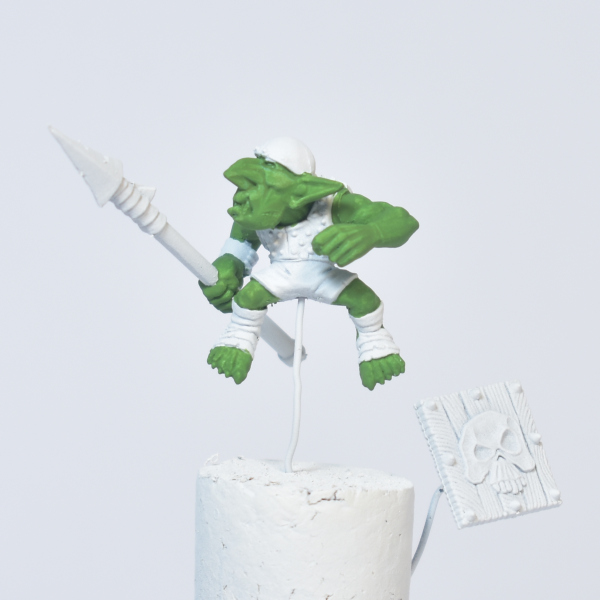
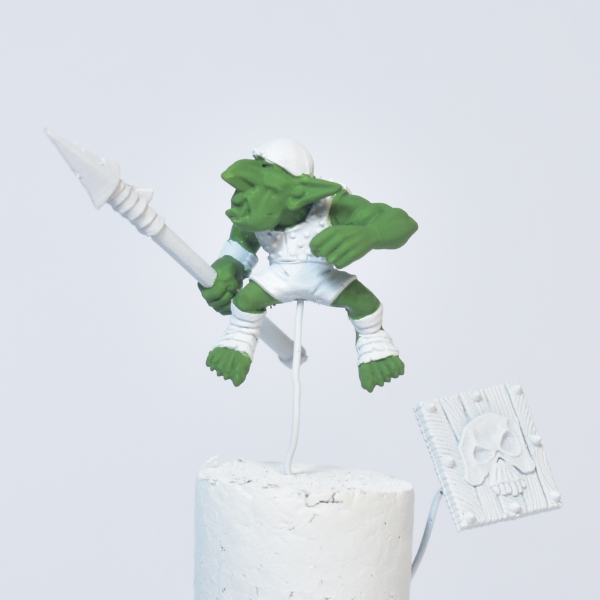
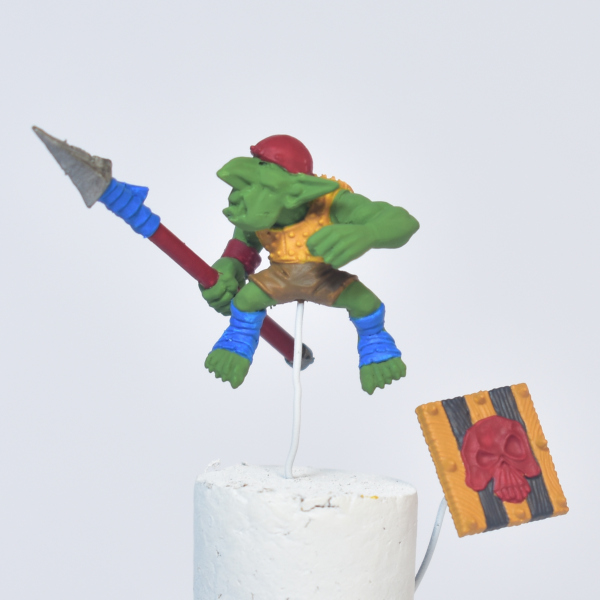
The skin and face recipe I use in this tutorial is the same as described in the Classic Night Goblin tutorial. As for the rest of the base colours, these are:
- Citadel: Averland Sunset for the yellow tunics and shield.
- Citadel: XV-88 for the leather pants.
- Citadel: Mephiston Red for the red helmet, spear haft and skull on the shield.
- Citadel: Teclis Blue for the various blue wraps.
- Vallejo: Gunmetal (71.072) for the spear tip.
- Citadel: Abaddon Black for the black lines on the shield.
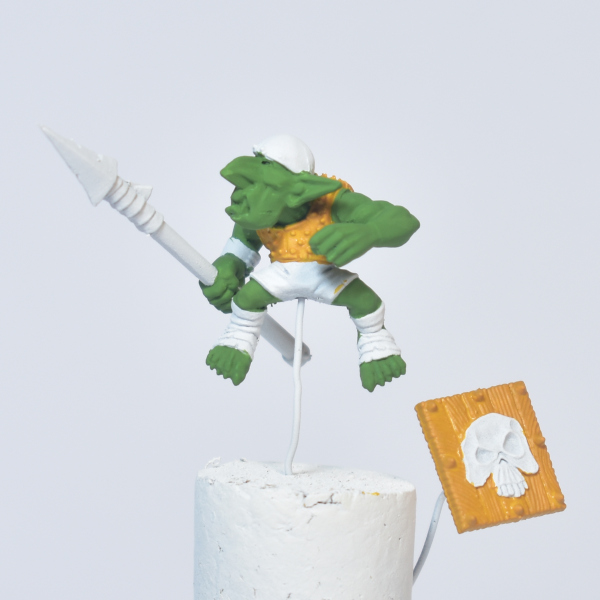
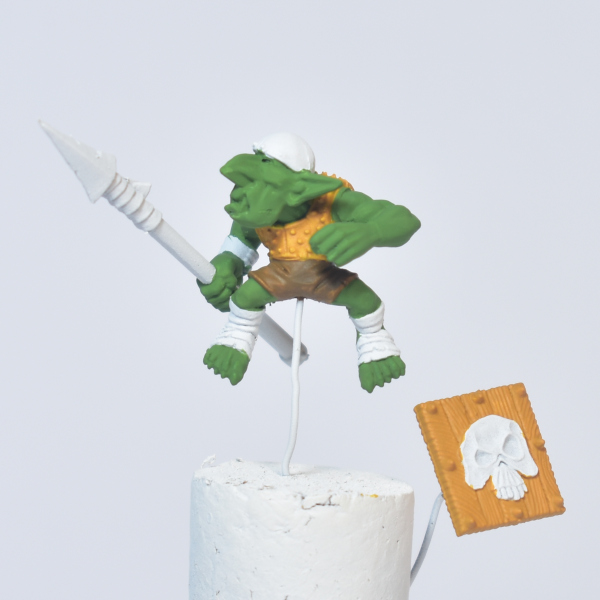
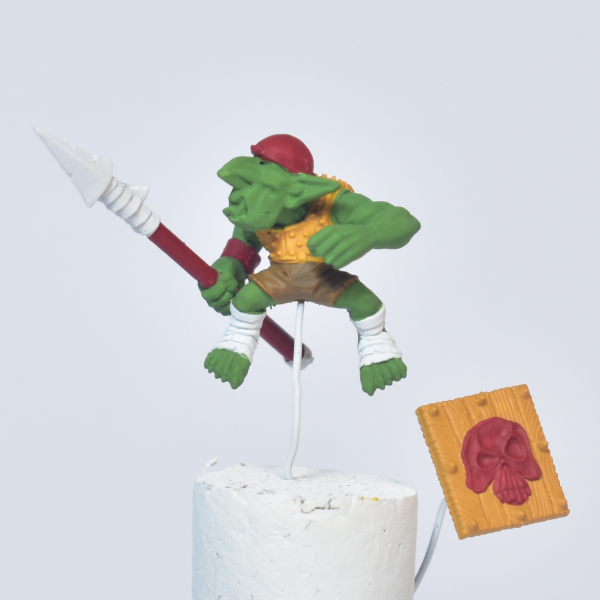
Throwin’ some Shade
Next up, we add some shading using the following washes:
- Citadel: Biel-Tan Green for the skin.
- Citadel: Casandora Yellow for the yellow parts.
- Citadel: Snakebite Leather (Contrast) for the leather pants.
- Citadel: Flesh Tearers Red (Contrast) for the red parts (also add to the inside of the mouth).
- Citadel: Ultramarines Blue (Contrast) for the blue wraps.
- Citadel: Nuln Oil for the metallics (spear tip) and the eye sockets.
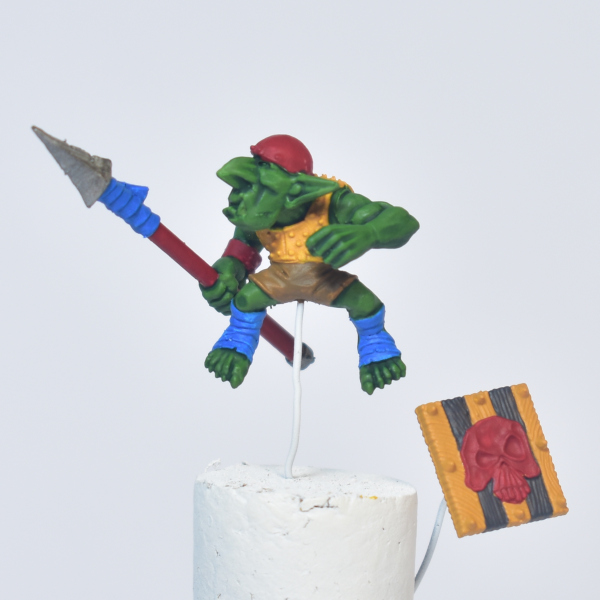


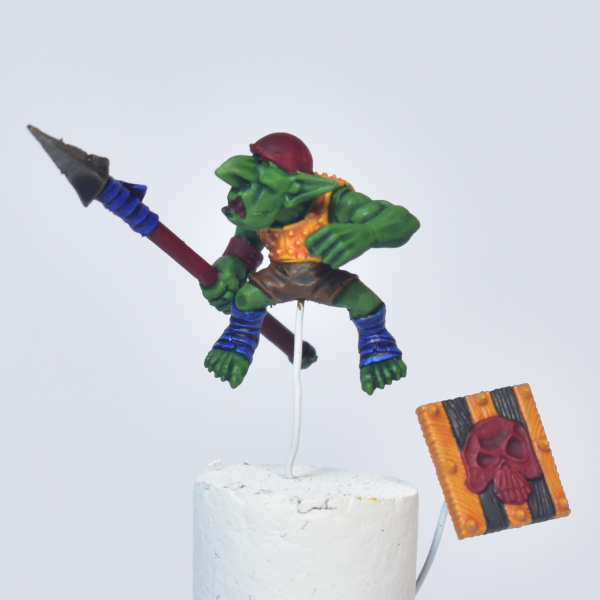
Always make sure a wash has fully dried before painting anything else over it. The inside of the mouth and the eye sockets receive two washes, so pay extra attention here. Also be careful when applying washes to two adjacent areas.
Bring Back Da Light, Boyz!
This is where the fun begins — bringing back some brightness to the model through various layers of highlights!
Green Skin
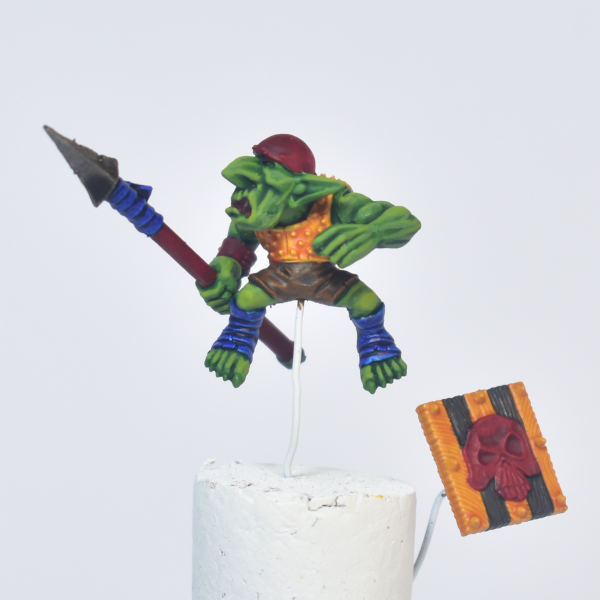
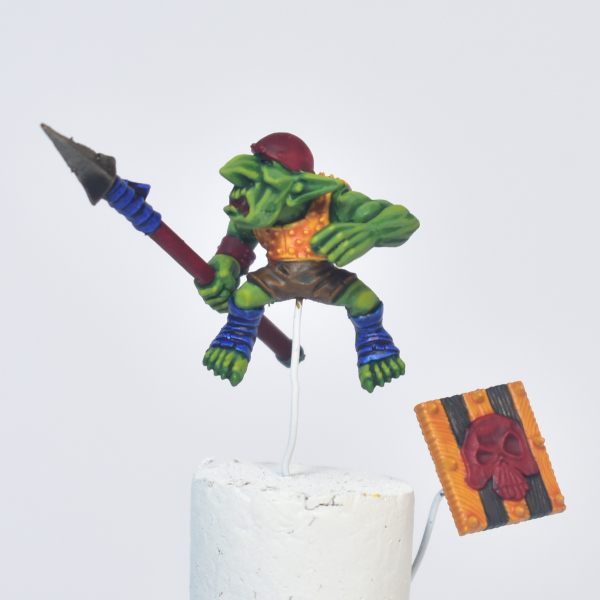
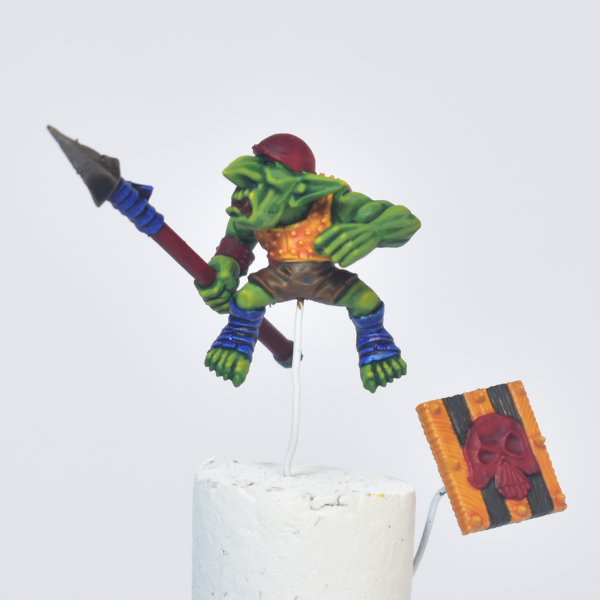
We start by building up the green skin, starting with “re-basing” with Vallejo: Goblin Green, and then adding more and more Citadel: Yriel Yellow into the mix, finishing with tiny dots of pure Yriel Yellow (e.g. on the tip of the nose, ears, and knuckles).
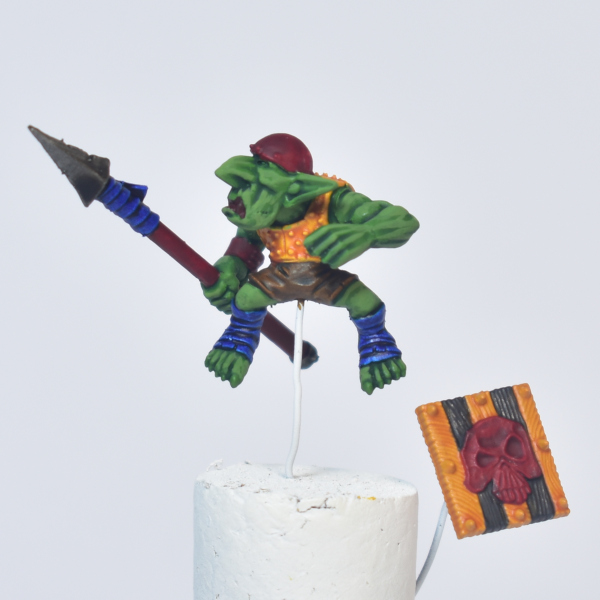
Facial Details
We highlight the teeth using Citadel: Morghast Bone, and then a using a dot of Citadel: Screaming Skull.

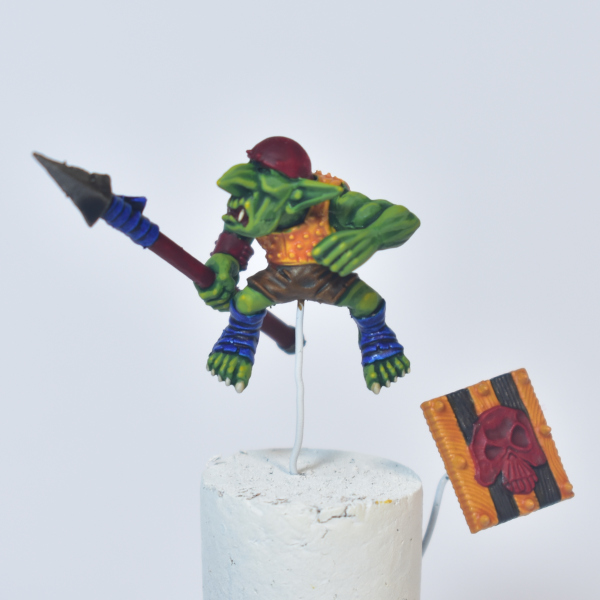
Next, we try to paint an “eye shaped blob” using Citadel: Evil Sunz Scarlet, and then add a tiny dot of Citadel: Yriel Yellow.
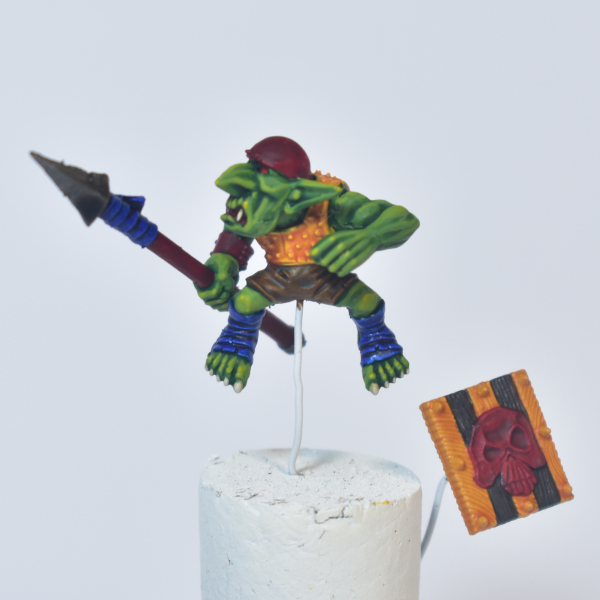
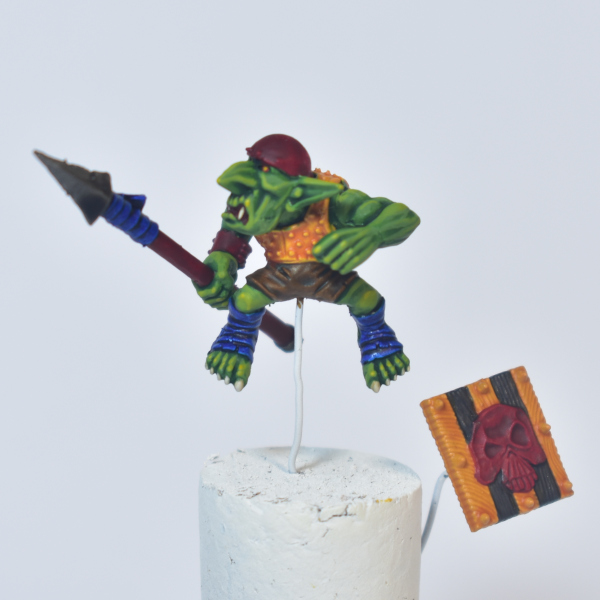
We then paint on the lips (focusing on the “inside part”, in this case the lower lip) using Citadel: Screamer Pink, and highlight it by placing small dots of Citadel: Pink Horror.
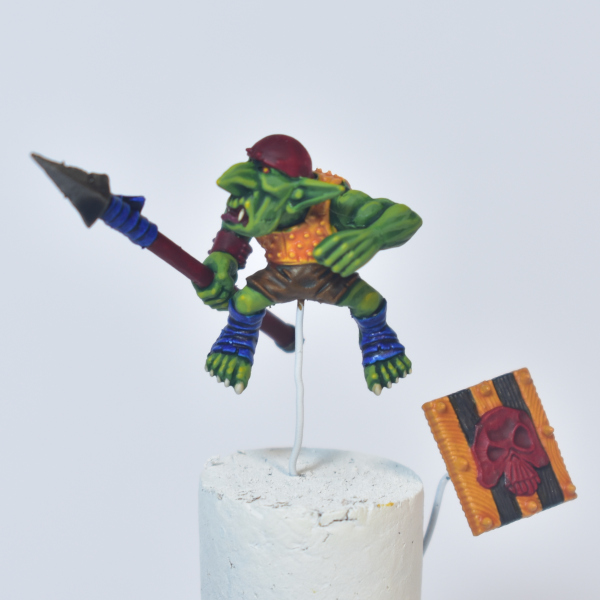
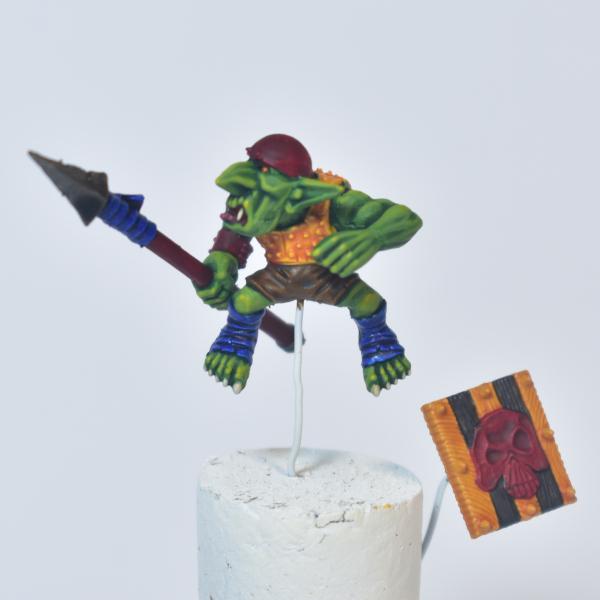
And for the final face detail, we apply a thin “filter” of Citadel: Kislev Flesh to the nose.
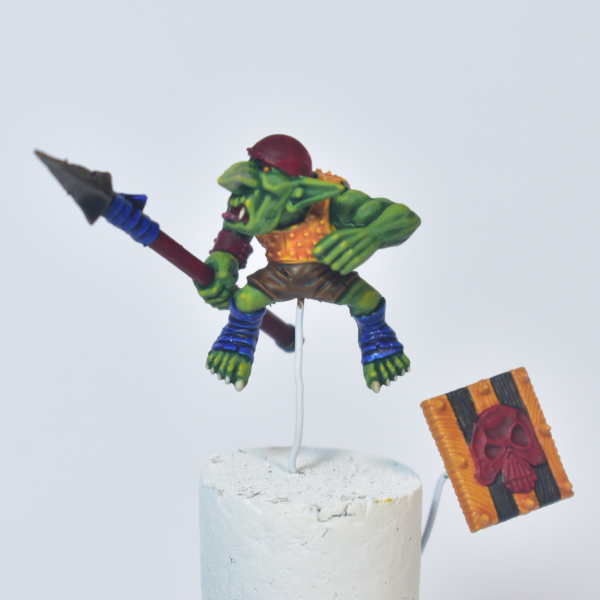
A “filter” is a very thin layer of paint that slightly changes the colour tone of the area on which it is applied. It can be used to create these “ruddy nose” effects, or for example, to create a “nine o’ clock shadow” (beard stubble).
Leather Pants
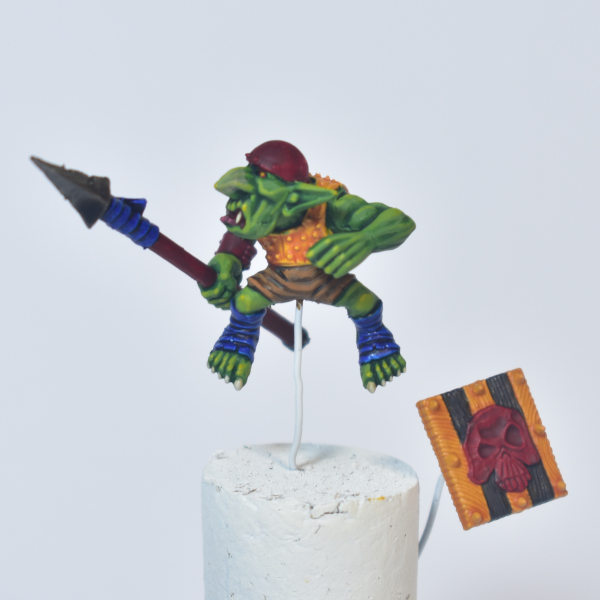
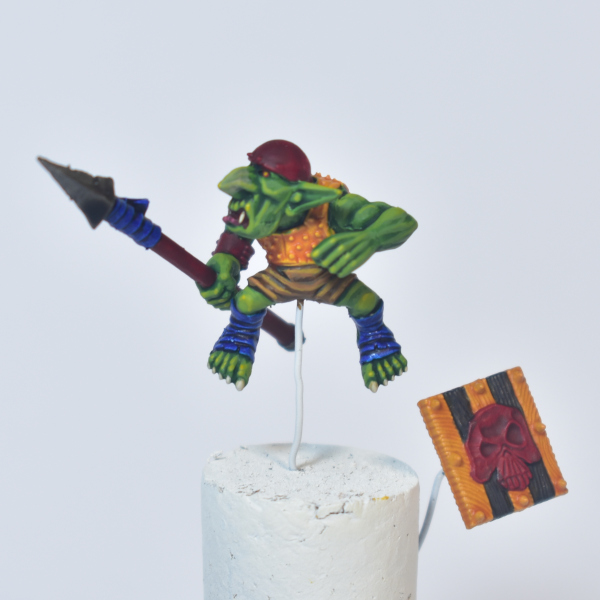
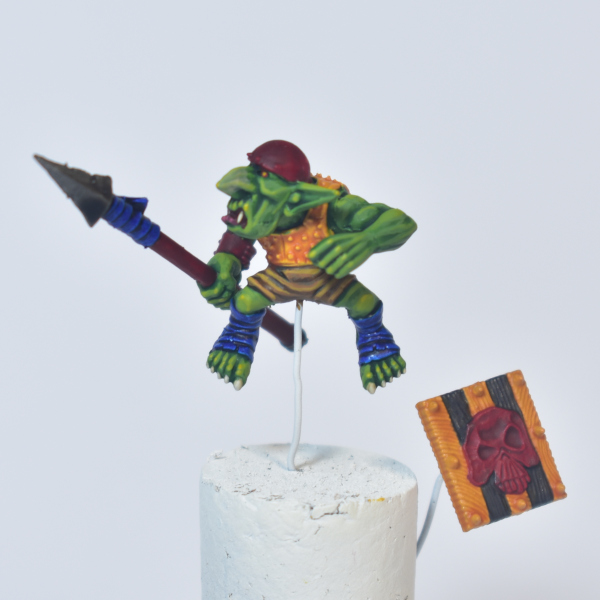
The brown leather pants are highlighted in three steps using the following colours:
- Vallejo: Parasite Brown (72.042)
- Vallejo: Plague Brown (72.039)
- Citadel: Zamesi Desert
When painting leather, it looks good to use many thin brush strokes to create a little bit of “texture”.
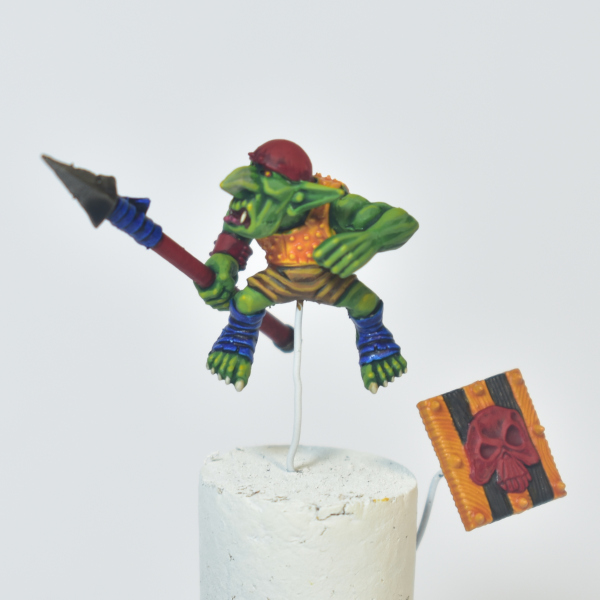
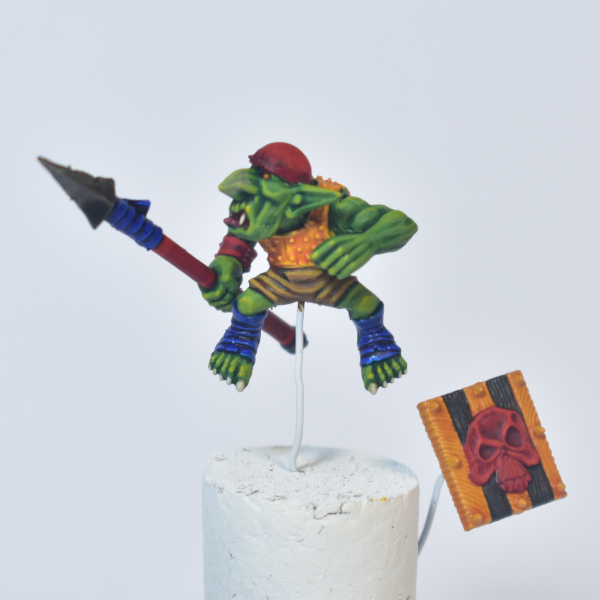
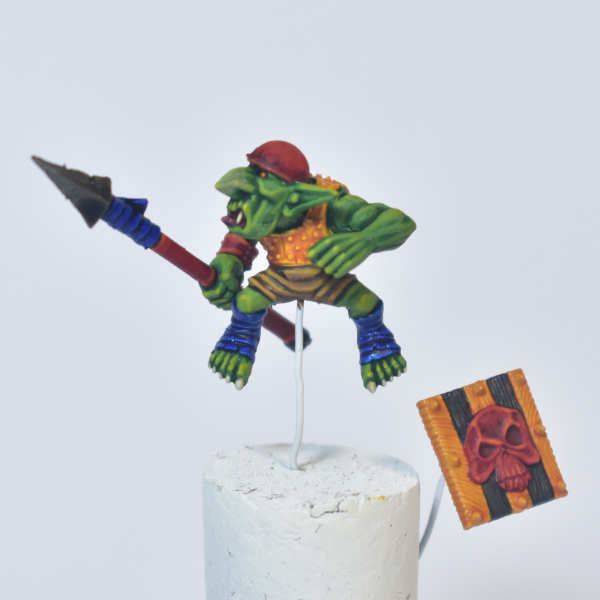
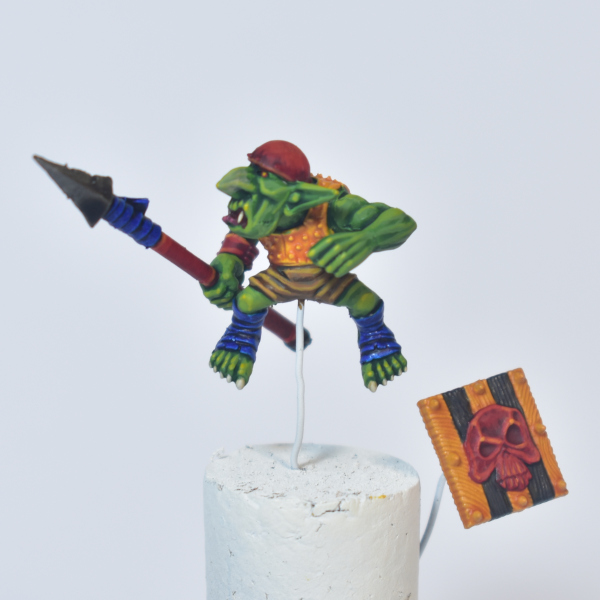
Red Details
For the reds I re-use the recipe from the Classic Night Goblin tutorial, consisting of four steps:
- Citadel: Mephiston Red — to “re-base” everything, leaving only the deepest recesses dark.
- Citadel: Evil Sunz Scarlet — as the second highlight, covering around 50% of the surfaces.
- Citadel: Trollslayer Orange — as an edge highlight.
- Citadel: Trollslayer Orange mixed with Citadel: Yriel Yellow (50/50) — as a “dot highlight” to accentuate some extremely protruding parts (e.g. the tops of the eye sockets on the shield skull).
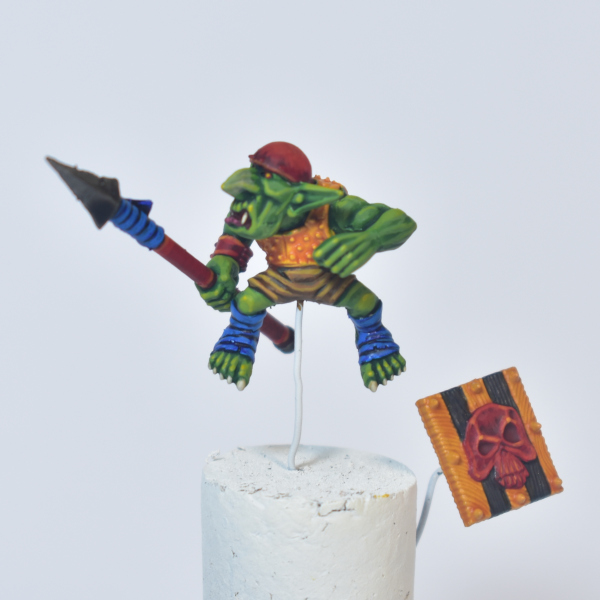
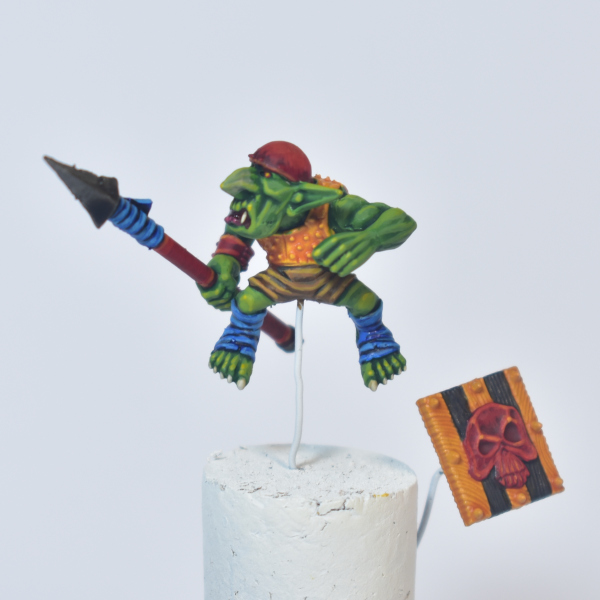
Da Bluezz
The blue wrappings are first highlighted using again the base colour of Citadel: Teclis Blue, and then with a very thin line using Citadel: Lothern Blue (don’t tell your Goblins they are being painted with Elvish colours…).
Black Highlight
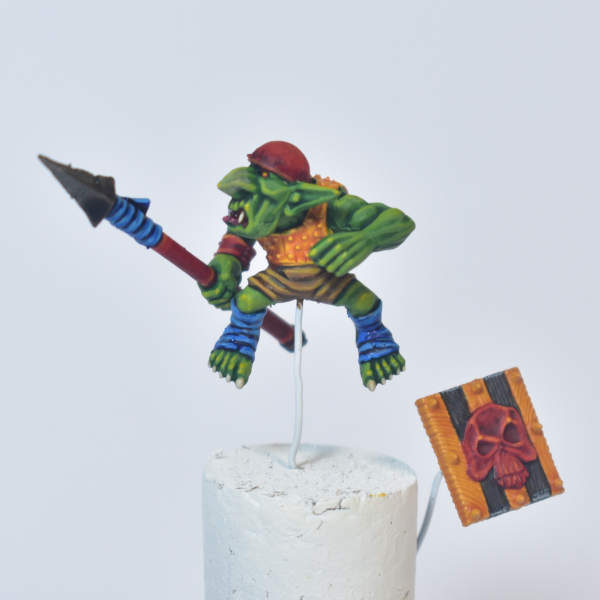
Very simple, and very subtly, we apply some Citadel: Skavenblight Dinge to the black decorative stripes on the shield, focusing on the edges of the shield.
Yellow Highlights
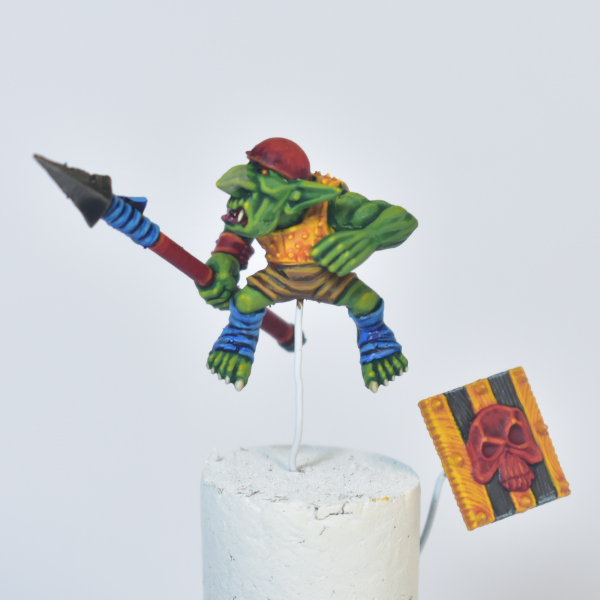
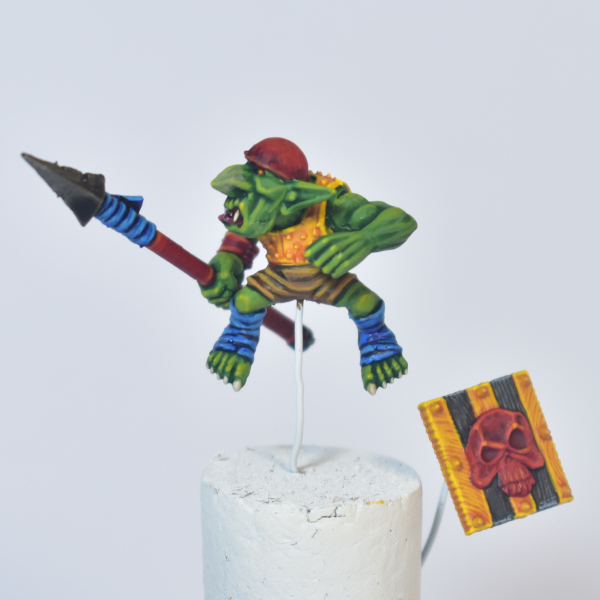
Now the part that makes this unit stand out the most: the yellow. I’ve been postponing this, because the tunics that these models are wearing with the metal nubs are quite annoying to highlight. In retrospect, it may have been smarter to give them black tunics, and yellow pants… Anyway, the three highlight stages are as follows:
- Citadel: Yriel Yellow — bringing back the brightness to the colour. Try to leave some darker shade around the little nubs on the jacket, and in the ridges of the shield. This part is tricky.
- Citadel: Flash Gitz Yellow — Providing an edge highlight around the jacket and the edges of the shield.
- Citadel: Dorn Yellow — Providing some final accents, on the top of the jacket, and the corners of the shield.

Metallics
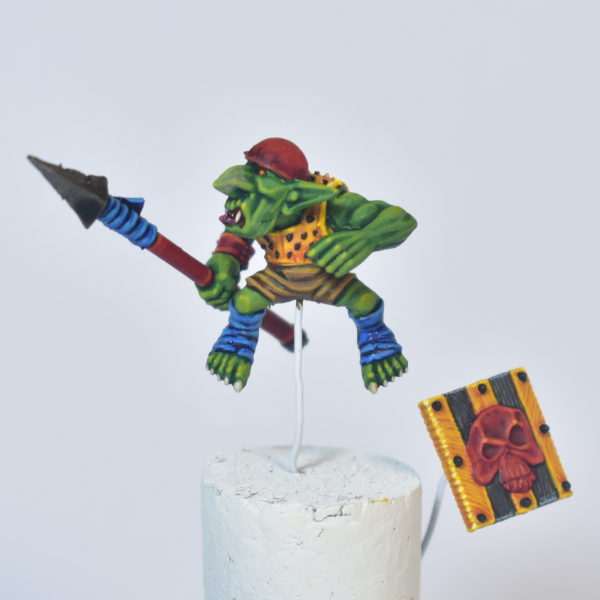
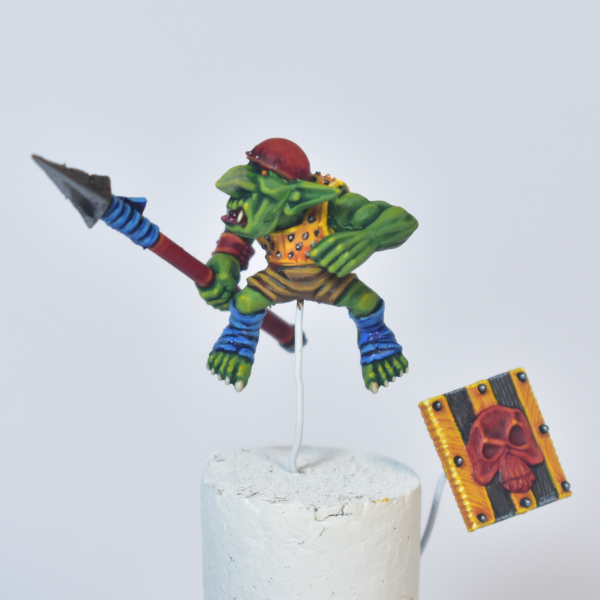
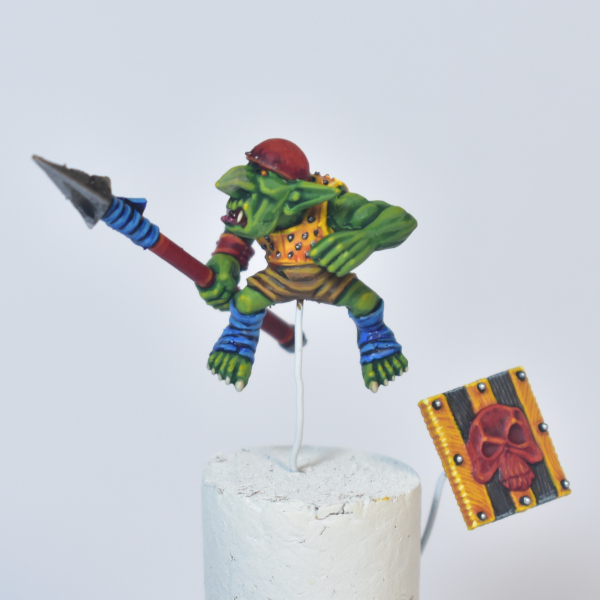
In the last phase of highlighting the metallics, we start by applying a base coat of Citadel: Abaddon Black on all the small nubs on the jacket, and the slightly larger metal nubs on the shield. This will then create a nice black outline when we add Vallejo: Gunmetal in the second step (also highlight the spear tip). For the jacket, this is enough, but for the spear tip and the larger nubs on the shield, we add a final highlight of Vallejo: Silver (72.052).
Final Result
Now all that remains is just to paint the Wolves, and glue Da Ladz together. Pray to Gork (or Mork) that they don’t knock each other out of the saddle with their shields glued on! If you need some inspiration for painting the wolves, you can check out the Painting Wolves: Additional Fur Colours tutorial.
And finally, here they are: Da Ladz of da Blazin’ Sun!
Closing Words…
If you have any question, feel free to leave a comment below, or drop me an email at harm@harmsworkshop.com. If you found this very useful and want to show some support, you can do so via my Ko-Fi page.
Just found this site. What a wonderful resource! Bookmarked for when I start painting my old dwarfs and goblins!
Thanks a lot! Glad you found it useful!
My friends all used to play old hammer but now with “The old world” I’m starting in with orcs & goblins, I’m getting a lot of inspiration from your work, I especially love the night goblins .
Thanks for having an awesome site !!
I’m glad I could provide some inspiration!