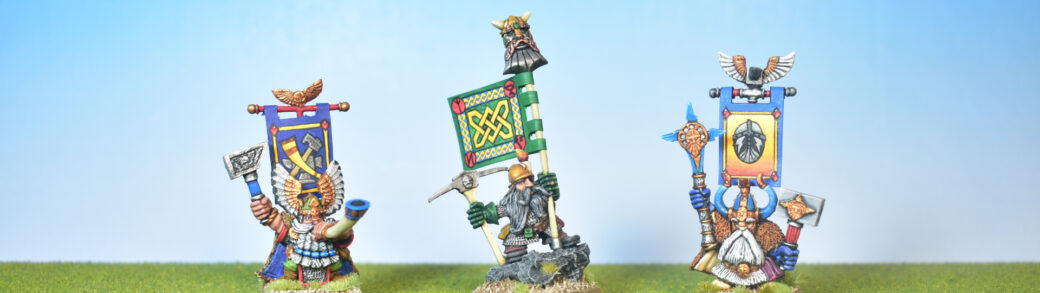
Banners! No army can really go without them, and especially back in the 90s, it wasn’t only unit standard bearers, but just about any named character had a big beautiful banner (or two!) on its back. In this tutorial I will show you how to make a banner for your Warhammer miniatures based on the black and white line drawing banner templates that you could often find in Army Books from the 90s.
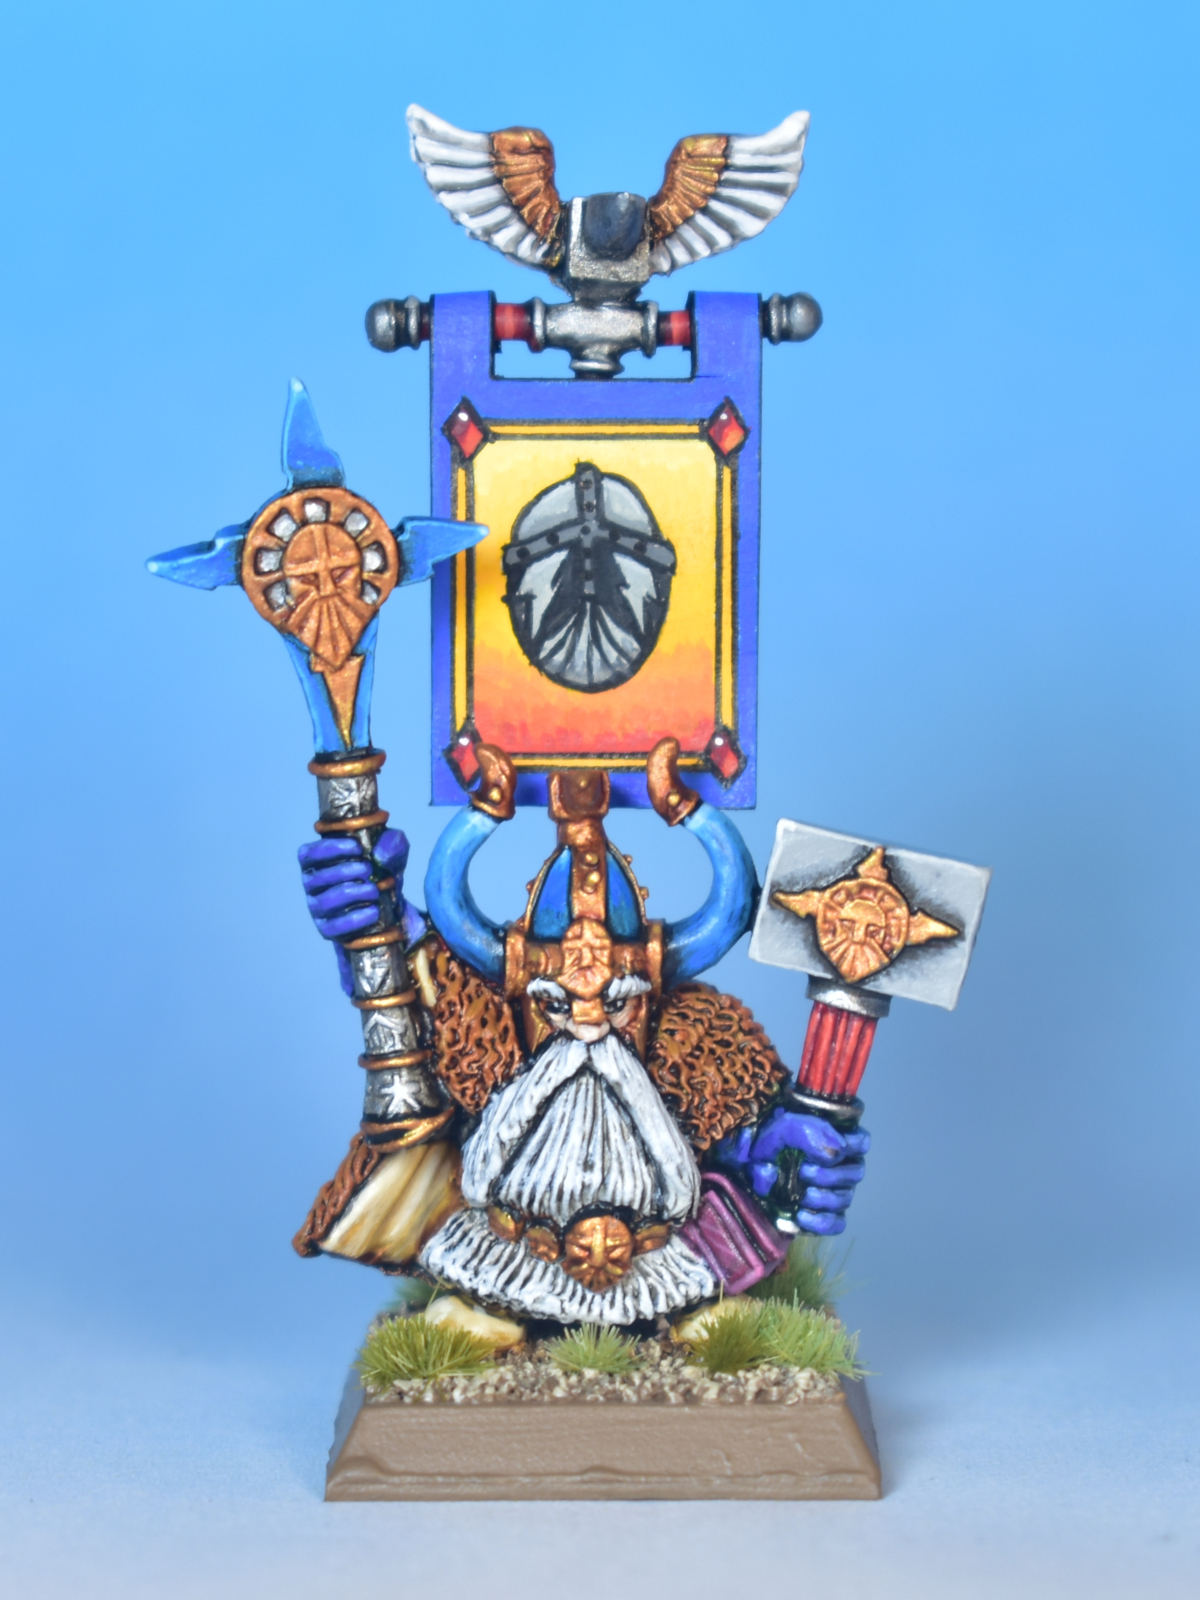
What you will need for this tutorial is a photocopied or printed paper banner design, some basic crafting tools like a metal ruler, a sharp craft knife, and paper glue; a piece of thick black paper, and of course a miniature with a banner pole to carry the banner. In this tutorial I will use Kragg the Grim as the miniature — a beautiful classic 90s sculpt that I tried to paint in a bright ‘Eavy Metal style colour scheme. For the banner, the 4th Edition Dwarf Army Book unfortunately doesn’t include one for Kragg the Grim (his miniature doesn’t show up in the book at all, so it was likely produced at a later date). Fortunately, the internet is full of Legends, like Shaun Madgwick, who has created very cool black/white and coloured banners for several Warhammer Fantasy armies, including our beloved Dwarfs. Since we do want to paint our own banner, we choose the black and white version of Kragg’s banner.
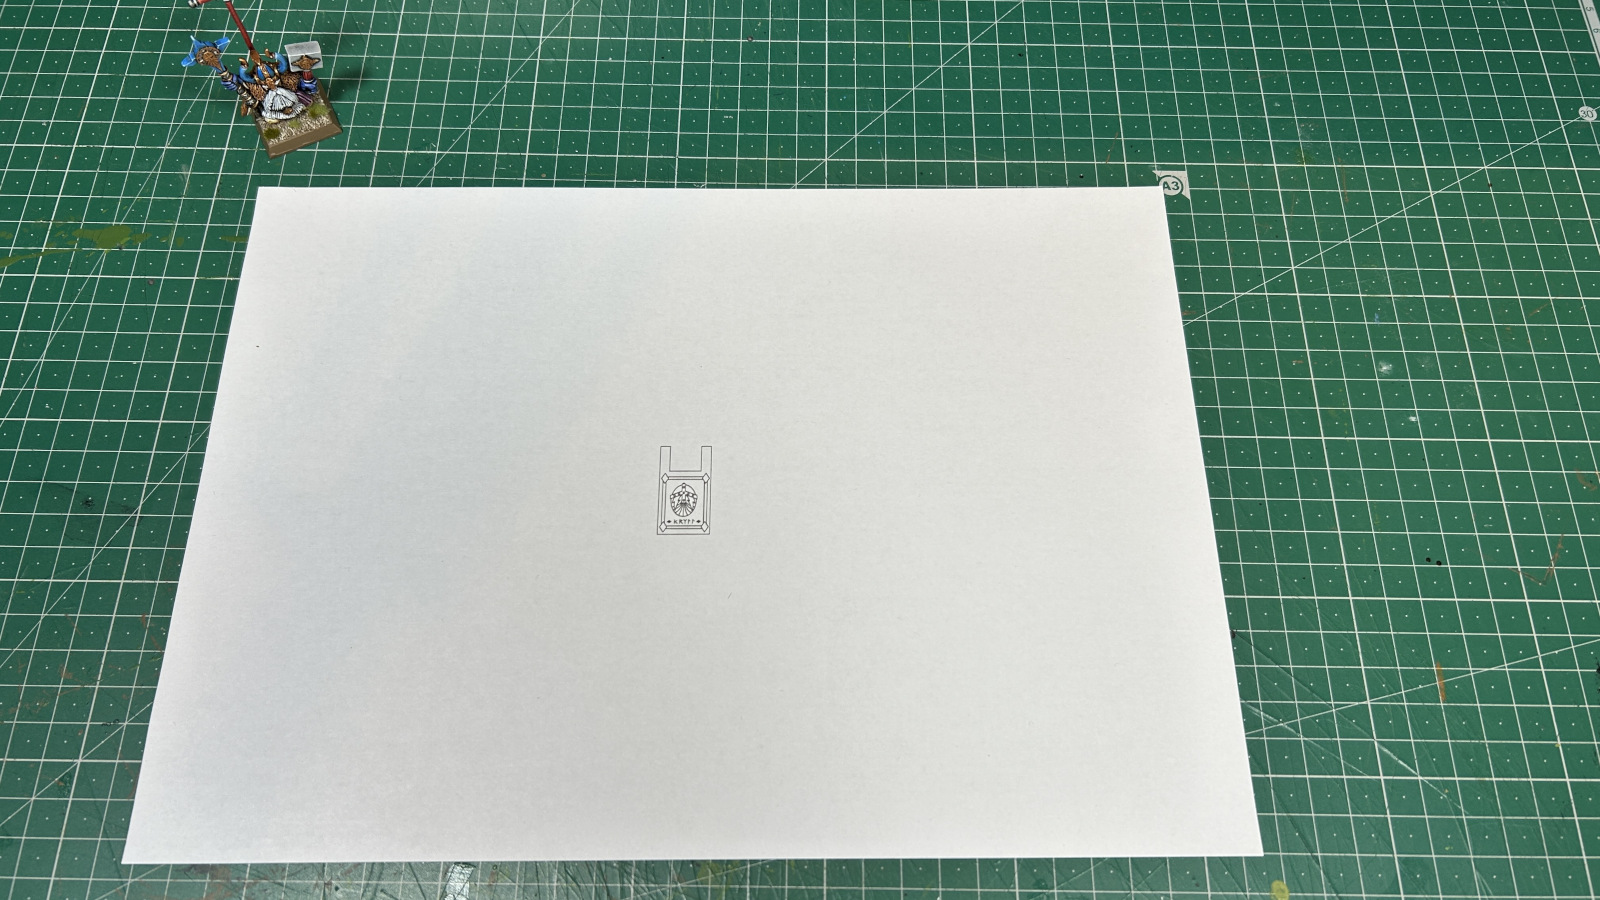
After printing this on a piece of paper (on simple cheap paper, with a simple, cheap printer), we are good to go. The size came out perfectly fine, but it’s probably good to try it out at this stage by holding the miniature over the paper print. It’s better to find out now if your banner is too big or too small, rather than after the painting stage…
Preparations
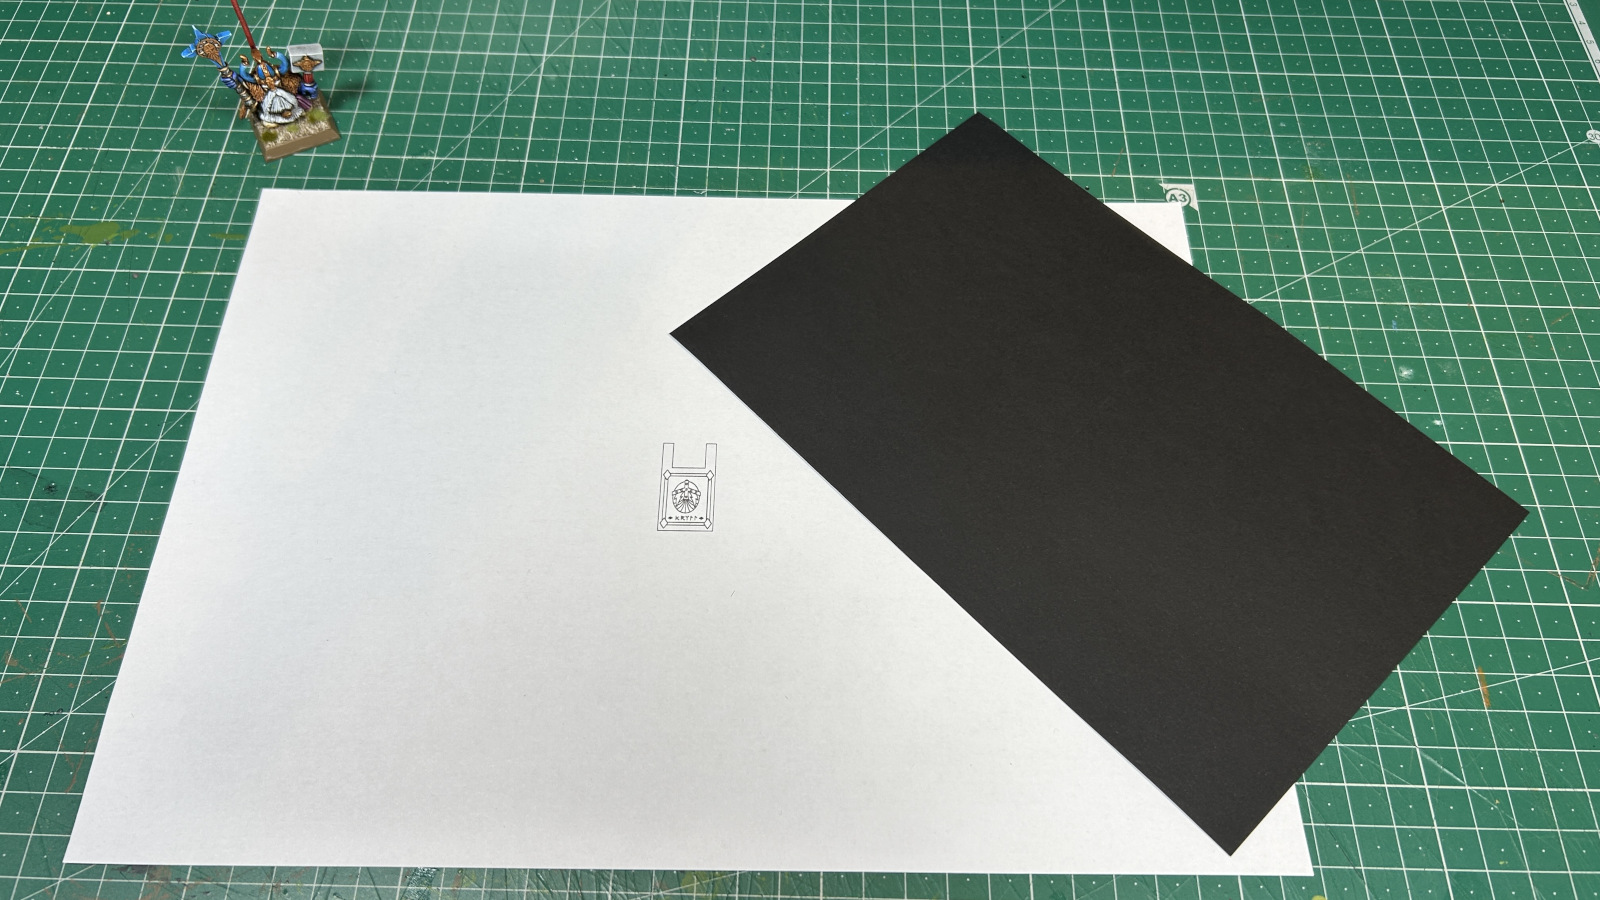
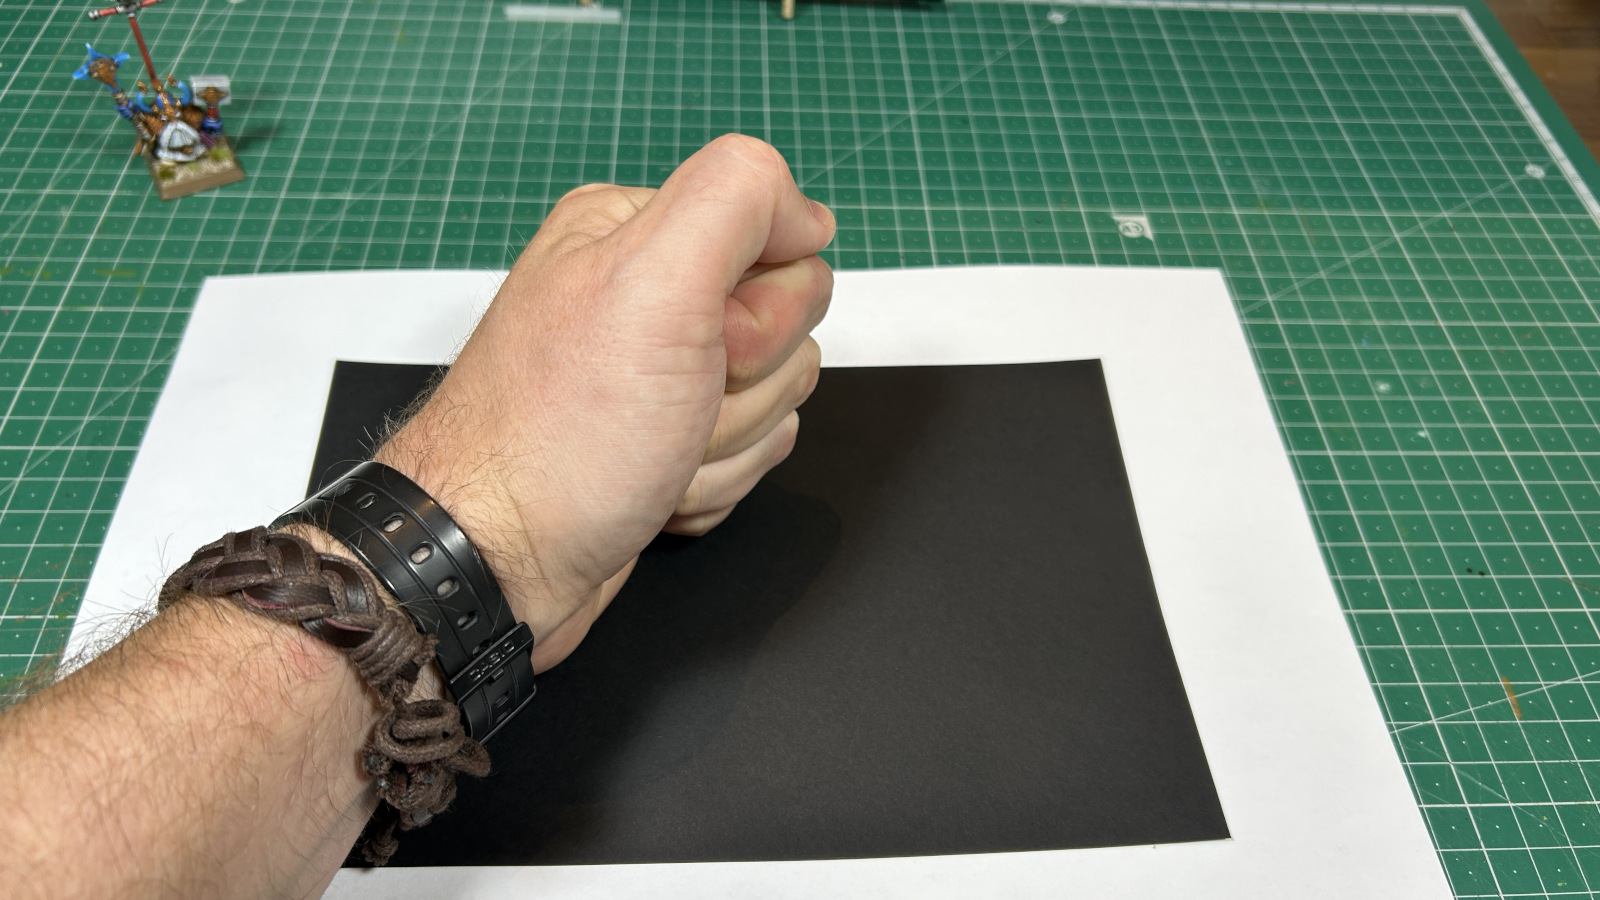
The next steps are to prepare the banner for painting. We start by reinforcing our paper print-out with some thick black paper. I use 250gram paper for this which you can pick up in any arts and crafts or print shop. You don’t need a full A4 size, but some piece that’s significantly larger than the banner design, which we will glue to the back of the white paper with a simple glue stick. Bang your firsts on it a few good times to make sure the papers stick together (thinking of all the unresolved grudges against your Dwarf throng will help in this stage). The reason for reinforcing the paper is threefold. First of all, the back of the banner will be black, which I like. If you want to paint the back of the banner in another colour, it’s better to pick up a thick piece of white paper at this stage, so you can paint over it with the acrylic paint of your choosing later. Second, it reinforces the paper, making it less susceptible to bending out of shape in the next step (which is to spray it with varnish).
Finally, the added thickness makes the banner sturdier, and it allows us to bend in some folds to give it a more natural shape in the final steps.
Now it’s time to cut down the paper to a more manageable size and then tape it to something sturdy and flat. For this, I use a smaller size cutting mat, but you could also use a piece of wood or plastic card. The idea is to hold the banner flat in place, and give you something to hold on to while painting.
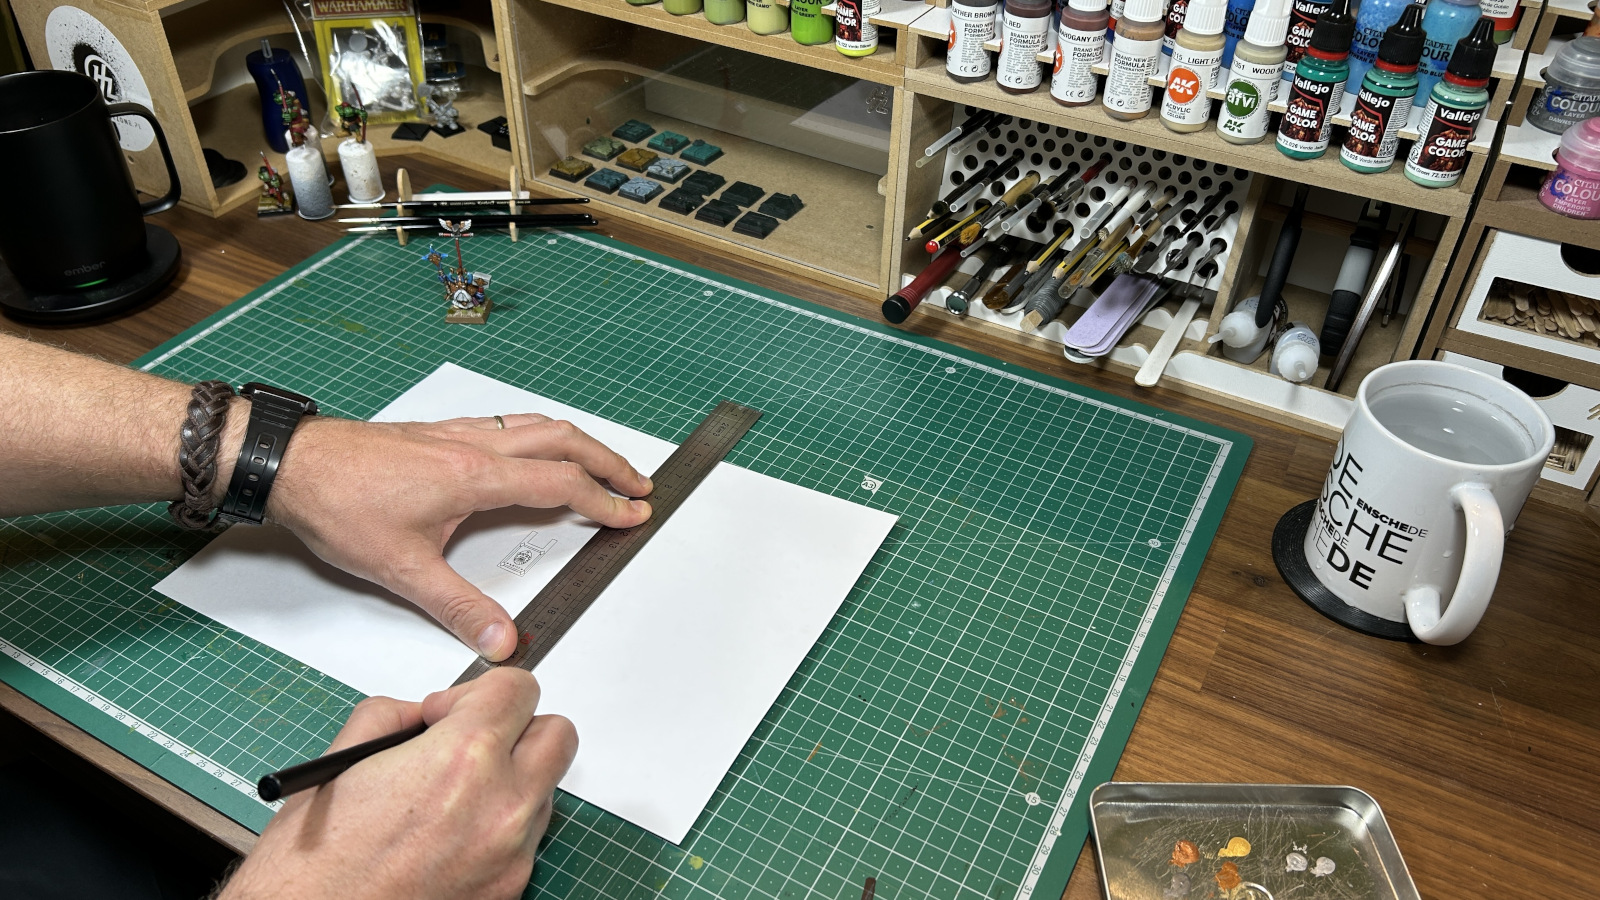
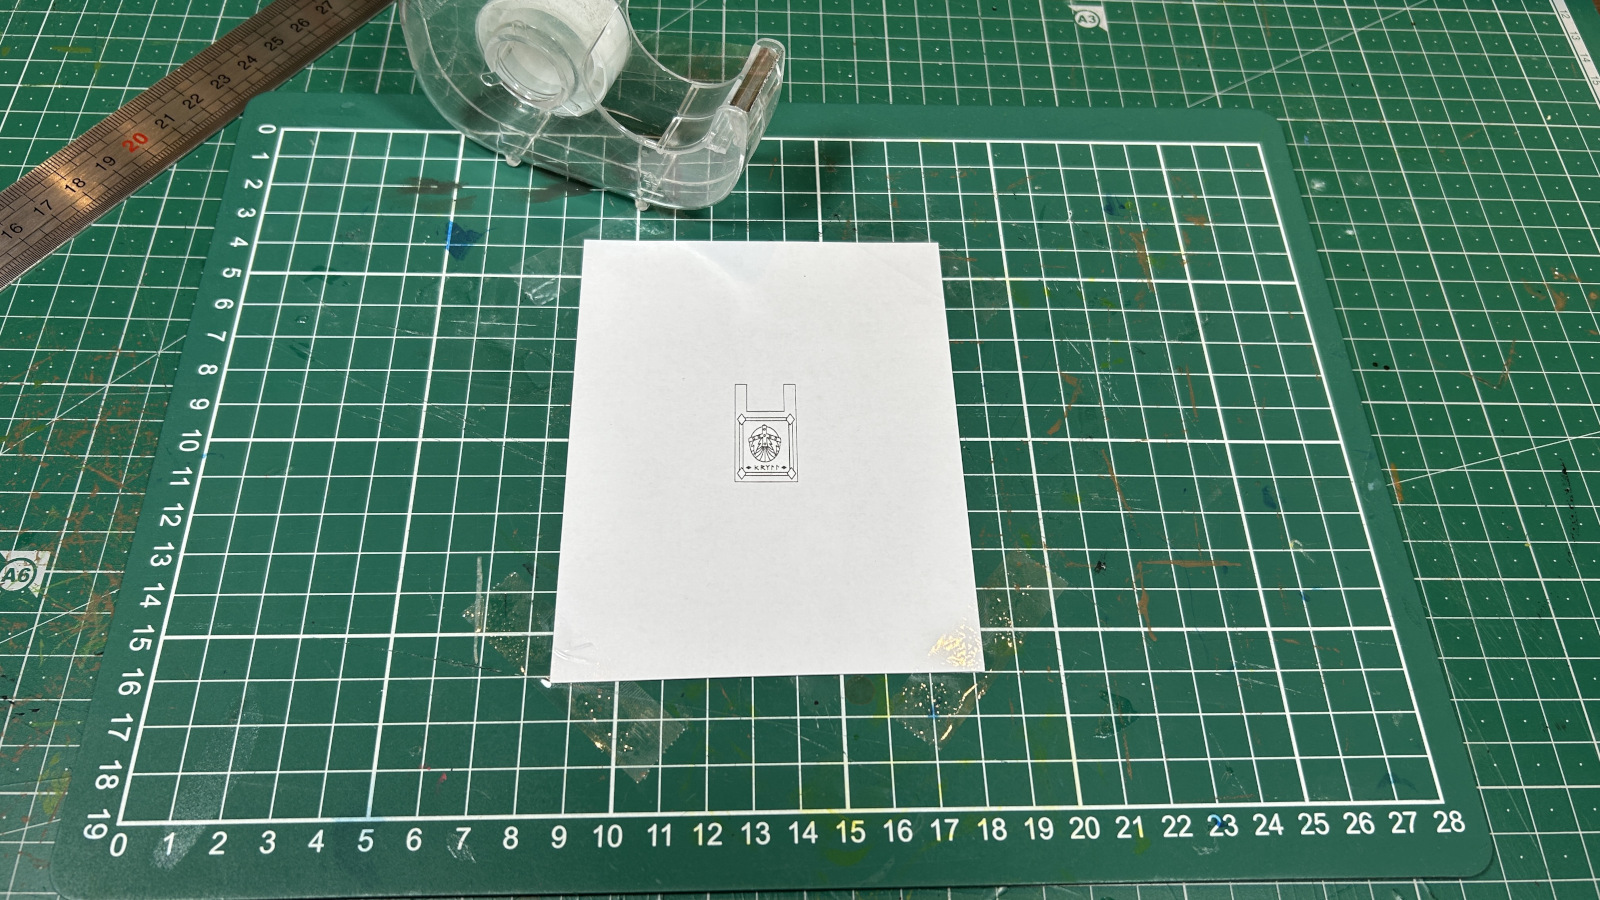
A Coat of Varnish
Next up, we will apply a coat of matt varnish to the paper. The reason for this step is that paper is quite absorbent, so when we start applying acrylic paint directly to the paper, it will soak up the paint, giving us a hard time in the painting phase. So, go outside, shake your varnish spray can vigorously for a minute or two, and apply a coat of varnish to the paper.
The result may be that the paper will start to warp. In this case, we can finally use our Old World rulebooks for something useful again, and just press it flat for a while.
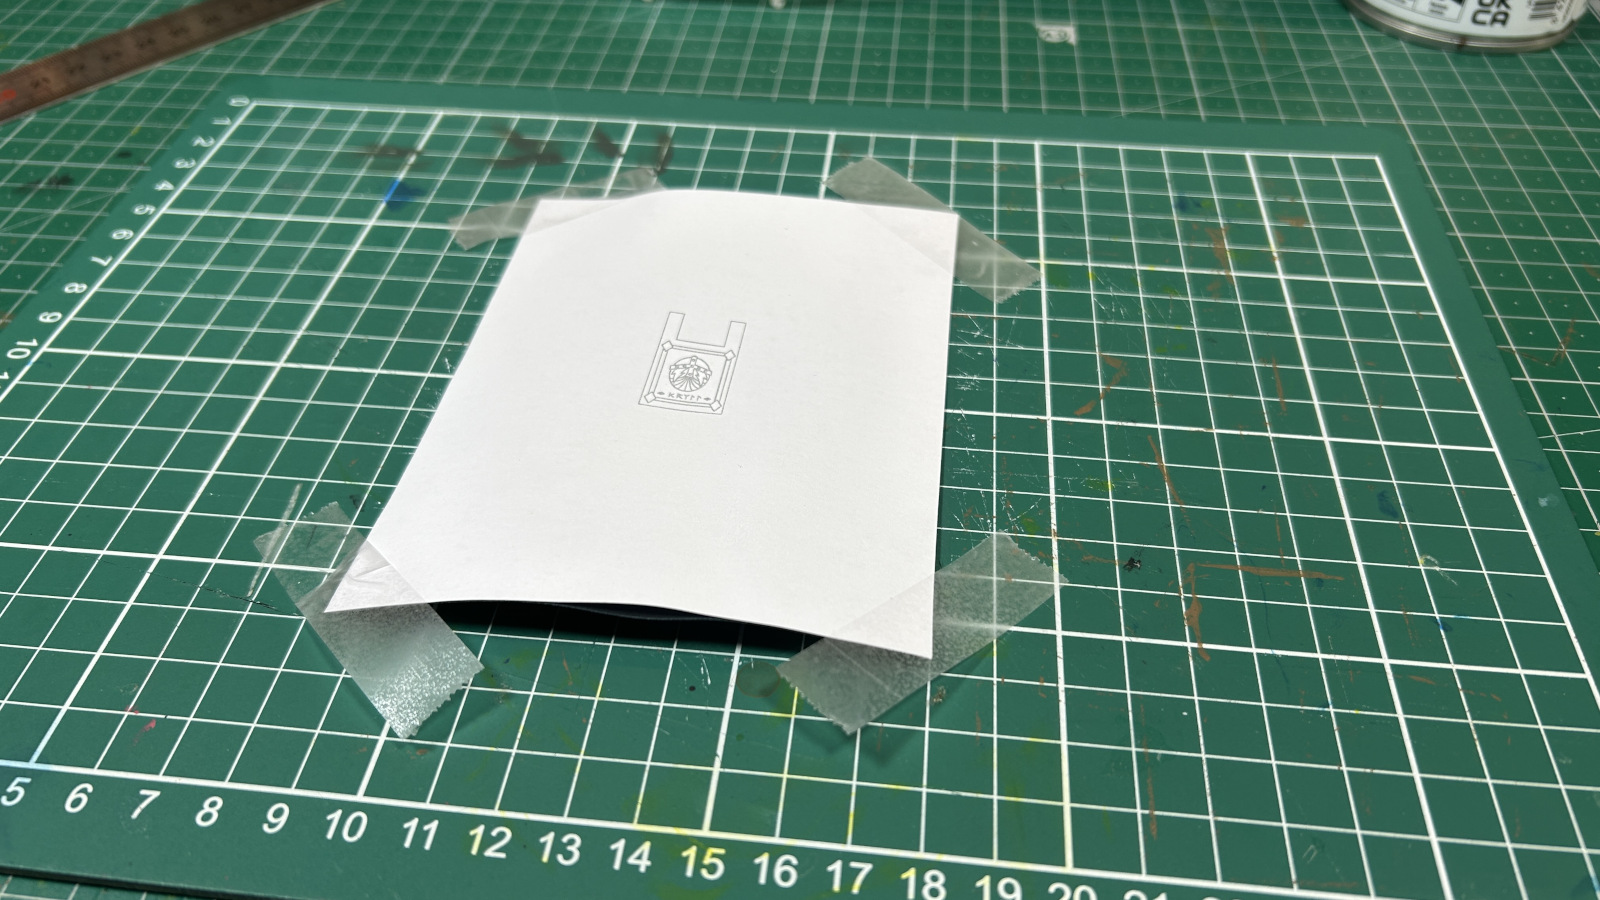
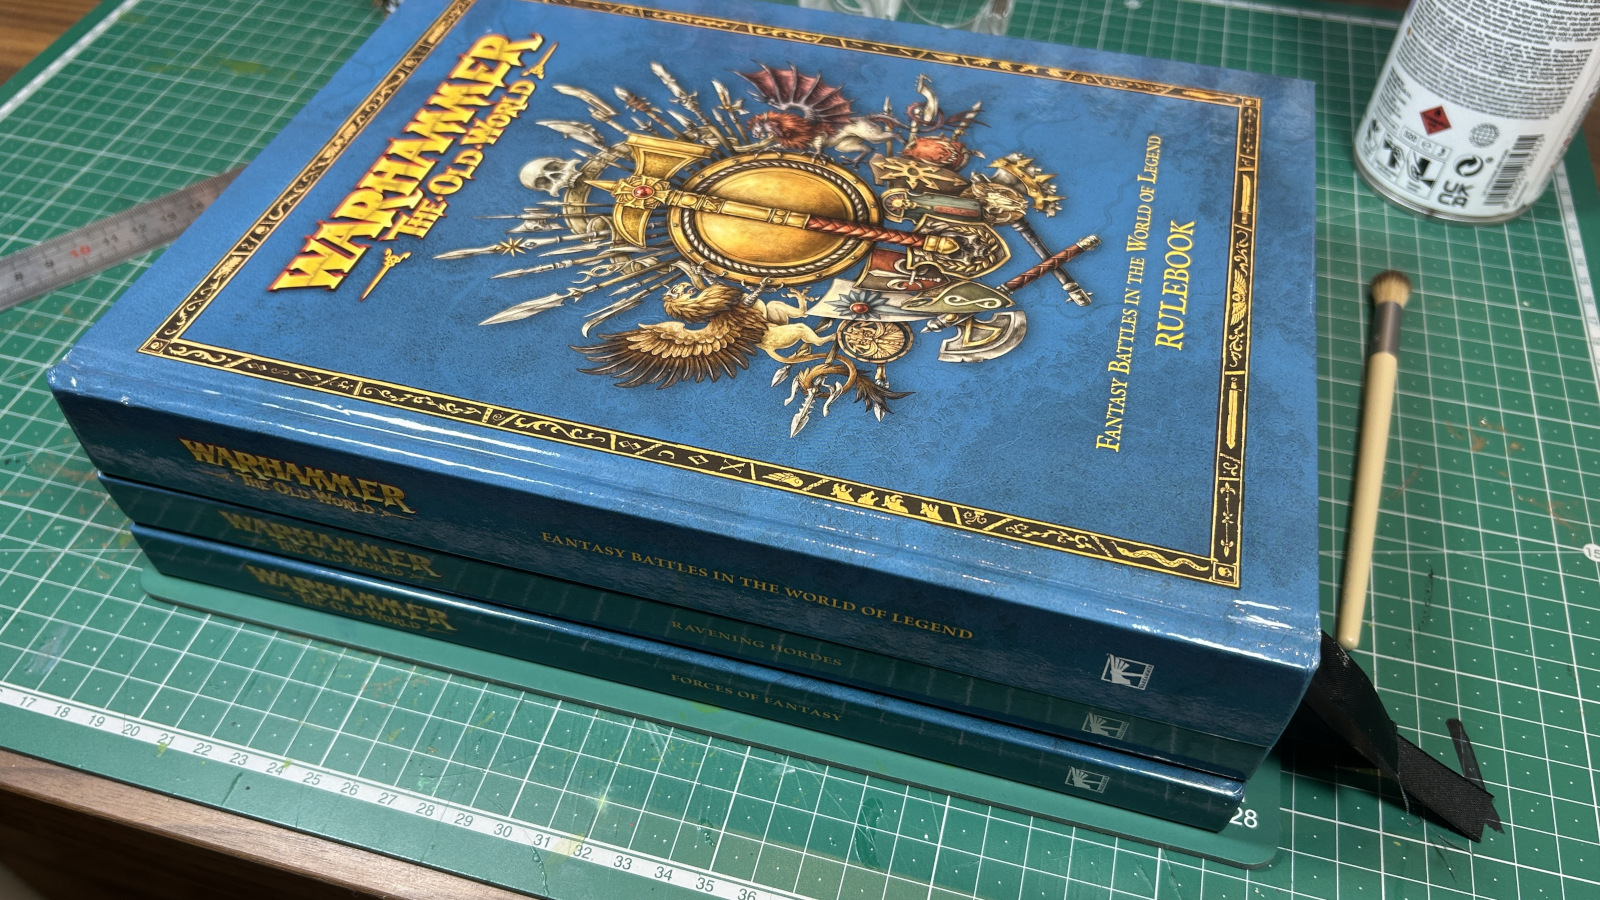
Remember when we reinforced the paper with a piece of 250g black paper to prevent it from bending out of shape? Okay it still bends, but not nearly as much as a thin piece of printer paper would, trust me!
The Painting Phase
When the paper is flat again, tape it back to the cutting board (or other flat surface) and you’re ready to start the fun part: painting! This is not a step-by-step tutorial on how to paint a specific banner, so I won’t go into much detail here, but I do want to leave with some thoughts and tips. First off, you can paint on this piece of paper just like on a miniature. Apply base coats, then use darker colours to apply shades, and lighter colours to apply highlights. Really, the first piece of advice is: paint as usual!
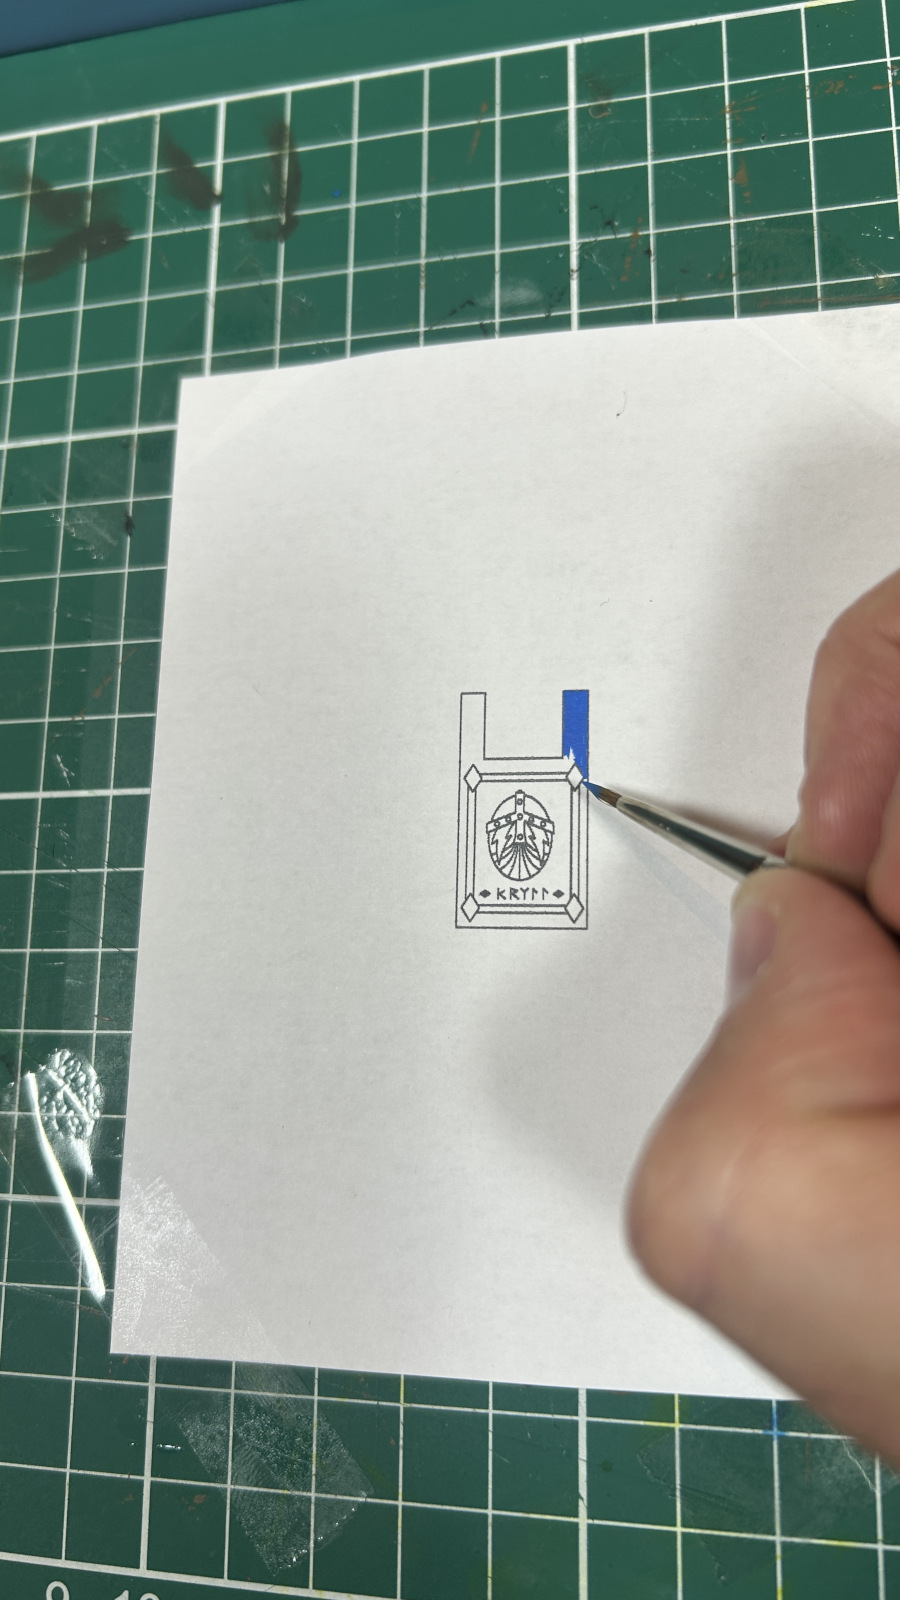
Thin your paints with a bit of water, and just start colouring in the image. Be careful with darker colours, as you’ll quickly cover up the underlying printed lines. The nice thing about painting on paper is that you have a piece of paper at hand to make notes regarding the paints that you’ve been using. Here I used Vallejo: Magic Blue for the outer edge, and in the centre a gradient starting with Citadel: Yriel Yellow in the middle, moving brighter up towards Citadel: Dorn Yellow and shading downward towards Citadel: Evil Sunz Scarlet. Then, Citadel: Celestra Grey, mixed with black and white for shading and highlights was used for the Dwarf helmet symbol.

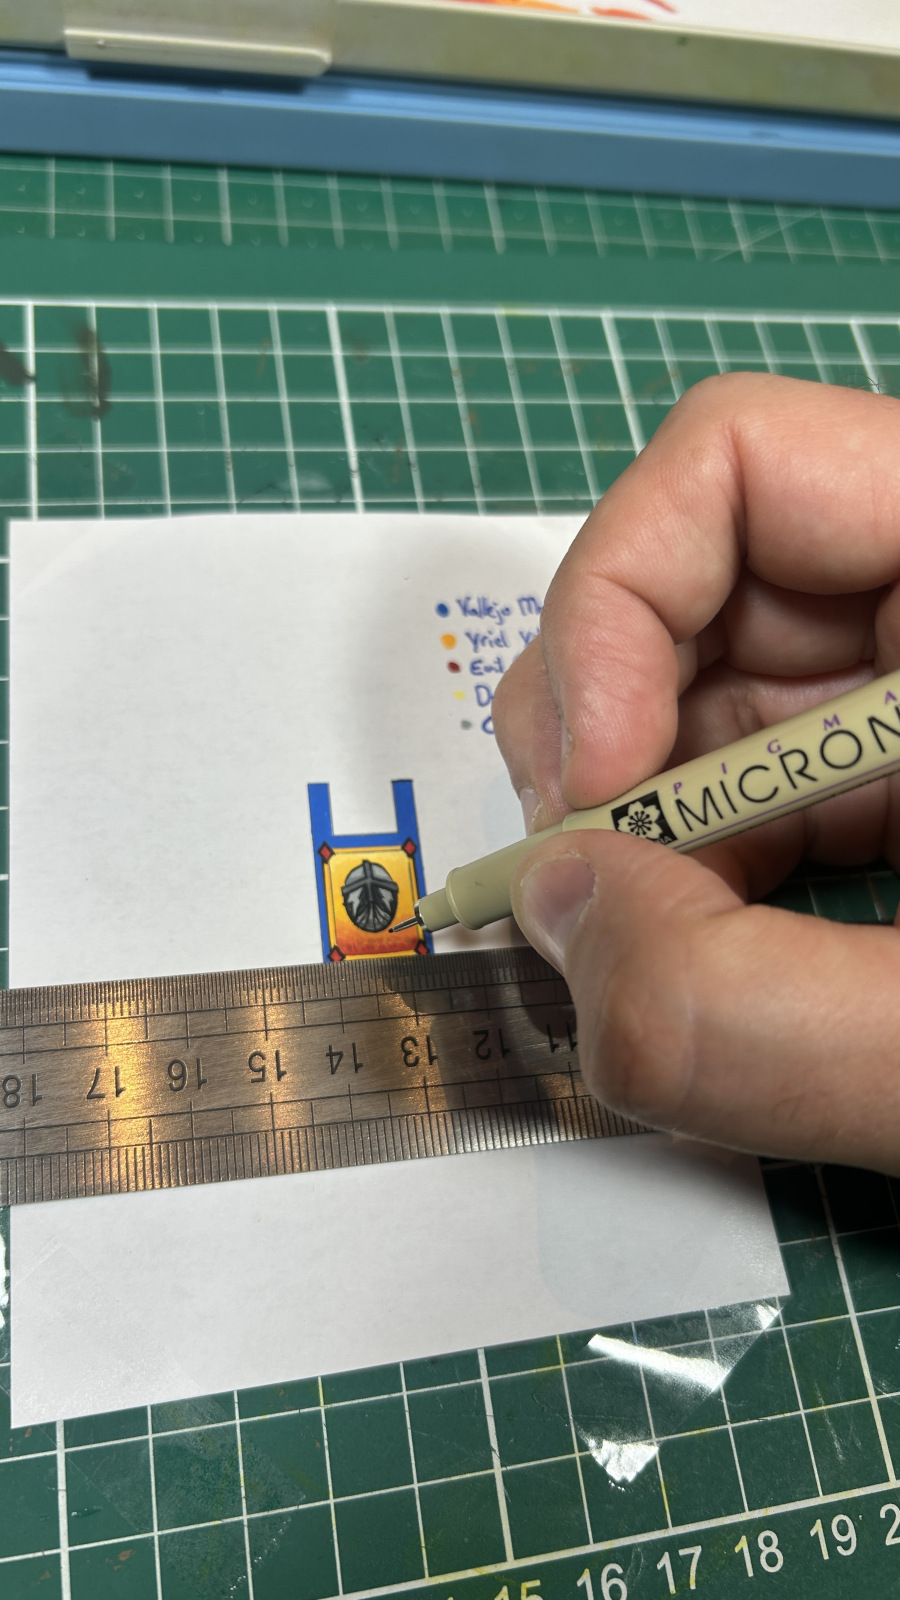
When painting banners, black-lining is very important. Make sure to paint a thin black line over all the outlines of the shapes. When these lines are straight, a nice little trick is to simply use a ruler and a Micron Pen (here I’m using a Size 1). Painting these straight lines with a brush is much harder, so why not make your life a little easier?
Continue colouring in and applying highlights and shades just like you would on your model. It’s probably a good idea to use similar colours as used on the miniature to tie the model and banner together. When you’re done, it’s time to wrap up and glue the banner to our miniature.
Raising the Banner
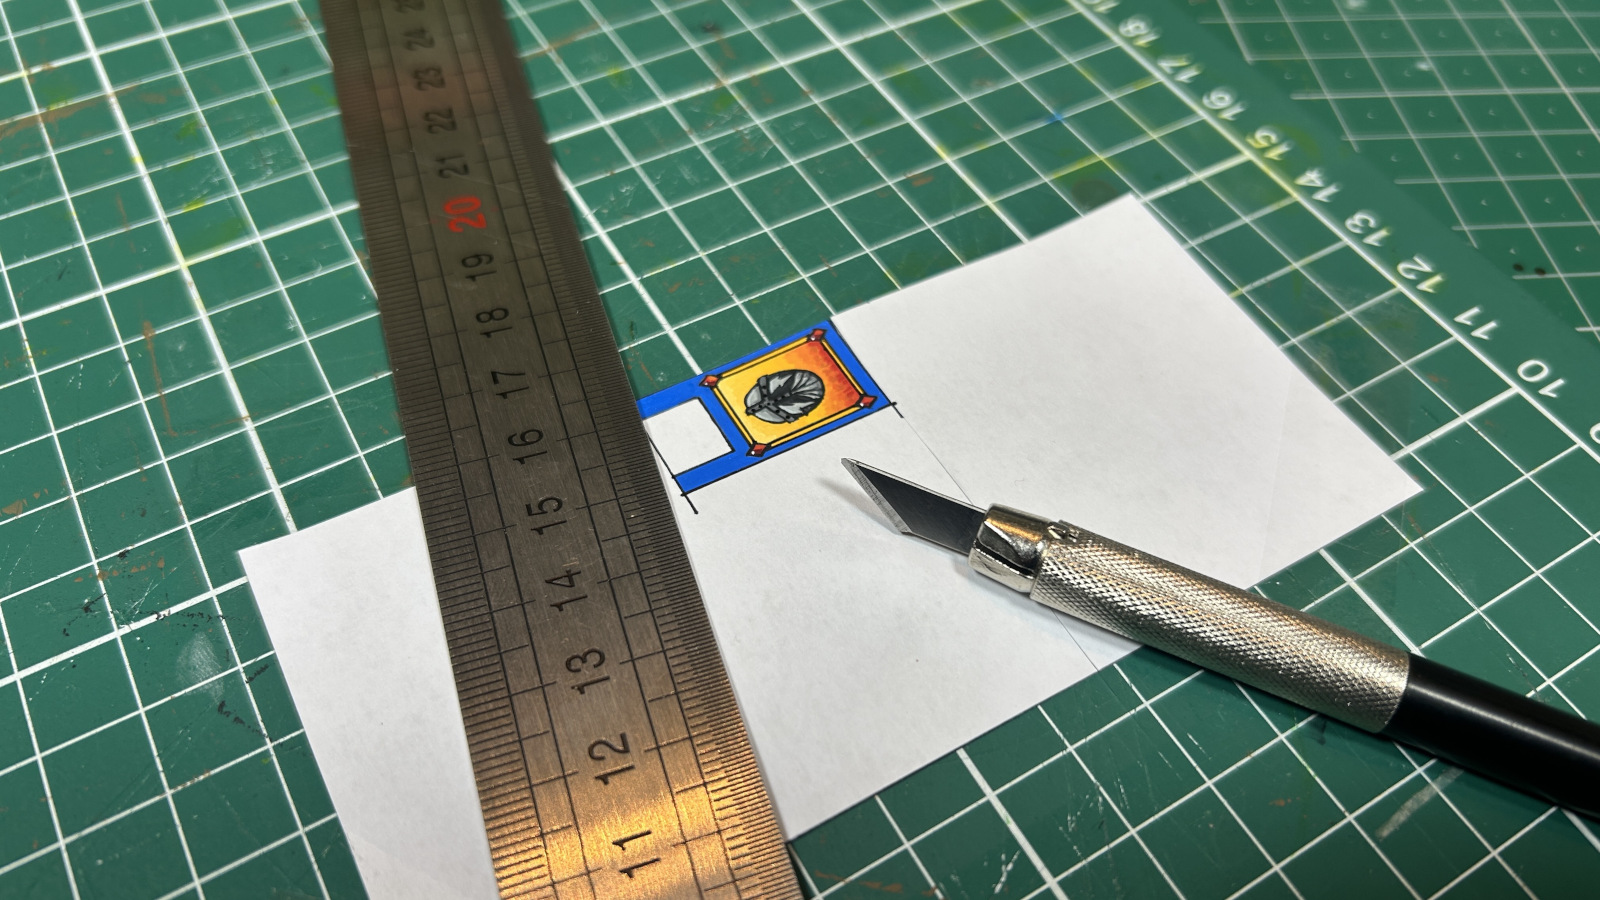
The next thing is to cut out the banner carefully along the edges using a hobby knife. You will notice that the edges of the paper are white, which doesn’t look good. Use your black Micron Pen, or a brush with some black paint to carefully paint the edges black.
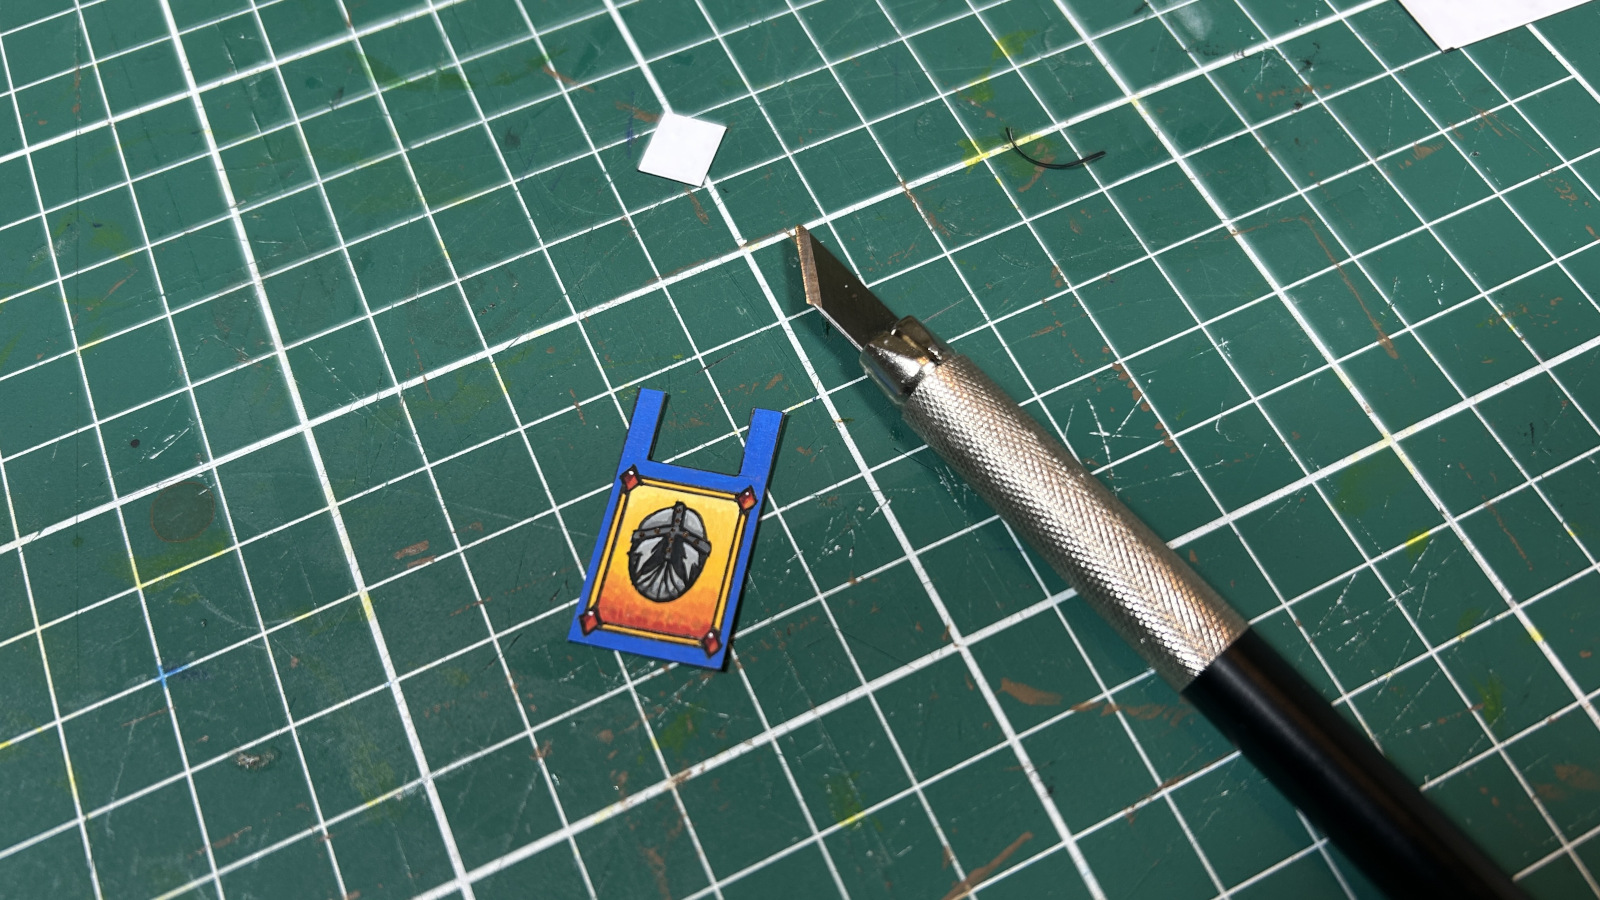
If you want to add a bit of a dynamic look to the banner, you can add some ripples to the paper, by bending it slightly around the handle of your brush or a pen. And then, all that’s left to do is to glue the banner to your miniature with a bit of super glue. And that’s it! This is the result on my Kragg the Grim model. I hope this tutorial will help you in creating your own awesome banners!
Closing Words…
If you have any question, feel free to leave a comment below, or drop me an email at harm@harmsworkshop.com. If you found this very useful and want to show some support, you can do so via my Ko-Fi page.
Great tips! Ive used coke can for some space marine back banners, its good as its sturdy, but hard to handle and needs to be sanded to take off the razor sharp edges.