
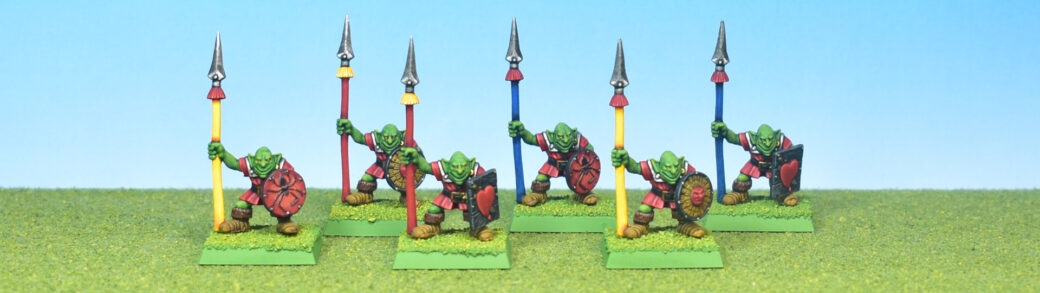
Today we are painting some of the most iconic models of the 4th edition Warhammer Fantasy Era: Goblin Spearmen. If you were into the hobby around the time, chances are you have hurt yourself on one of the spears of these insidious little creatures. In this tutorial I’m going to show how I paint these simple, but elegant models in an era-appropriate ‘Eavy Metal style.
Base Coats
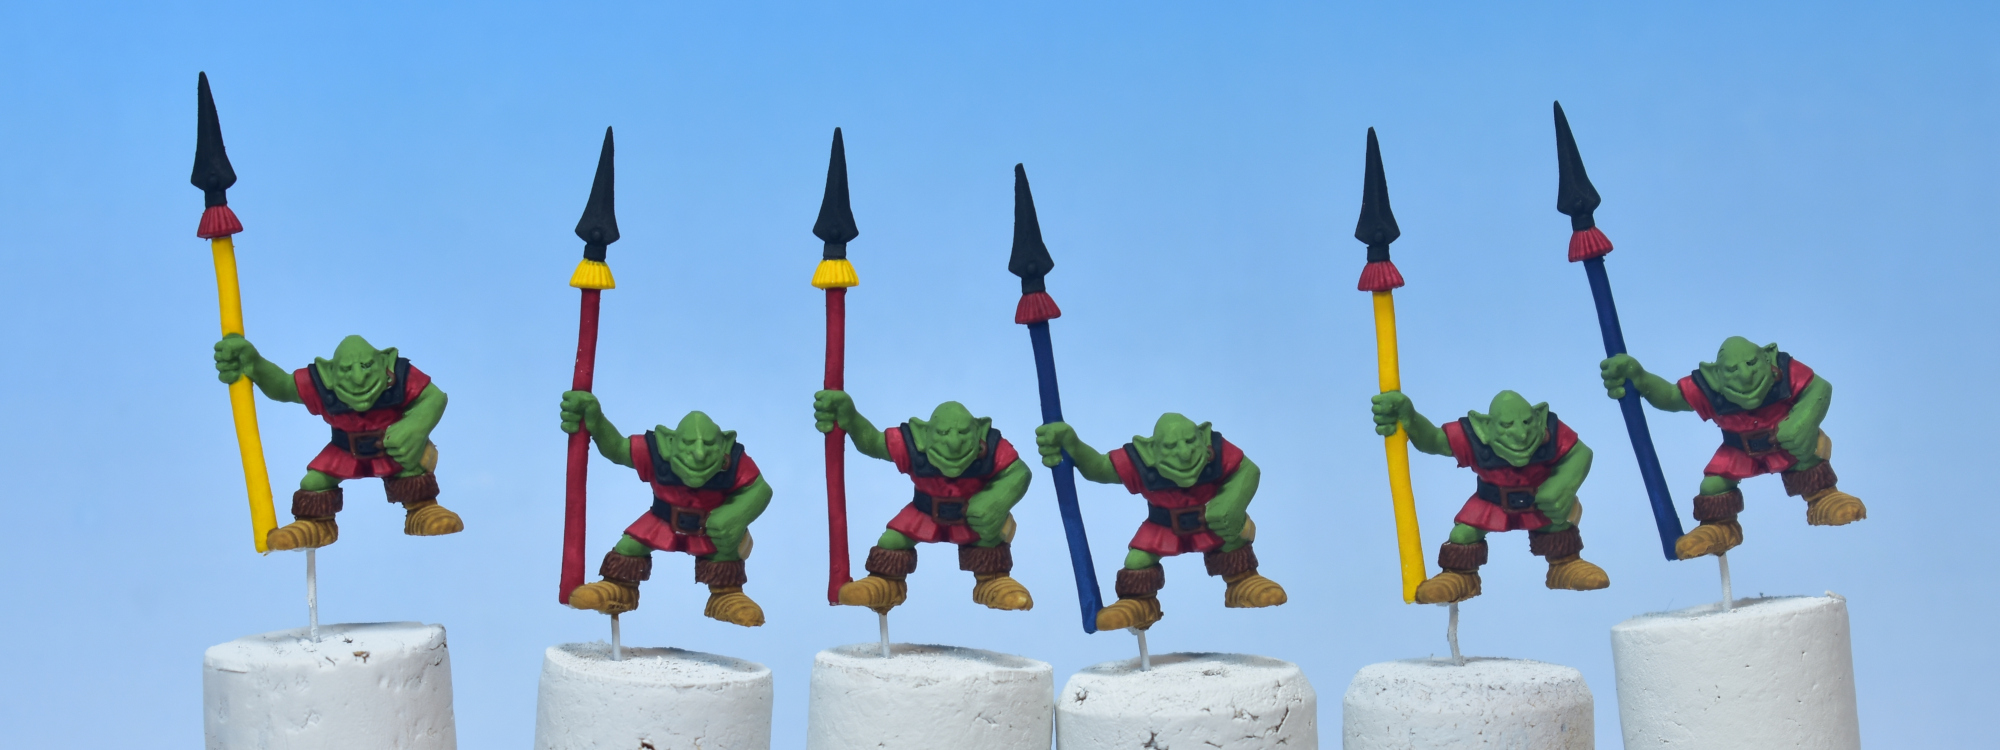
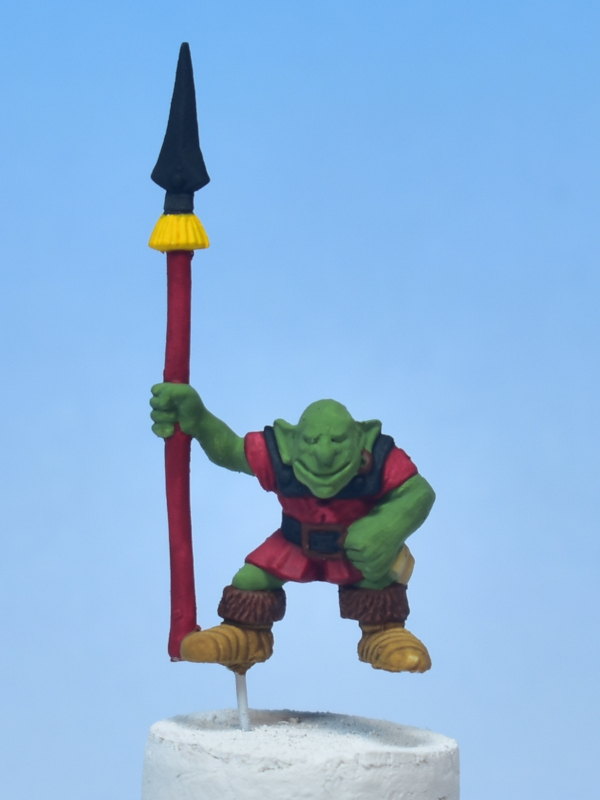
Starting from a white undercoat, we begin by applying our base coats, working neatly and using two thin coats for each colour. The colours used are as follows:
- Vallejo: Goblin Green for the skin.
- Citadel: Mephiston Red for the tunic (and some spear shaft and feather details).
- Vallejo: Black on the Armour and Spear Tip (as underlayer for the silver metallic paint), as well as the belt.
- Vallejo: Leather Brown for the leather strap shoes.
- Citadel: Mournfang Brown is used for the fur part on the upper part of the shoes, as well as an underlayer for gold areas: the belt clasp and the ear ring.
- Citadel: Morghast Bone for the pouch (use Mournfang Brown for the rope tying off the pouch).
- Vallejo: Sun Yellow is used for the yellow spears and feather details.
- Vallejo: Imperial Blue is used for the blue spears.
After this, your little green men should look something like the image below.
Metallics
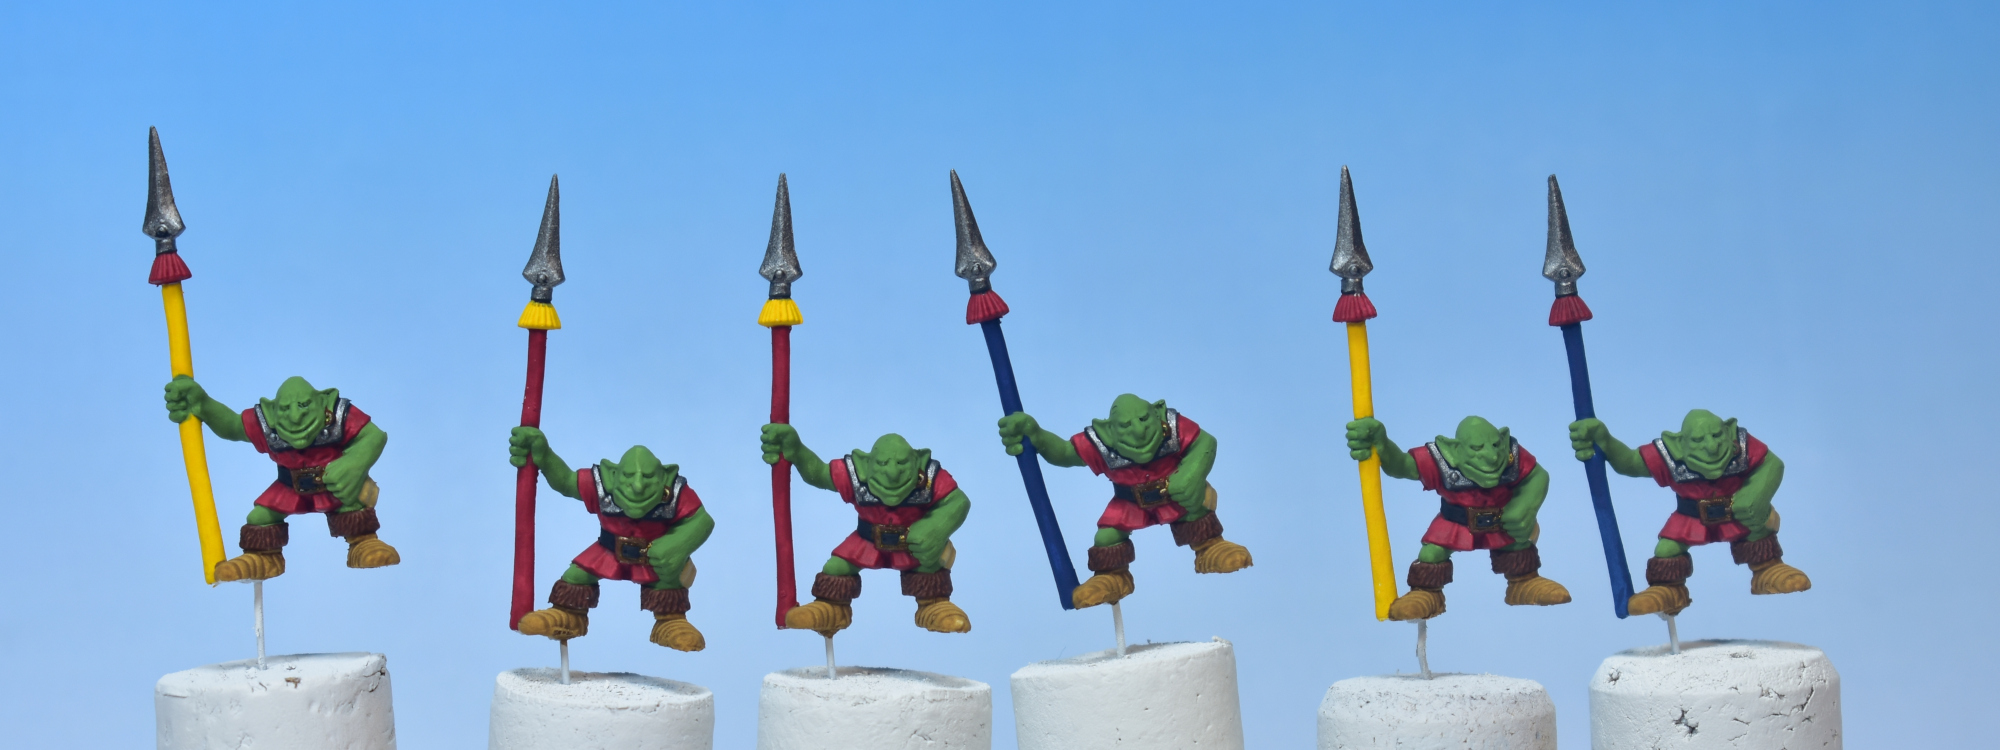
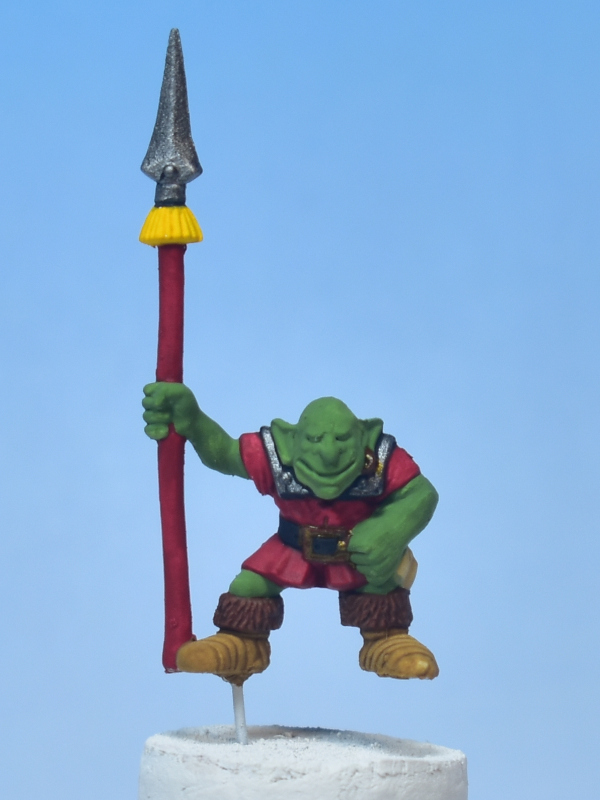
Before moving on to shading, we apply our metallic paints over the parts we underlayered in the previous step. The shoulder armour and spear tips receive a layer of Citadel: Leadbelcher. The belt clasp and the little earrings in the Goblin’s left ears receive a little line of Vallejo True Metallic Metal: Arcane Gold (Base).
Shading
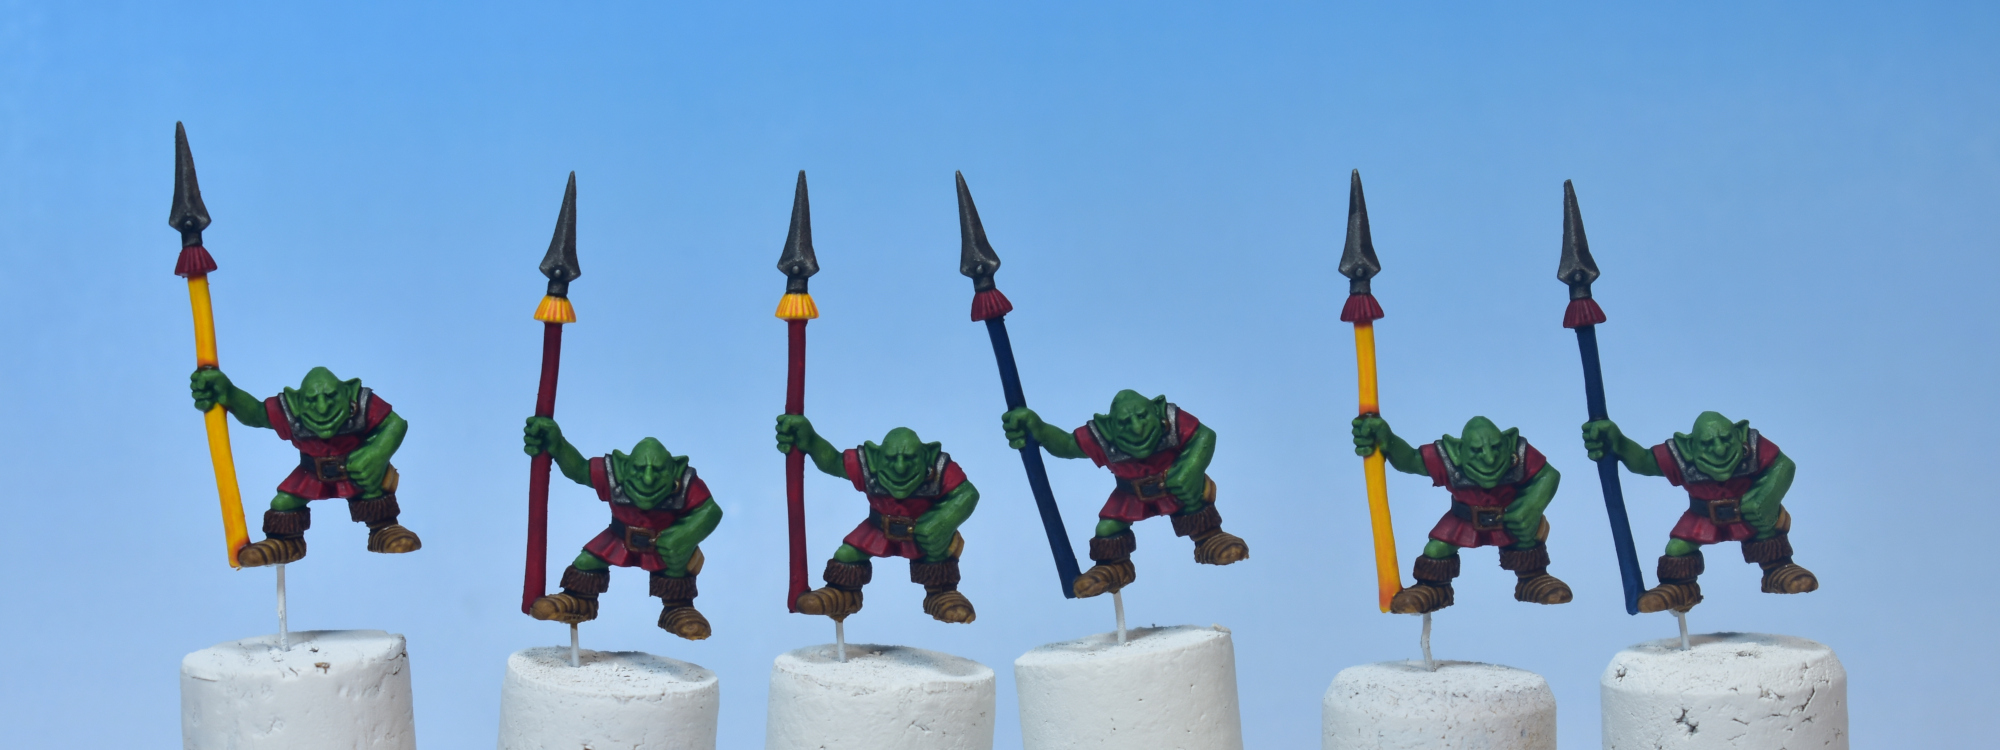
In the Shading Phase we apply washes or contrast paints to almost all areas of the model to provide our recess shading. This phase is simple and quick, although we have to mindful that washes take time to fully dry. Never apply a different wash to an adjacent areas before the previous wash has dried. When painting 6 models at a time, the paints on the first model will not have had enough time to dry, so we have to smart in the order in which we apply our washes. The paints used and the order in which I applied them here are as follows:
- Citadel: Agrax Earthshade over the boots (leather and furs).
- Citadel: Nuln Oil over the steel metallics (shoulder armour and spear tips).
- Citadel: Biel-Tan Green on the skin (be careful as this is adjacent to the boots).
- Citadel: Flesh Tearers Red Contrast on the tunic and the red parts of spears.
- Citadel: Casadora Yellow on the yellow spears and feather details.
- Citadel: Drakenhof Nightshade on the blue spears.
- Citadel: Seraphim Sepia on the pouch.
- Citadel: Reikland Fleshshade over the gold (belt clasp and ear ring).
When the first layer of Biel-Tan green shade on the skin has dried, I usually prefer to apply some extra shading to the eye sockets and the mouth to provide some additional contrast. The result of the shading phase can be seen in the image below.
Highlight Stage 1
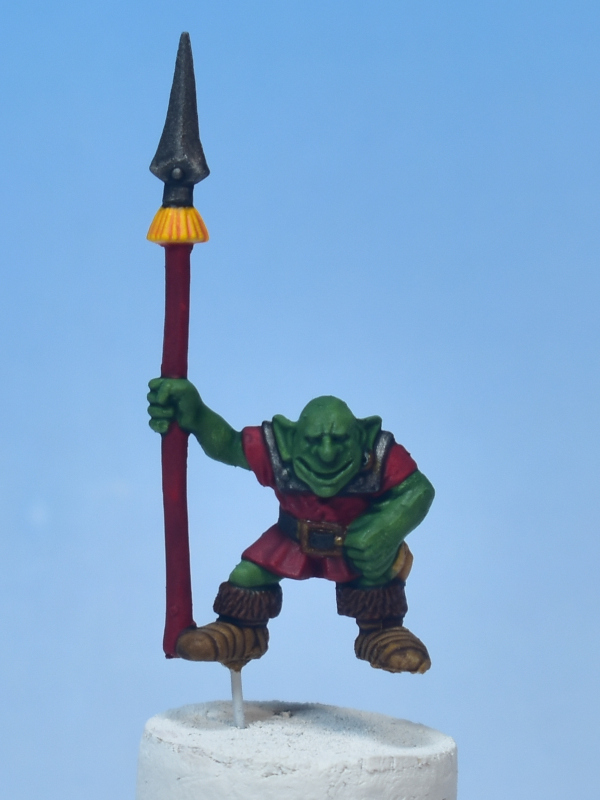
Typically, after the Shading Phase, I prefer to finish individual areas by apply several layers of highlights to those areas, one area at a time. This time however, we are going to apply a first highlight layer to all areas, before moving on to second, and third highlights. In this way, you can see how the models progressively show higher contrast and increase in vibrancy, and you could decide if maybe 1 or 2 layers is good enough for your miniatures.
In this first highlight stage, we are going to re-apply all of the same paints used in the Base Coat phase. For each area the goal is the same: to bring back the brightness to the level of the base coat (a.k.a. “re-basing”), while keeping the darker shade colour in the deepest recesses and close to the edges.
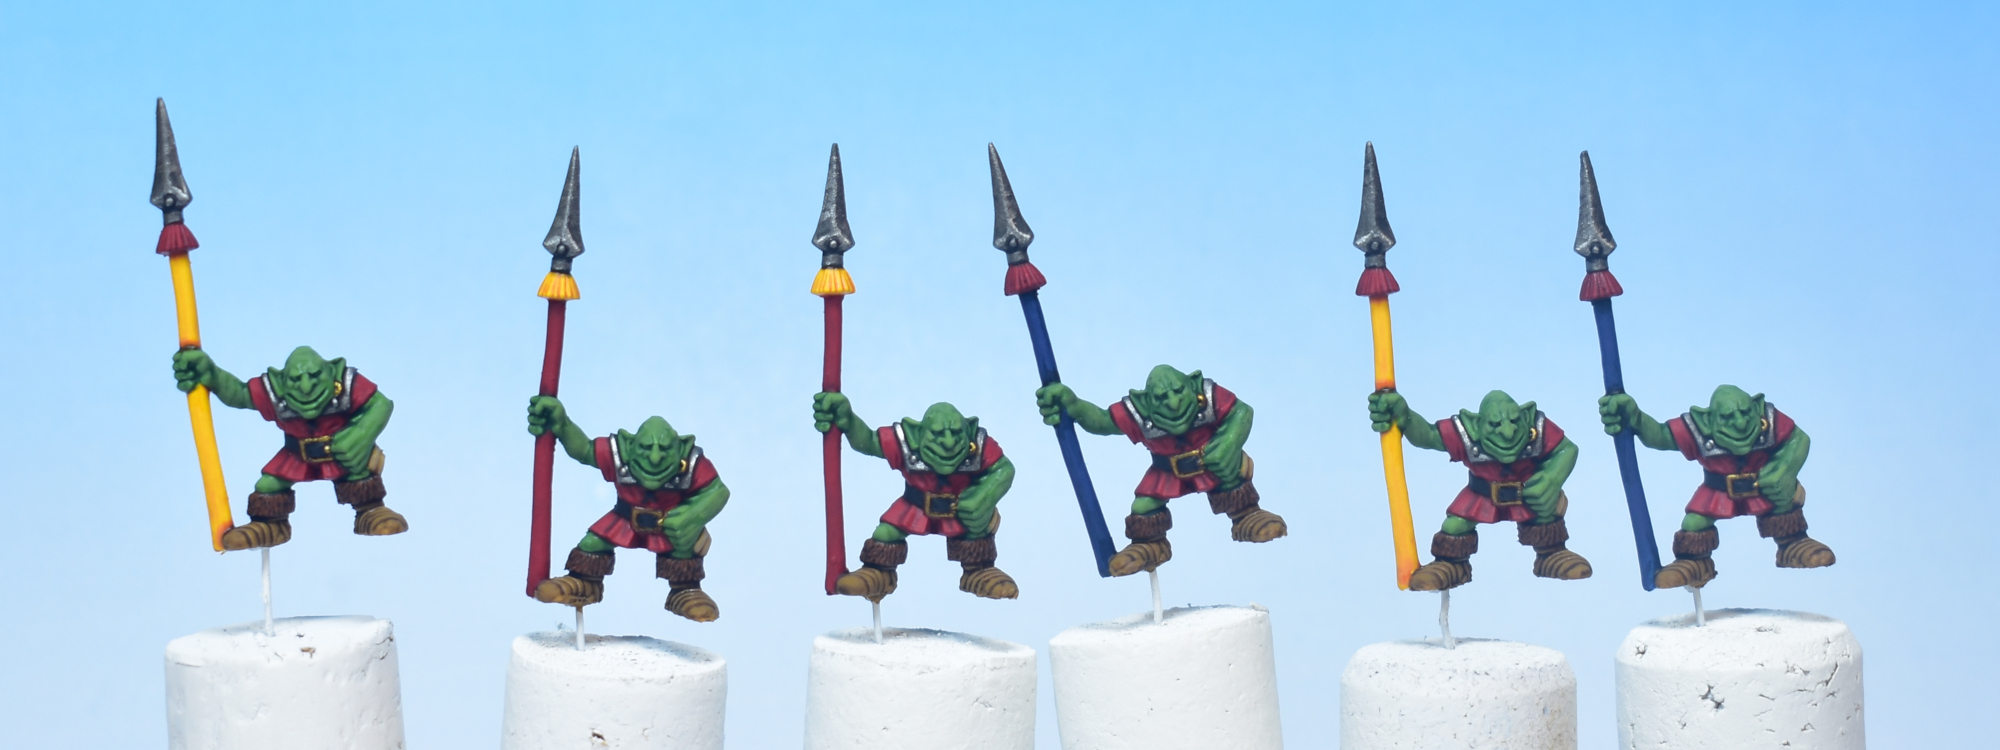
Starting from the bottom of the model, and working towards the top, we start by using Vallejo: Leather Brown to paint the individual straps of the leather boots. Then, we use Citadel: Mournfang Brown to stipple the fur part of the boots. The skin is given a coat of Vallejo: Goblin Green, leaving the darker shades on areas such as between the fingers, the deeper facial features and the area between the upper and lower arm. Citadel: Mephiston Red is used to highlight the tunics, as well as the parts on the spears that are red. Cover around 90% of the tunic, only leaving the deepest folds showing the shade colour, as we want to achieve a bright final result. The pouch is highlighted using Citadel: Morghast Bone, and the metallics receive a coat of their base colours as well (Citadel: Leadbelcher for the armour and speartip, and Vallejo: Arcane Gold (Base) for the clasp and earring). Finally, in this stage I left the belts black, and instead of applying a highlight, applied a second layer of Vallejo: Black to clean up some parts where the wash flowed onto the belt. Blue spears are given a coat of Vallejo: Imperial Blue, and the yellow spears receive a coat of Vallejo: Sun Yellow. For the spears I thin the paint a lot and apply paint from the outer edges towards the center to leave a shaded area near the hands and tips of the spear. See the result of the first highlight stage below.
Highlight Stage 2
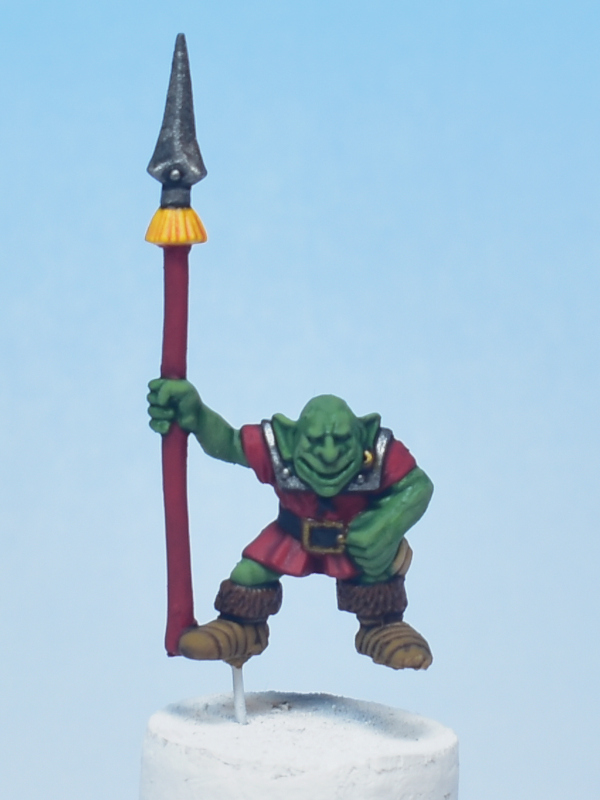
In the second stage we treat all the different parts of the model with a brighter highlight, to increase the contrast and overall vibrancy of the model.
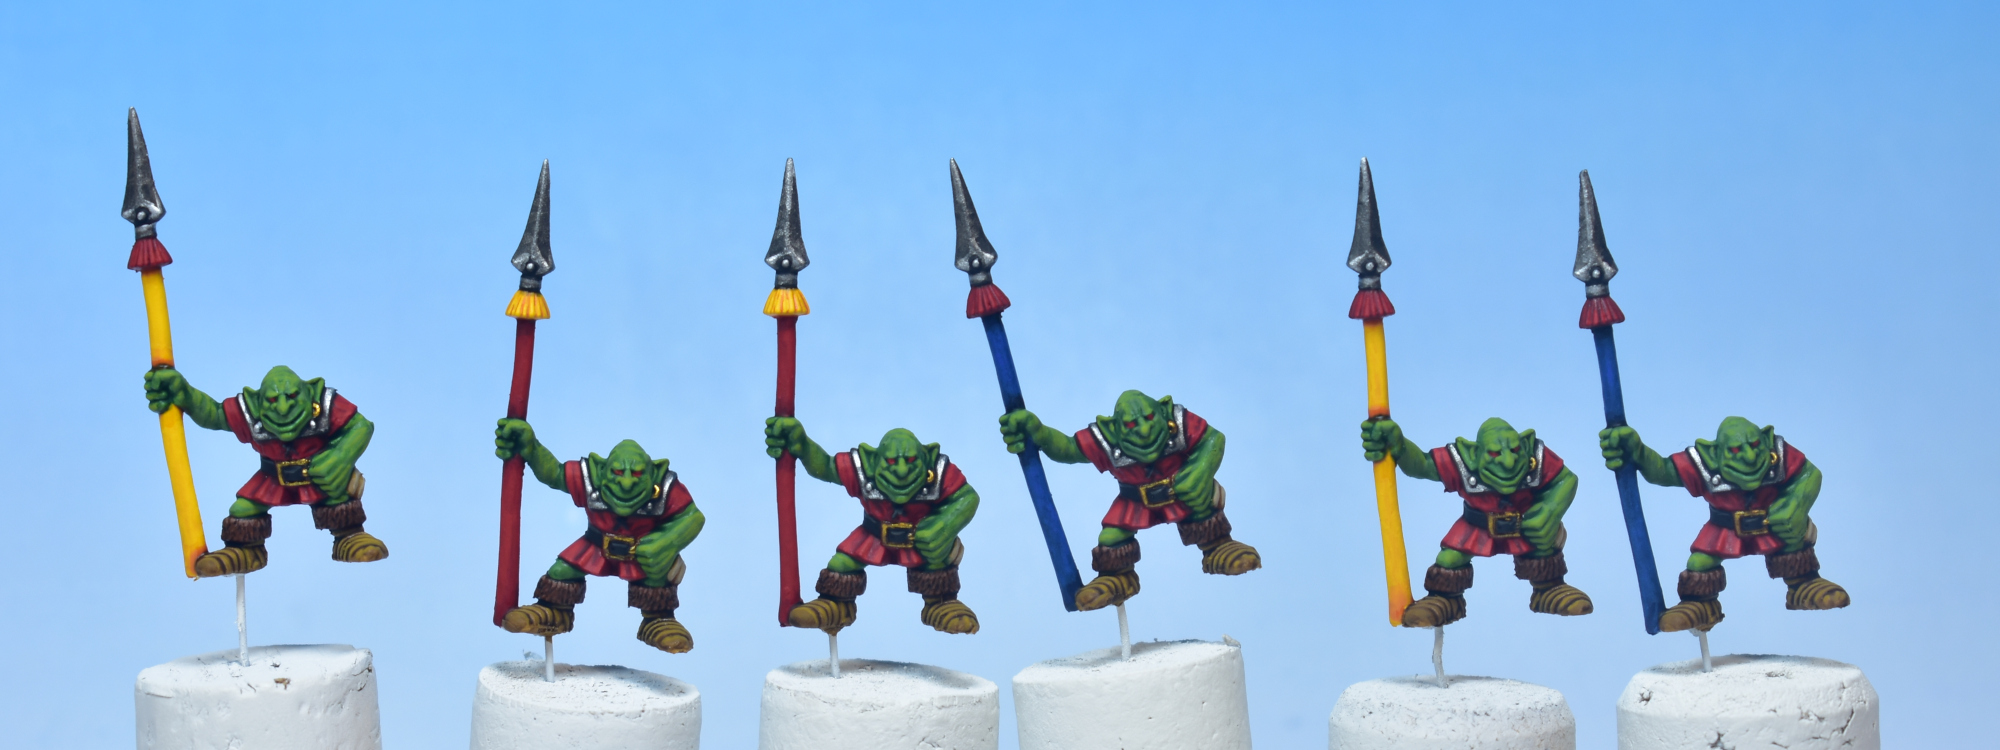
For the skin, I create a mixture of Vallejo: Goblin Green and Vallejo: Sun Yellow to create a “fresh grass” green colour. Use this to highlight the facial features, the shape of the muscles, individual fingers and tendons, etc. Don’t worry too much about the exact colour here. If you feel the contrast with the previous layer is too sharp, just mix it a little darker, or add a bit more water to your paint to make things a little more translucent. Using this one highlight colour you can already accentuate certain areas (e.g. knuckles, the nose, or ear tips) by going over areas multiple times.
For the reds, take Citadel: Evil Sunz Scarlet and highlight the tunics, spears and spear decorations. For the tunics, focus on painting relatively thick lines on the folds and filling in some upwards facing areas. For the spear, apply the same technique as in the first highlight stage, thin down the paint to a glaze consistency and paint from the edges to the center of the spear to create a smooth transition towards the edges. For the spear decoration, focus on highlighting the bottom half of the plume that would catch more light. While we have Evil Sunz Scarlet on our palette, we also paint the eyes. Take a small brush and come in from the side of the head to paint a small oval shaped, red eyeball. If you’re uncomfortable painting eyes on miniatures, these models are perfect to practice on, as the glowing red eyes are much more forgiving to errors compared to “human” white/black eyes.
Moving on to all the little details, Vallejo: Bone White is used to highlight the pouch. Mix in some Vallejo: Sun Yellow with the Vallejo: Leather Brown to create a highlight colour for the leather strap boots. Mix in some of the Vallejo: Bone White with Citadel: Mournfang Brown to create a highlight colour for the fur boot wraps. Again applying a stippling effect, but only focusing on the top rim of the fur.
We use Citadel: Flash Gitz Yellow to highlight the yellow spears, using the same technique as in the previous step, glazing away from the edges. When painting the yellow spear tip plumes, focus on the bottom half where the light naturally falls. And For the blue spears, we use Citadel: Caledor Sky to brighten them up. Use plenty of water for a thin glaze and apply several layers to slowly work up the gradient.
For the black belt, we paint a very thin line of Citadel: Stormvermin Fur close to the top edge of the belt to give this feature some depth.
Finally, we highlight up the metallics, starting with Citadel: Runefang Steel for the armour and spear tips. Focus on the rivets and edges and don’t cover any larger surfaces. Then, we use Vallejo True Metallic Metal: Imperial Gold (Base) to highlight the belt clasps and earrings.
Highlight Stage 3
In this final stage of highlighting we focus strictly on some of the areas that deserve the most attention, or are the quickest small gains.
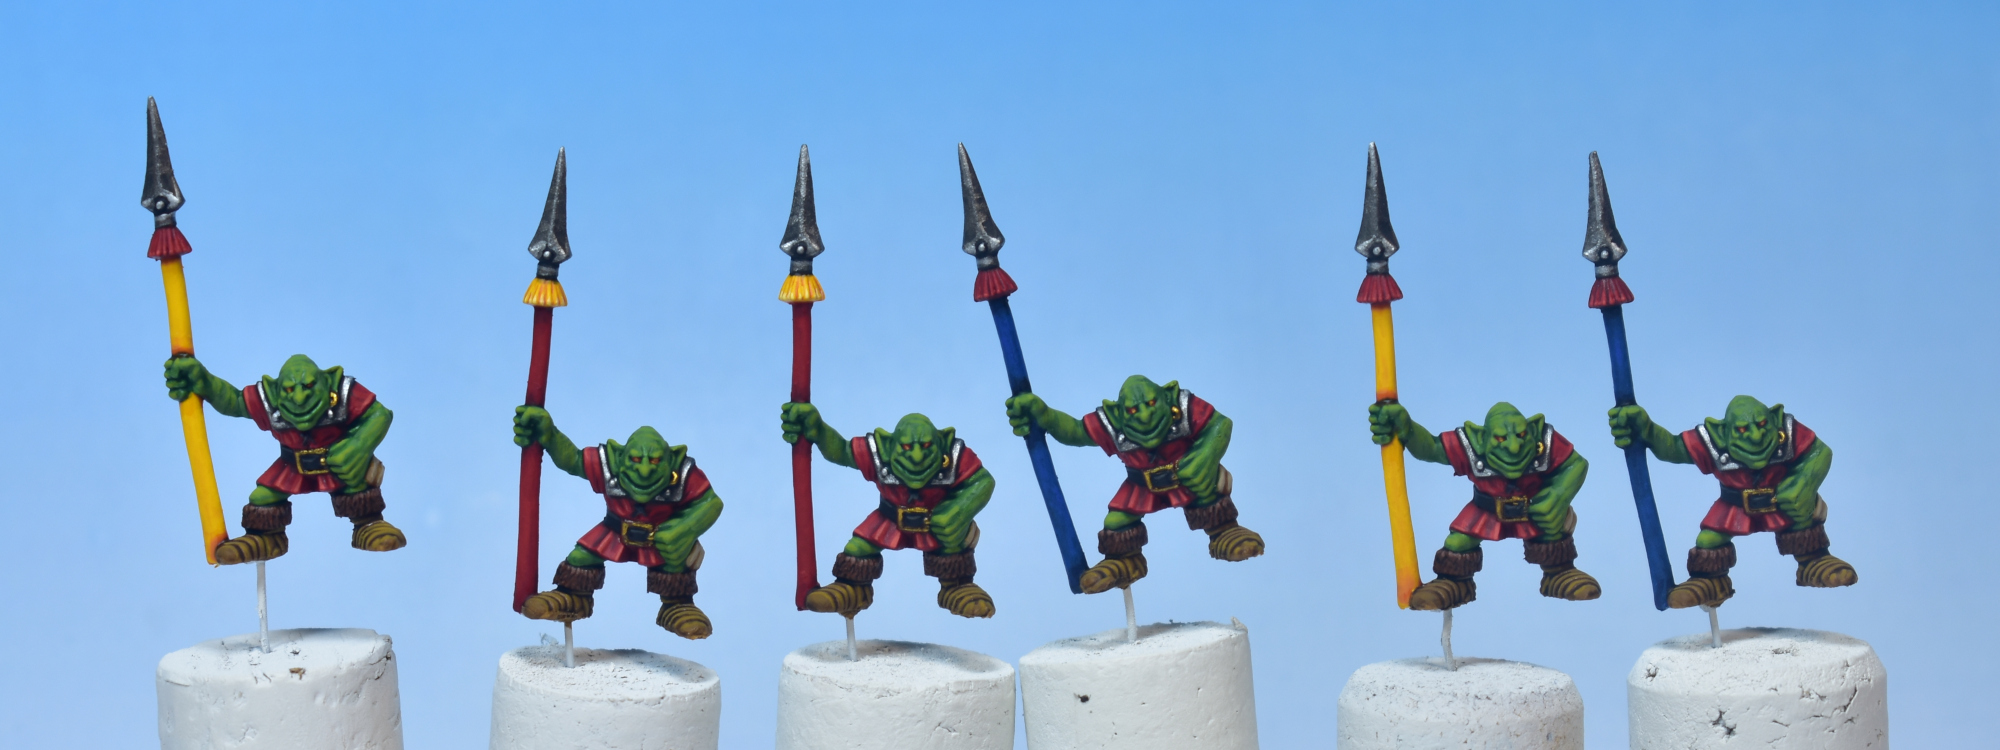
For the skin, we mix in even more Vallejo: Sun Yellow into the Vallejo: Goblin Green to place some final accents on the skin. Hit the knuckles, the tip of the nose, chin and cheekbones, as well as the tips of the ears. While we have the Sun Yellow on our wet palette, we place tiny yellow dots in the center of the red eyeballs.
Citadel: Wild Rider Red is used to create thin edge highlights on the tunics and the very bottom edge of the red spear plume decorations. For those spears with yellow plumes, we use Citadel: Dorn Yellow to do the same.
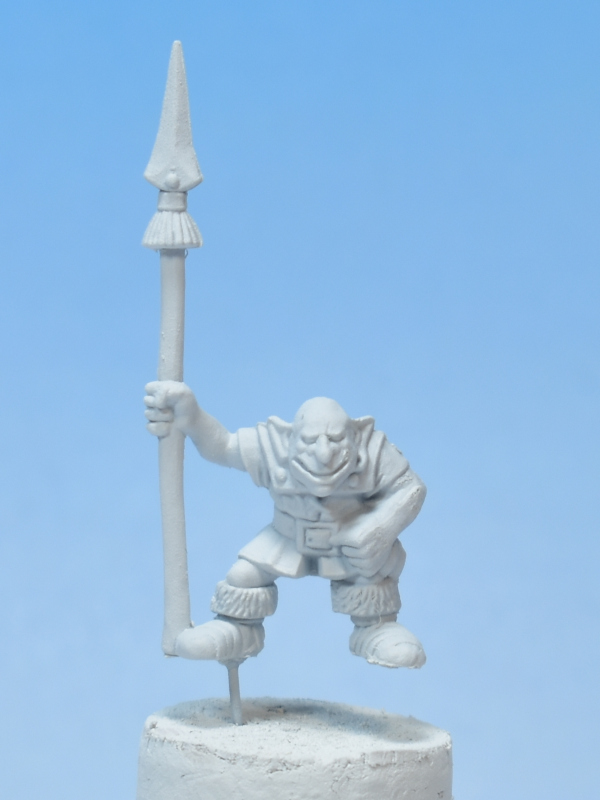
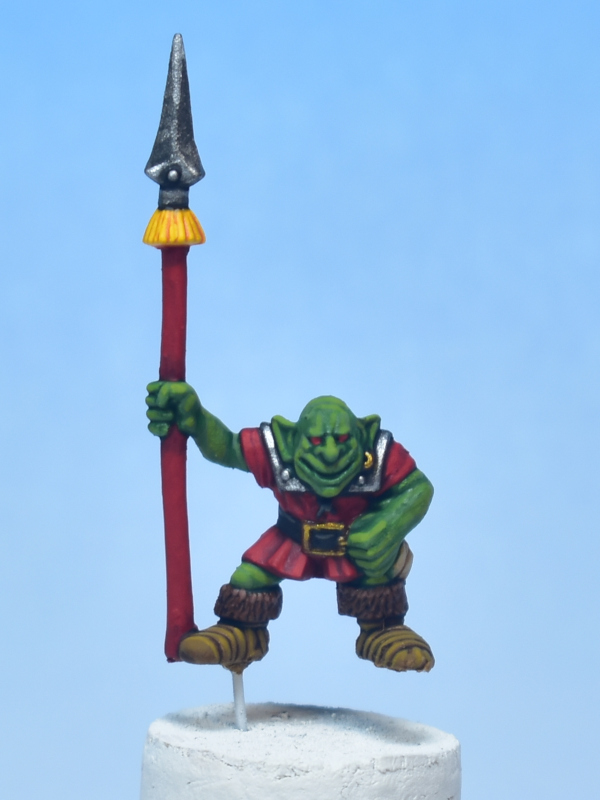
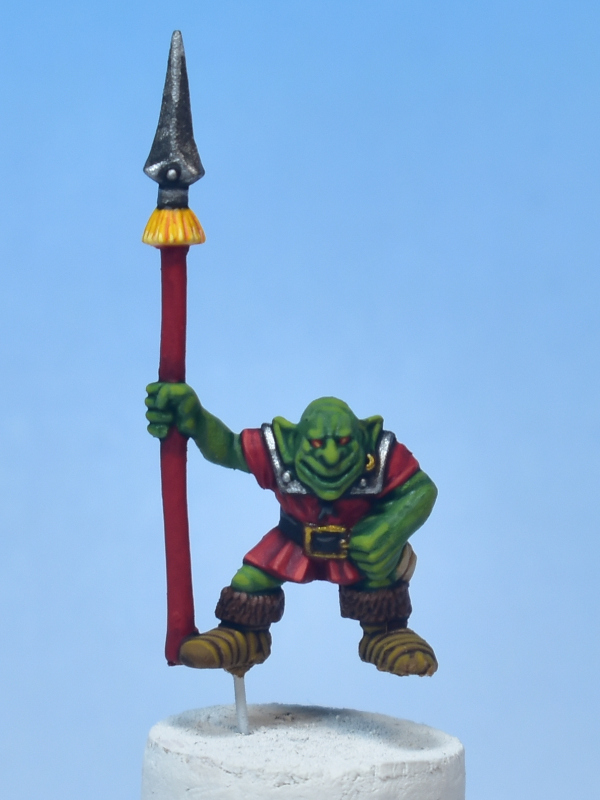
Before moving on to the result, let’s look at the different stages one more time, so we can clearly see the effects of the different steps. The gallery below shows the undercoat, basecoat, metallics, wash, and three highlight stages. As always, click on the images for larger versions.
The Result
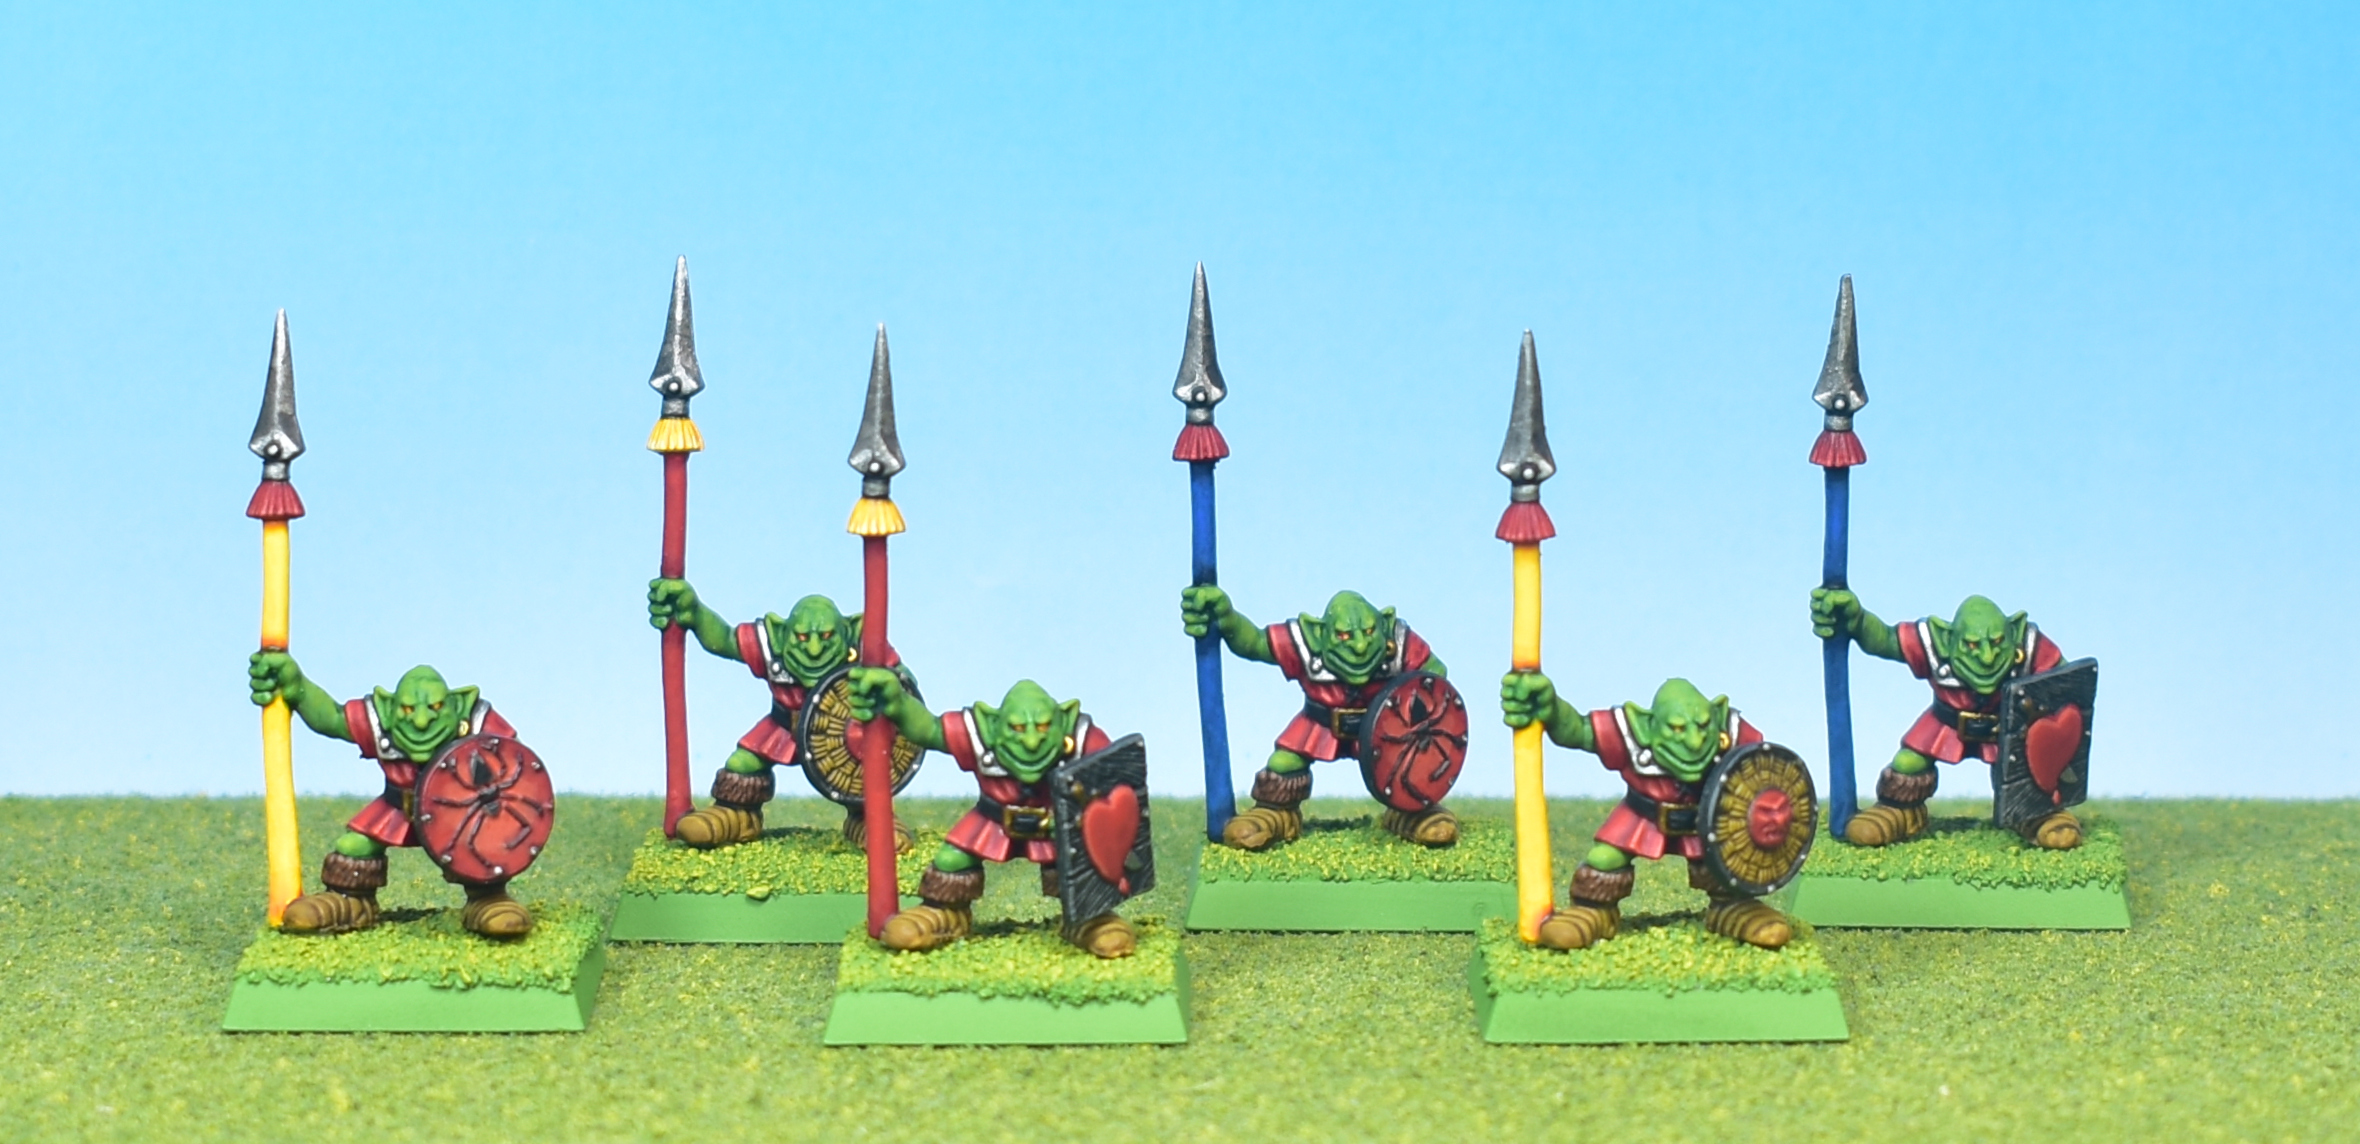
And there we are! I’ve added some shields that were painted using the same colours and techniques, and put them on some glorious Goblin Green bases (click for the tutorial).
Closing Words…
If you have any question, feel free to leave a comment below, or drop me an email at harm@harmsworkshop.com. If you found this very useful and want to show some support, you can do so via my Ko-Fi page.
Thank you so much for these tutorials! They are wonderful.