
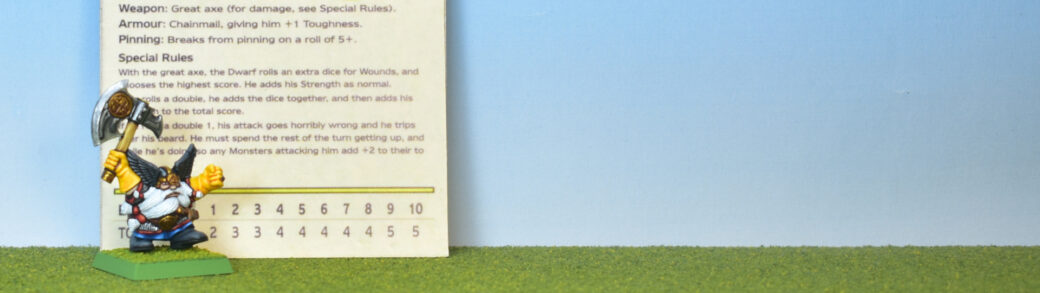
The best thing about Warhammer Quest is the Dwarf!! In today’s tutorial, not a step-by-step guide as usual, but rather a detailed look at the miniature and an explanation of the colours used to achieve these results. If you are the lucky owner of one of these beautiful sculpts, spray paint it white, and follow along!
Skin & Beard
For the skin I started out fairly dark using Citadel: Bugman’s Glow, shaded down with Citadel: Reikland Fleshshade. I wasn’t sure if this model is supposed to wear “short sleeves”, but I decided that the tiny areas next to the gloves are skin as well. For highlighting, I wanted to make sure to reach a “bright” final colour, so I started the highlighting process already quite bright, using Citadel: Kislev Flesh. There’s very little space to work here, so after this I applied a thin line of Vallejo: Pale Flesh on the raised areas and stopped right there.
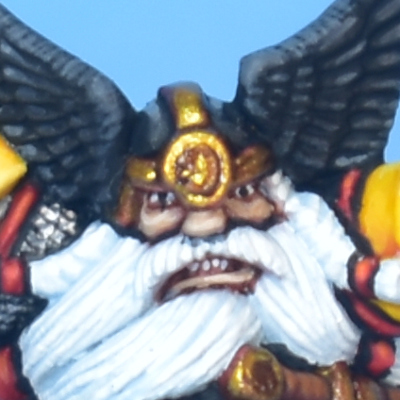
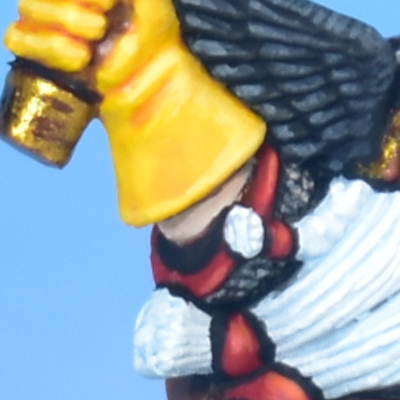
In order to achieve a very bright white beard, I started with a base coat that is already quite light: Citadel: Blue Horror. If you follow the painting methods I describe here, using base coat, wash and highlights, I recommend saving painting the beard for the very last. There are a lot of adjacent areas that require a wash, and these will very easily “bleed” into the beard. So at least wait until after all washes have been applied with painting the beard, and cover up any “wash spills” with white first before going for the Blue Horror. With a good solid base coat of Citadel: Blue Horror, I highlighted the individual strands of hair using Vallejo: Dead White. There isn’t anything whiter than that, so the “second stage” highlight is just applying more of the same paint on the raised areas. In order to get a little more pronounced shade, I thinned down some Citadel: Blue Horror to a wash consistency and applied some in the deepest folds of the beard and where the beard meets the face.
Yellow Gloves and Cape
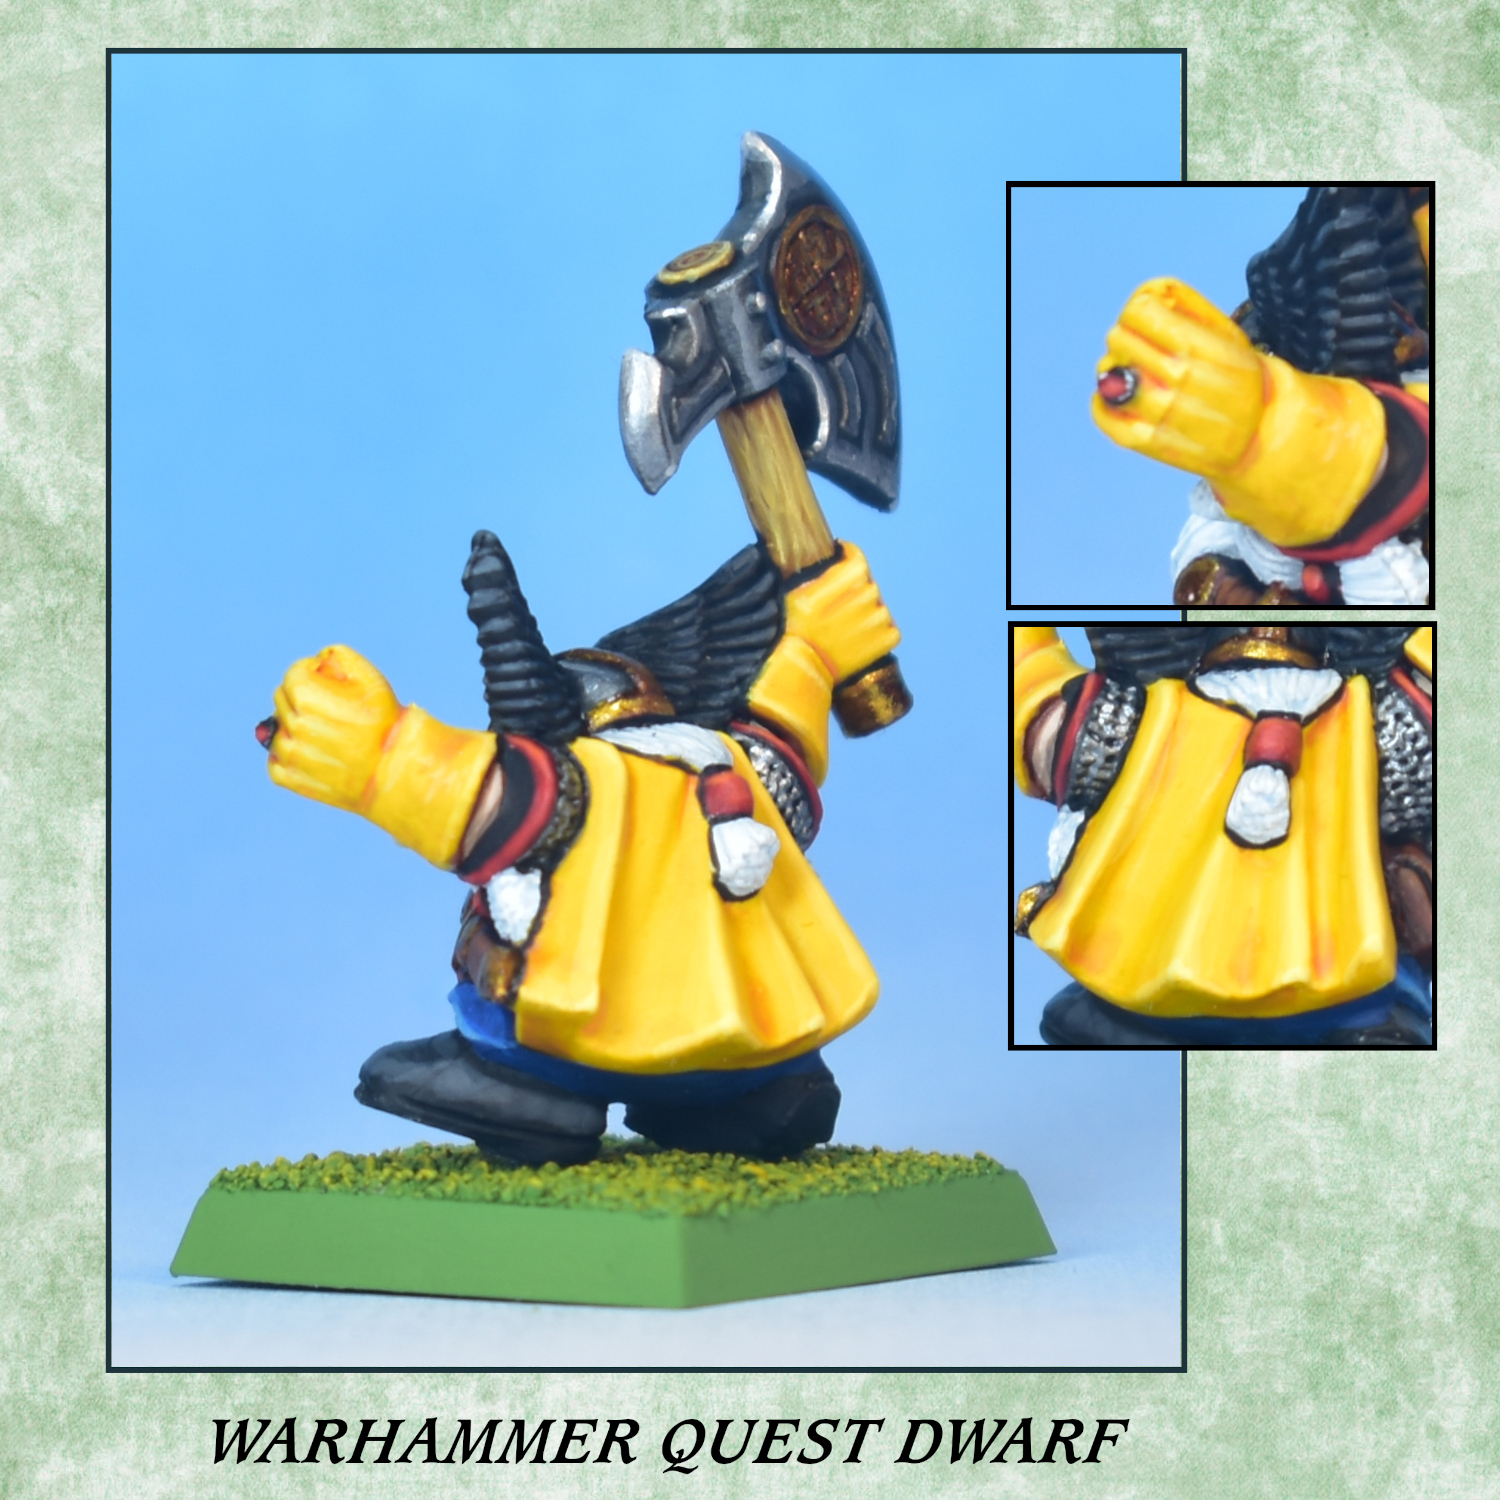
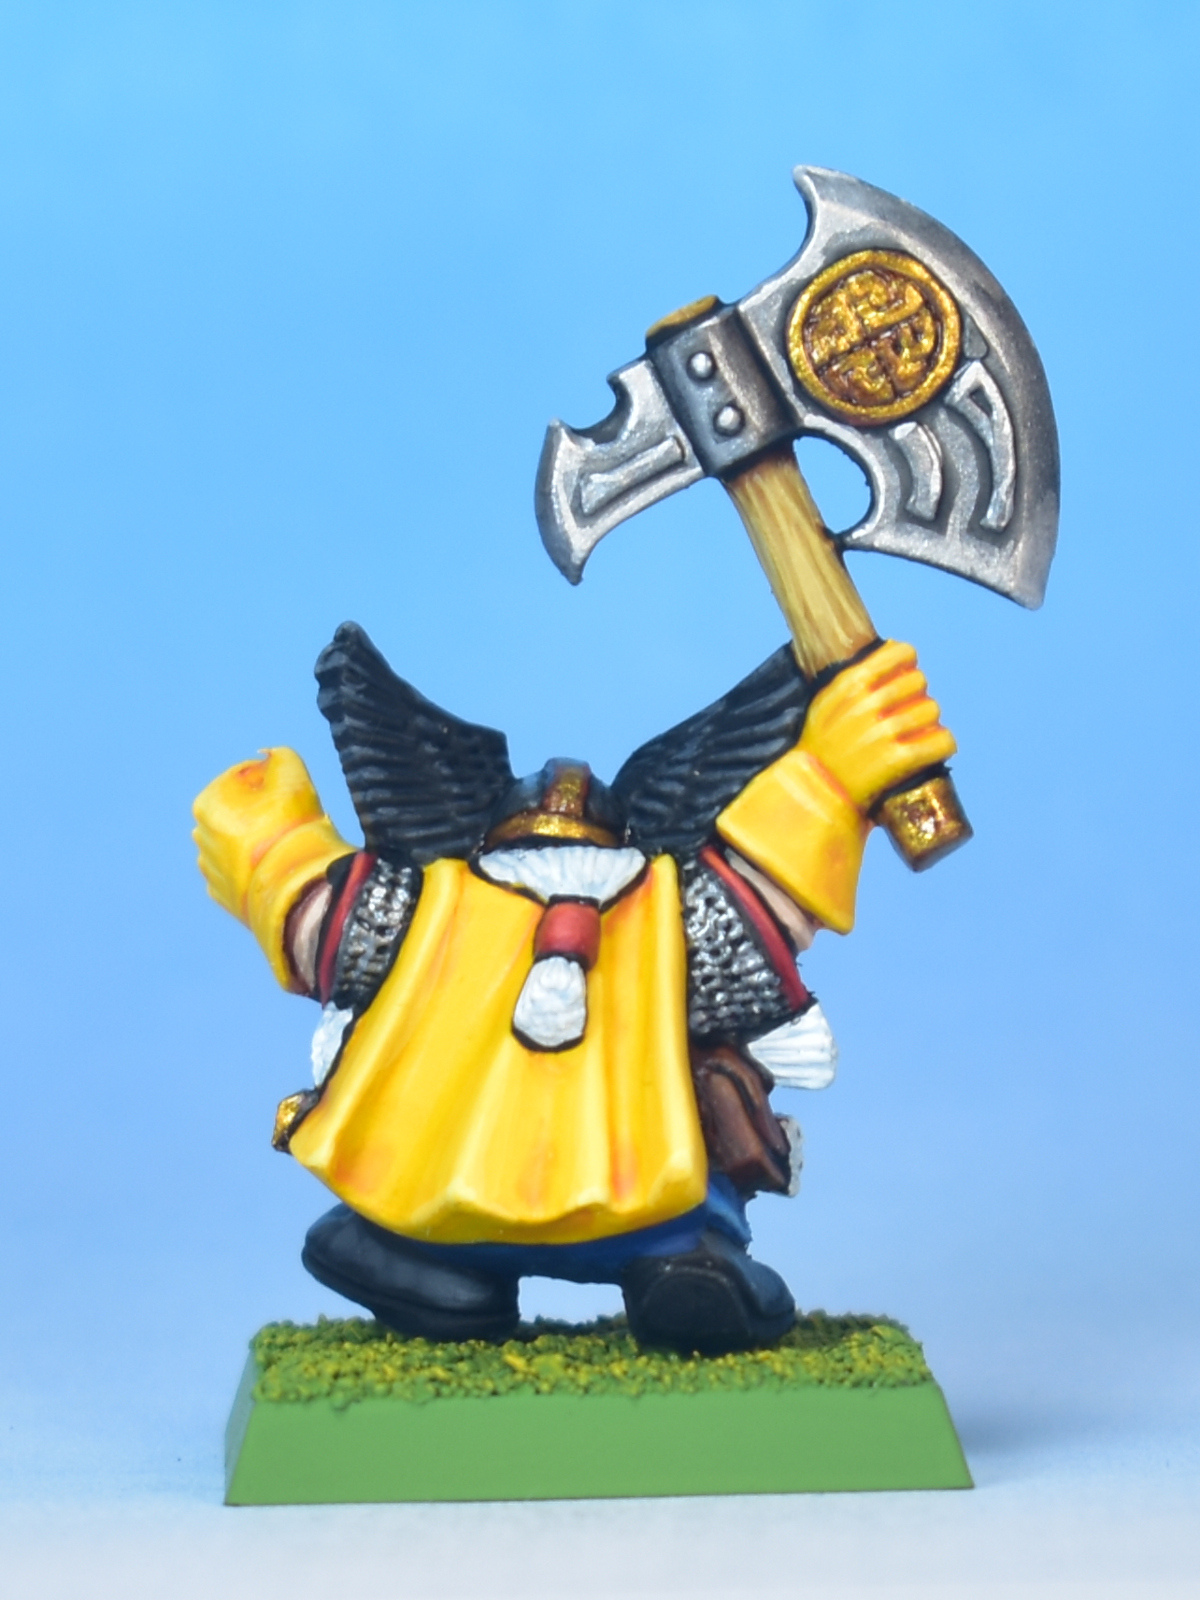
The yellow gloves and cape are painted using the same colour scheme, starting with a base coat of Vallejo: Sun Yellow. Then, I applied a shade of Citadel: Casandora Yellow, mixed down with a little bit of water. Make sure that the wash doesn’t pool too much, especially in the folds of the cloak. Highlighting starts with pure Vallejo: Sun Yellow, and after that I starting adding Vallejo: Dead White to increase the brightness. The final highlights are done with a color that is similar to Citadel: Dorn Yellow in brightness.
Tunic
A little bit of blue on this model for the tunic he’s wearing under his chain mail. For this, we start of with a base coat of Vallejo: Imperial Blue. Then, I started highlighting with thin glazes of Vallejo: Magic Blue to start defining the folds in the cloth, finally mixing in Citadel: Blue Horror into the mix to start creating some edge highlights.
Gold, Silver, and Axe Haft
Below we cover all the metallic paints as well as the handle of the axe.
Gold
All the gold details are first base coated using Citadel: Mournfang Brown. Any brown under-colour makes the Gold metallic paint stand out much better. Then, a base coat of Vallejo: Arcane Gold Base (from the “True Metallic Metal” range) is applied. This will need at least two thin coats to cover well, the result should be as shiny as possible at this stage. After this, the gold is shaded down with Citadel: Reikland Fleshshade, and finally highlighted in only a single stage using Vallejo: Imperial Gold Base (from the same “True Metallic Metal” range).
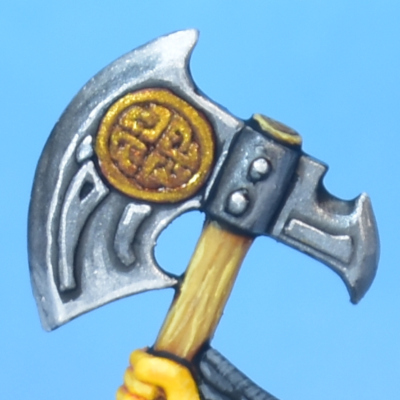
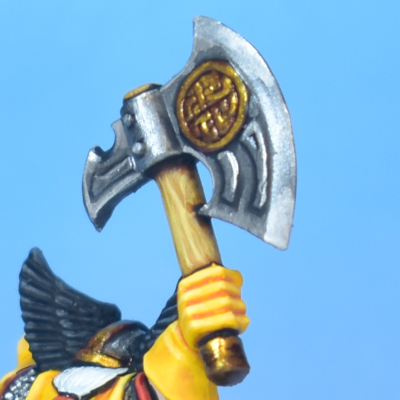
I typically do fewer stages of highlights when working with true metallic metal paints. The shiny paint already does some of the work for you by creating “actual” highlights by reflecting the “actual” light!
Silver Metallics
Similar to the Gold, we apply an “under” coat for all the areas that will be painted using silver metallics (the axe, helmet, and chain mail). For this we use black (Vallejo: Black, or anything really). Then, an all over coat of Vallejo: Gunmetal (I use the “Model Air” range), and then a wash with Citadel: Nuln Oil. After this we highlight back up using the same Vallejo: Gunmetal, and then using Vallejo Model Air: Silver for the final highlights. When highlighting the chain mail, apply small dots, and make sure the paint is not too runny. For the axe, just highlight as if painting with regular paints. Use glazes and edge highlights, focusing the highlights to the top parts of the axe. As a final dot highlight, I mixed in some Vallejo: Dead White into the Silver to give that final shine on the tip of the axe.
Axe Haft
The axe haft was base coated using Citadel: Balor Brown, then given a wash of Citadel: Agrax Earthshade. Then, everything is highlighted up, first using pure Citadel: Zamesi Desert, and then slowly mixing in more and more Citadel: Dorn Yellow. When highlighting this, I start by glazing thin lines moving from the outer edges to the center, and end by creating some final thicker thin lines of paint using almost pure Dorn Yellow. The idea of painting many thin lines is of course to achieve the impression of a wood grain.
Other Details
Below I go through all the other final details on the model.
Reds
For the red details (the rims of his chain mail, and his beard decorations) I chose not to use any washes, as the areas are so small. I started off with a base coat of Citadel: Mephiston Red, and then highlighted, working my way up to Citadel: Evil Sunz Scarlet, Citadel: Wild Rider Red, and finally Citadel: Trollslayer Orange.
Feathers and Shoes
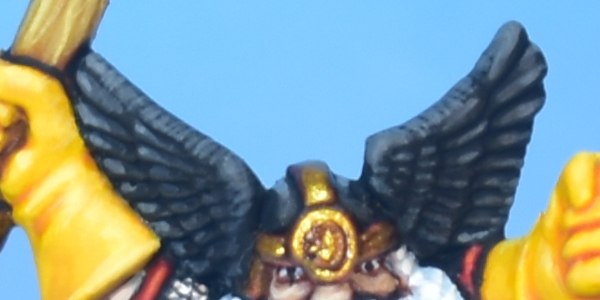
Both the feathers on the helmet and the shoes should read mostly as “black”, which means we should be careful with our highlights. I base coated both elements with Vallejo: Black, and used the same colours for highlighting: Citadel: Eshin Grey, and then mixing in some Vallejo: Dead White. For the feathers, draw thin lines of Eshin Grey over all the feathers, and then mix in progressively more Vallejo: Dead White to increase the highlights on the tips of the feathers. For the boots, I used Eshin Grey as a glaze to slowly build up some volumetric highlights. In both cases, be careful with applying highlights, as too much will quickly make the areas read as “grey” instead of black.
Leather Details
The leather details, like his belt, pouch and dagger are base coated using Citadel: Rhinox Hide, and then highlighted using Citadel: Doombull Brown, mixing in more and more Citadel: Skrag Brown for the final highlights.
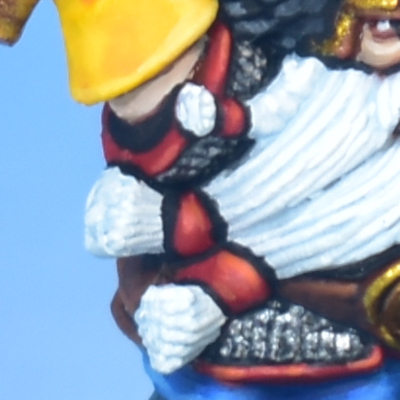
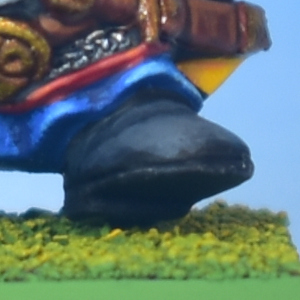
A note on black lining….
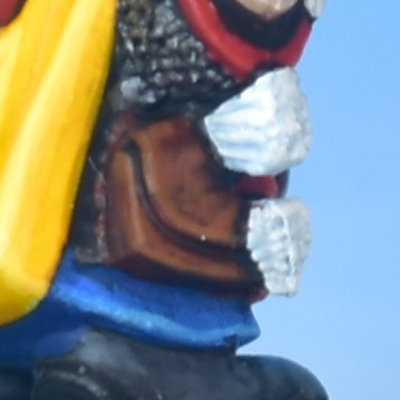
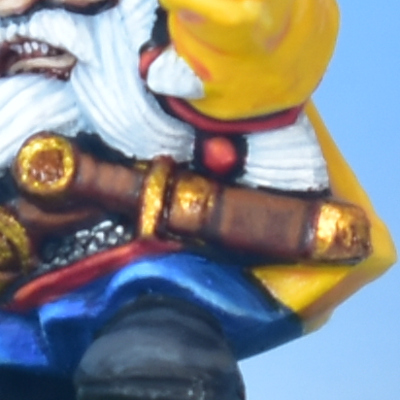
As you can see, there are many parts of the model where thin black lines separate two adjacent colours. This is most visible around the beard, and how it is separated from the little red beard decorations, but it is used on other parts of the model as well. When painting this miniature, I did this “black lining” as one of the final steps by carefully painting thin black lines using Vallejo: Black. If you like this style and want to replicate, I do recommend to already do this in the base coating stage, as mistakes are less costly, and it’s easier to achieve very thin black lines in this way.
Final Result
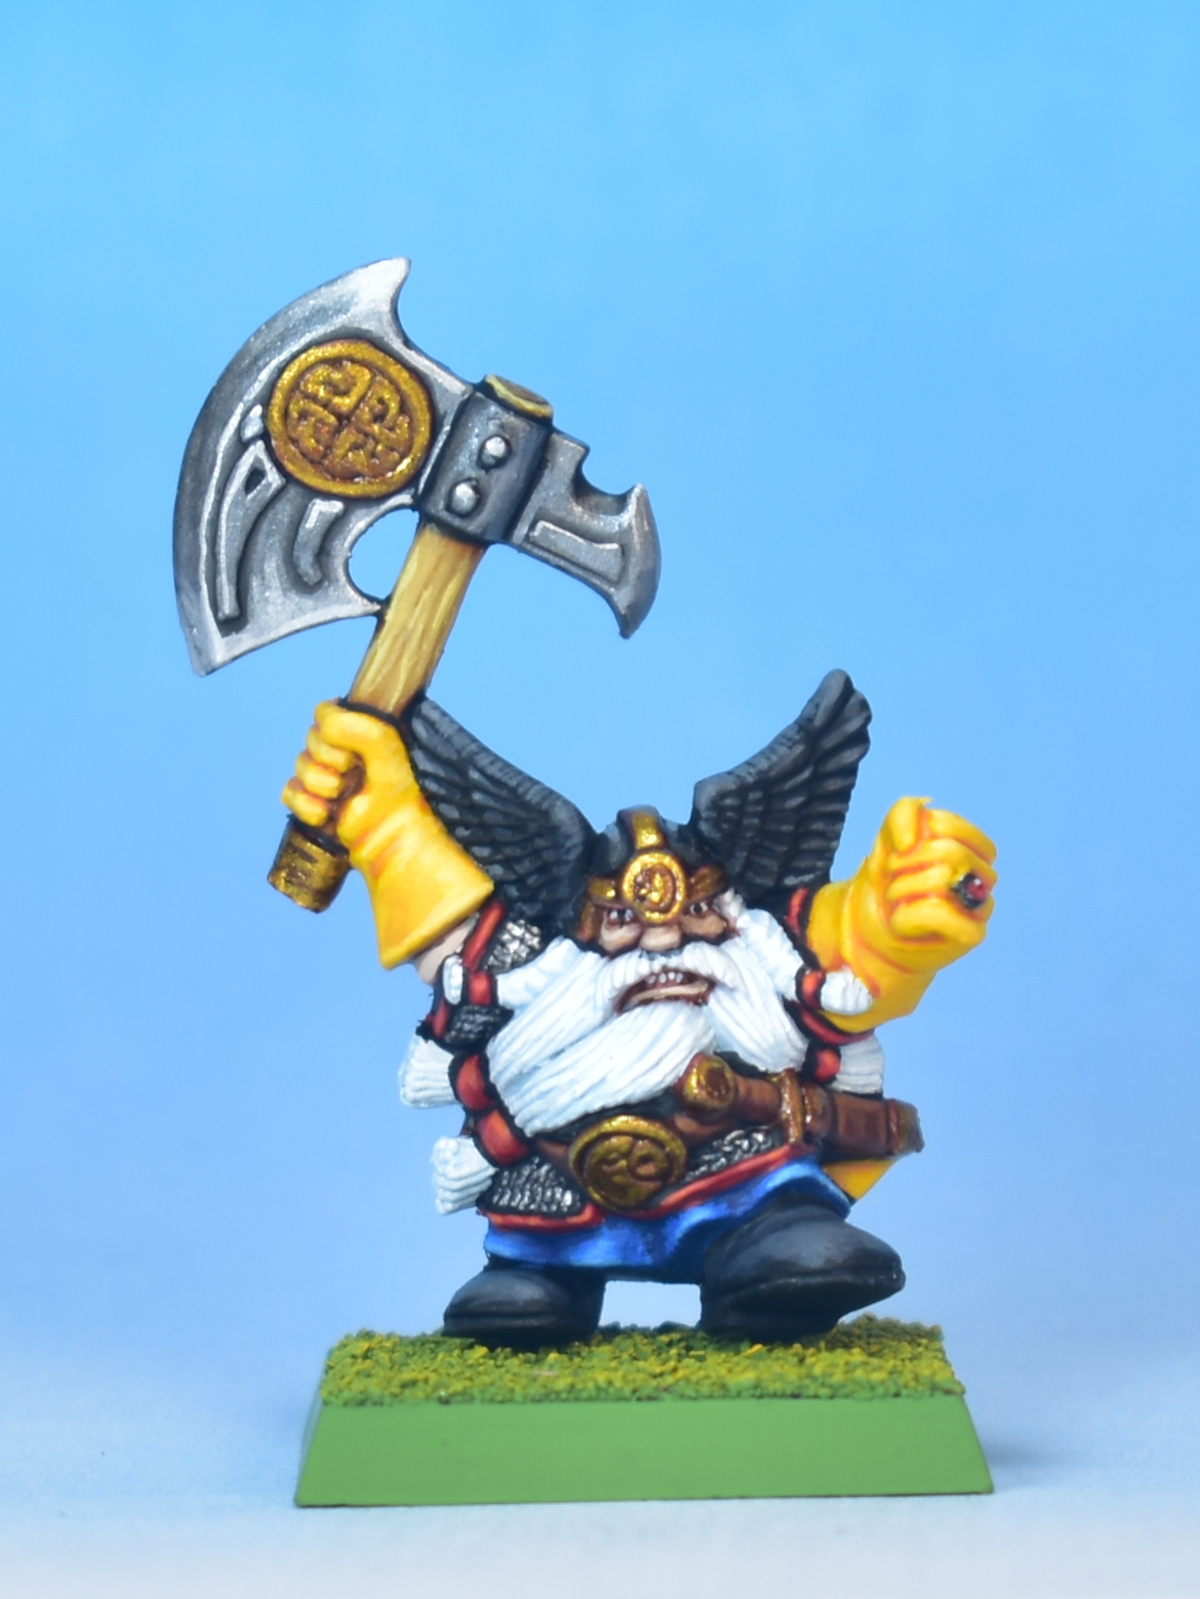
Well, we’ve already seen the final result from various angles, but here are some final “full body” shots of the Warhammer Quest Dwarf!
Closing Words…
If you have any question, feel free to leave a comment below, or drop me an email at harm@harmsworkshop.com. If you found this very useful and want to show some support, you can do so via my Ko-Fi page.