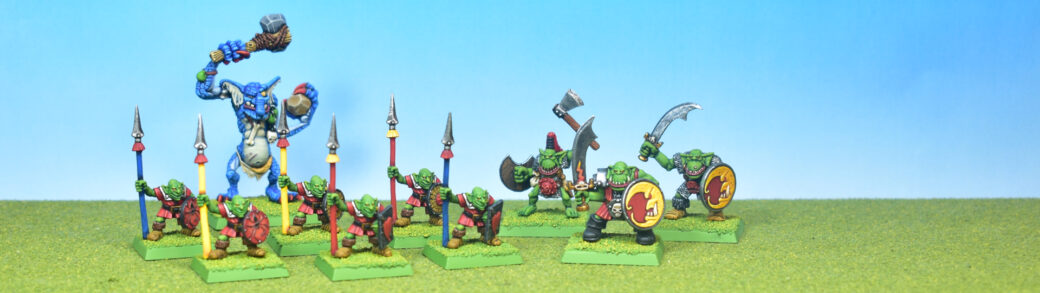
This tutorial is my “ultimate guide” to creating that Classic Goblin Green base look for your Warhammer miniatures. Whether it’s for your Warhammer: The Old World army, a Necromunda Gang, a Mordheim Warband, a Warhammer: 40000 army or your Warhammer: Quest miniatures — a Goblin Green base is always the right choice…
Foreword
Whatever basing scheme you choose, there are generally three different approaches to tackling basing: Basing First, Basing Last, or Basing Separately.
- Basing First. The first approach is to glue your model to its base right away, then apply basing materials (e.g. sand), undercoat everything, and then paint everything (see for example my “Old World” Basing tutorial).
- Basing Last. The second approach is the one you would see in old painting tutorials. You attach your model to the base, then undercoat the model and paint it, and only when the miniature itself is fully painted, you apply basing material and paint the base.
- Basing Separately. The third approach is to completely paint your models and bases separately from each other, and only glue them together when they’re both finished.
Each of these approaches have their advantages and issues. With both the Basing First, and Basing Last approach, the miniatures remain ready for the gaming table. When you’re halfway through painting a unit, but you have a game coming up, you can just take them off the painting handles and get them on the gaming table. When Basing Separately, this is not an option, as your models won’t have a base to stand on until they are fully done.
Between Basing First or -Last, Basing First is my preferred approach, as you don’t have to be super careful with dry-brushing the basing material. Another advantage is that the basing material will receive a layer of undercoat, whereas in the Basing Last approach, you would be painting directly on bare sand.
However, over time my ultimate preference has shifted towards Basing Separately for a number of reasons. The first reason is that it’s much faster to do 10 bases, separate from their models (as we will see in this tutorial). The second advantage is that the base is not going to be in the way when painting the miniature. Instead of using a specific miniature holder, or attaching the based model to a plastic cup with some poster putty, we can pin the model onto a piece of cork (see for example the Goblin Spearmen tutorial). This way of handling the model on the painting desk gives the best access to all parts of the model, especially when you need to come in with the brush from below.
But enough talk for now, let’s get to the basing tutorial…
Preparation
To get started, I’m going to grab a bunch of bases that I need for my ongoing painting projects. In this case, I have some Orcs, some goblins and a Stone Troll that are in need of a base. We first check the bases for slight imperfections. As these are manufactured on “sprues”, they often have a small spot on one of their edges where they were attached to the sprue. Sand this off using a fine nail file.
Newer Games Workshop bases have their “attachment point” at the bottom of the base, so you no longer need to file off anything. Square-base innovation!

Applying Materials
We are going to be covering the tops of these bases with some fine sand. If you live near a beach, or a kids playground, you’ll have an infinite supply of this stuff. In my experience, the finer the better.
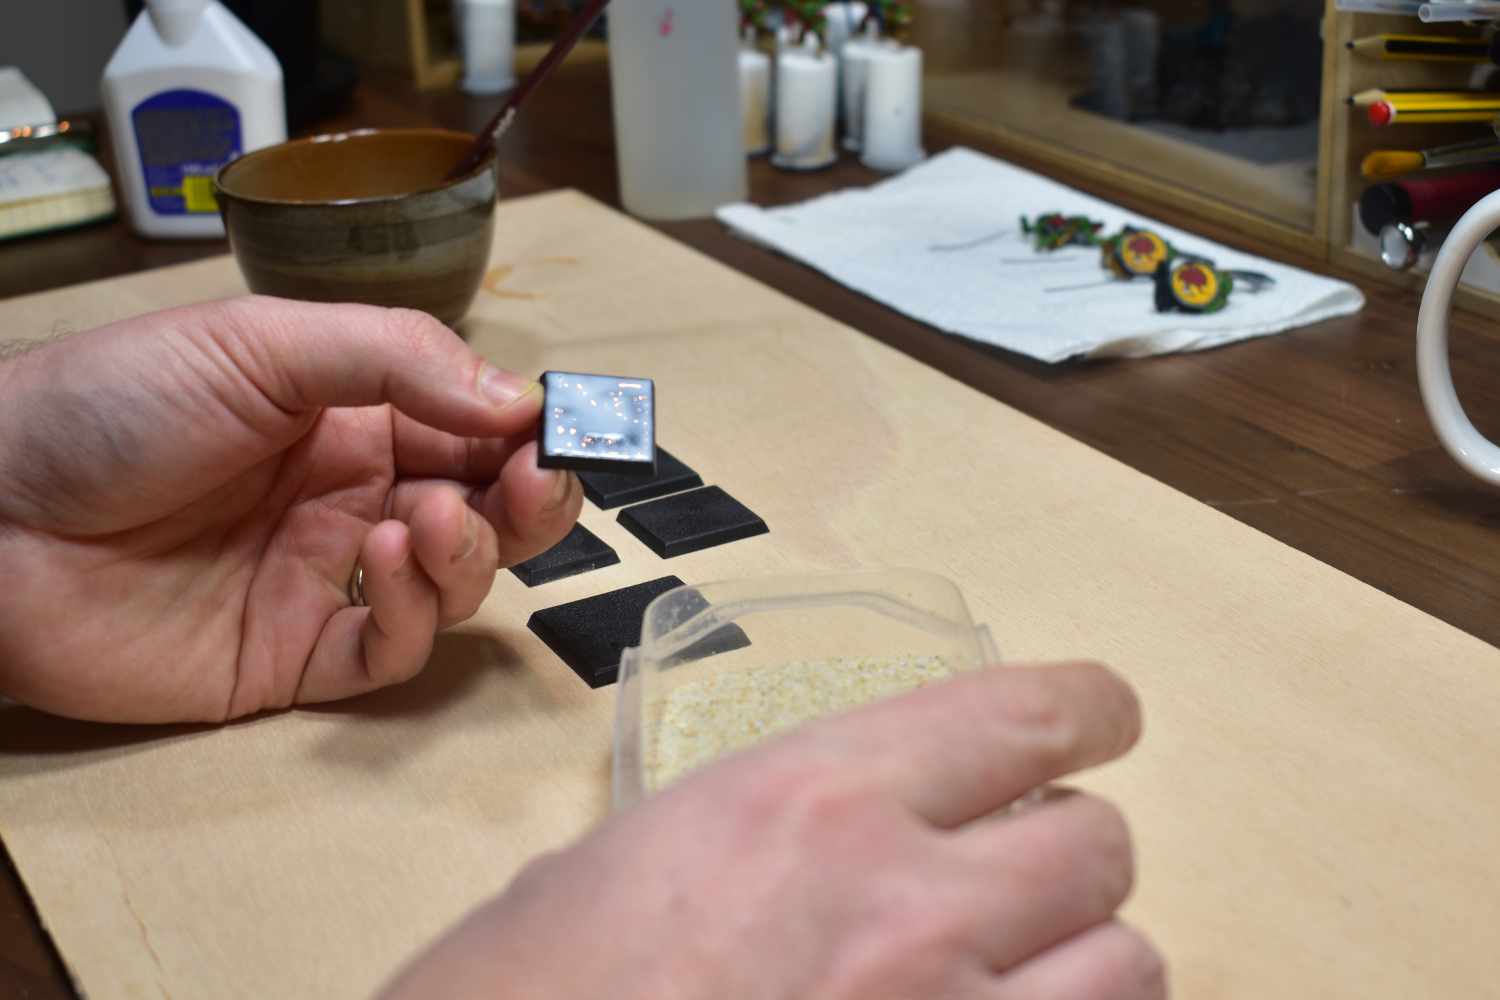
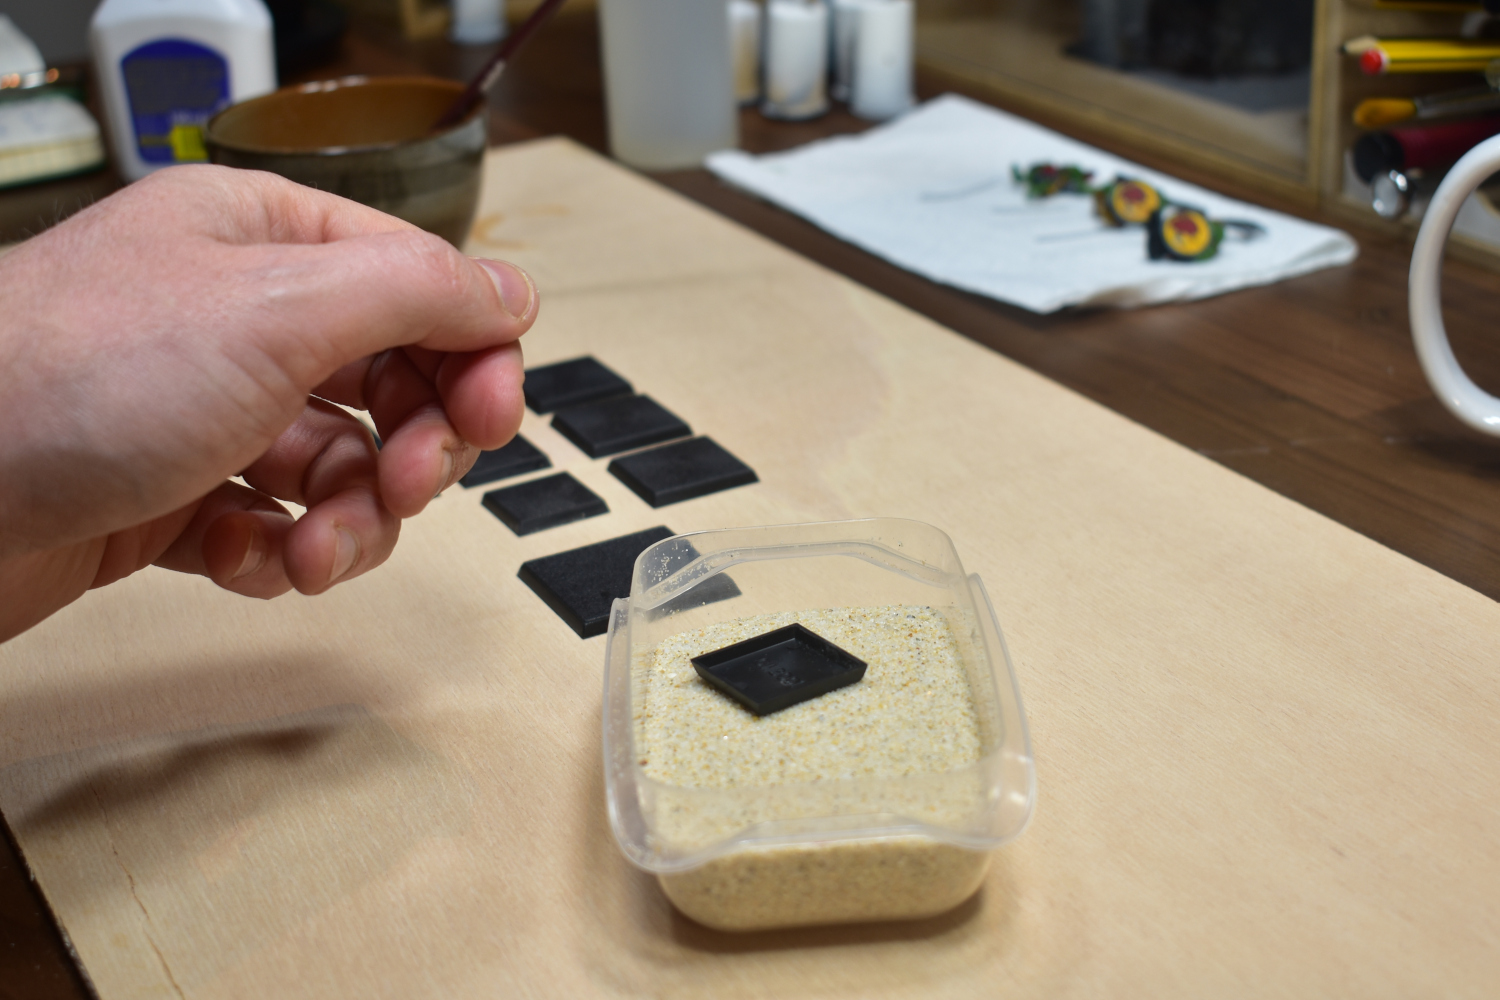
Take an old worn-out brush and apply a layer of PVA glue to the top of the base. Make sure it covers the entire area, without spilling over the edges. Then, take a little container of your beach sand and place the base upside down in it. Press it in very slightly so that the PVA catches on the sand well, and then using your thumb remove any sand and glue that may be sticking to the edge of the base.

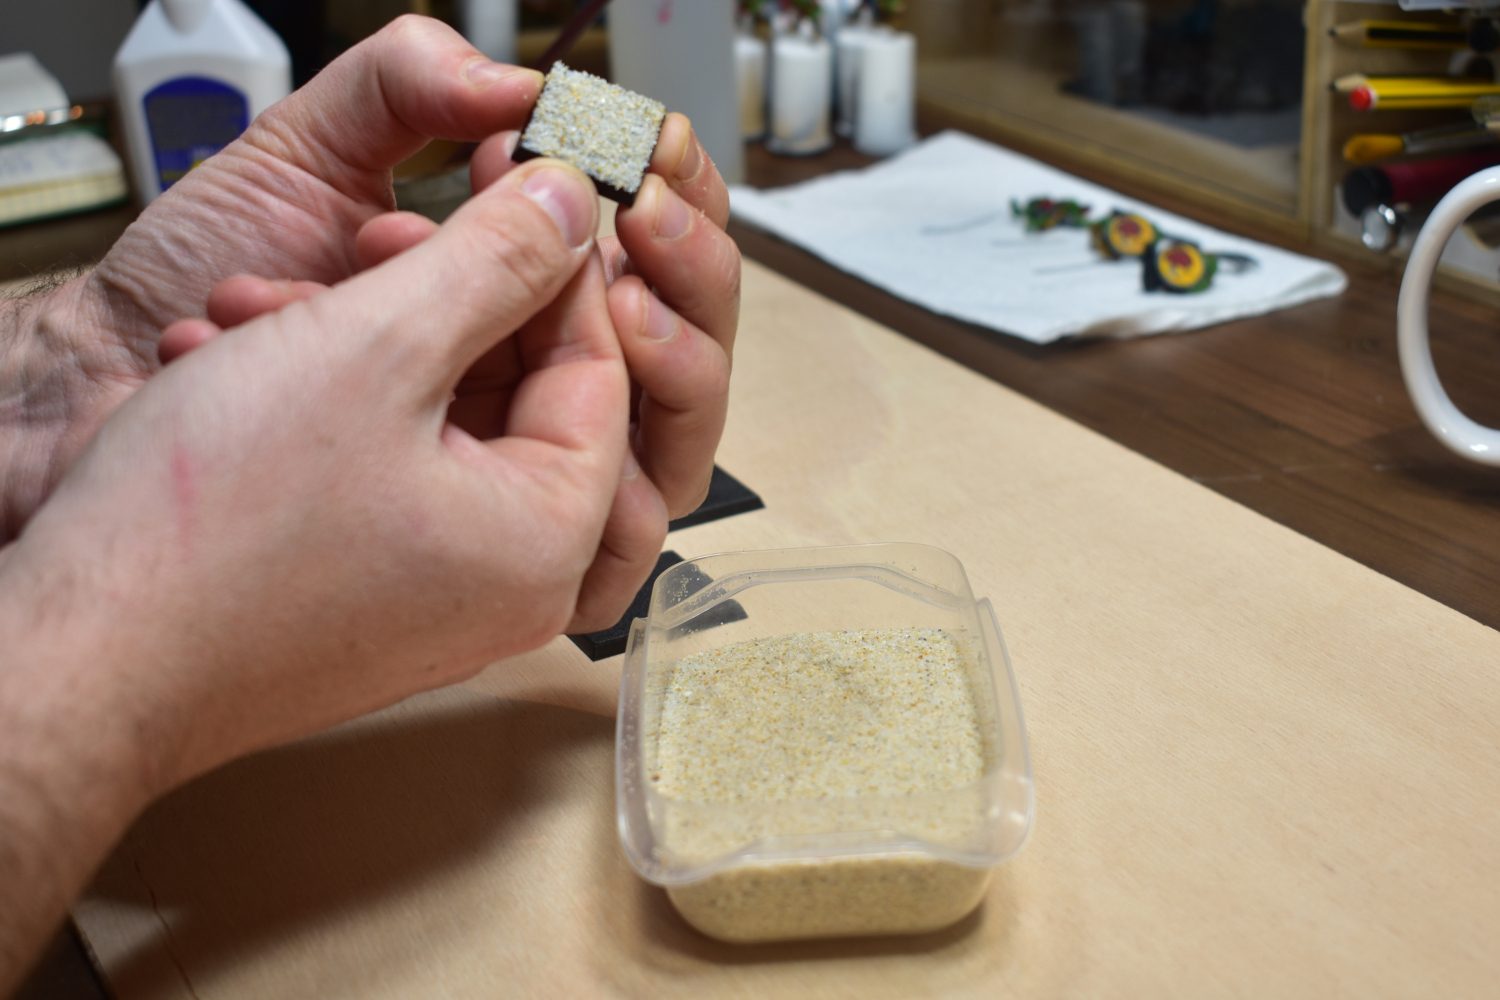
The next day, when the glue has fully dried, brush off any excess sand that didn’t stick to the PVA glue. Don’t be gentle, any kernels of sand that are not completely stuck should come off. If there is any sand sticking on the edges of the base, now is the last chance to scrape it off.
When this is done, we take pieces of poster putty (or blue tack) to fix the bases to a piece of wood, or cardboard, in preparation for the next phase: spray painting Goblin green. If you don’t have a Goblin Green spray can, I highly recommend getting one, or otherwise apply paint using a brush.
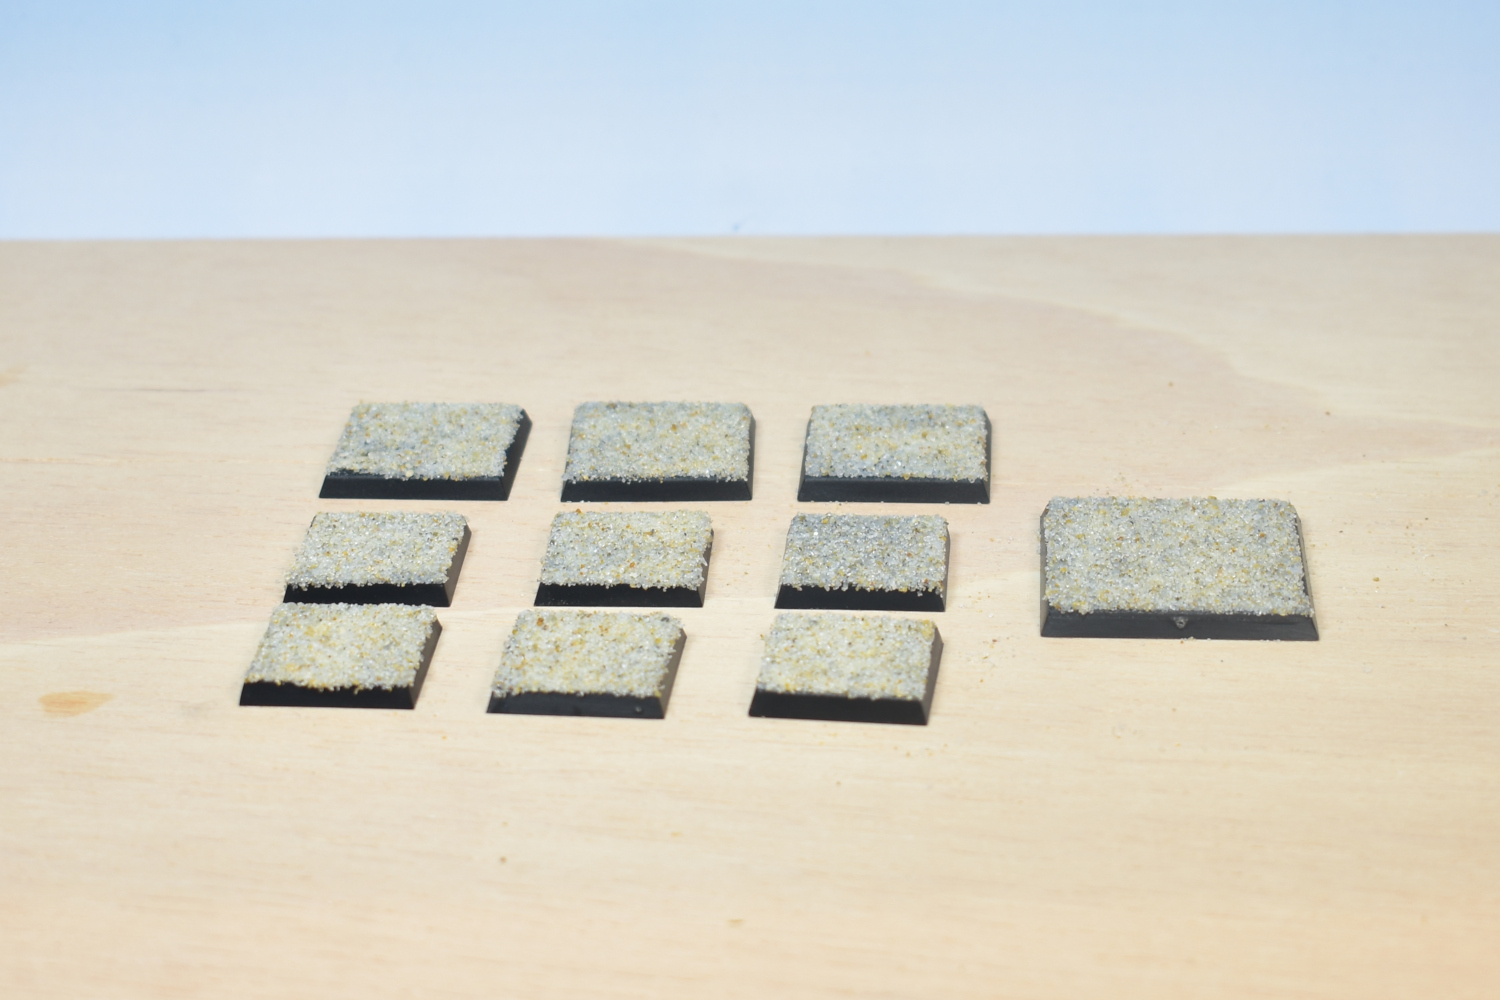
Painting
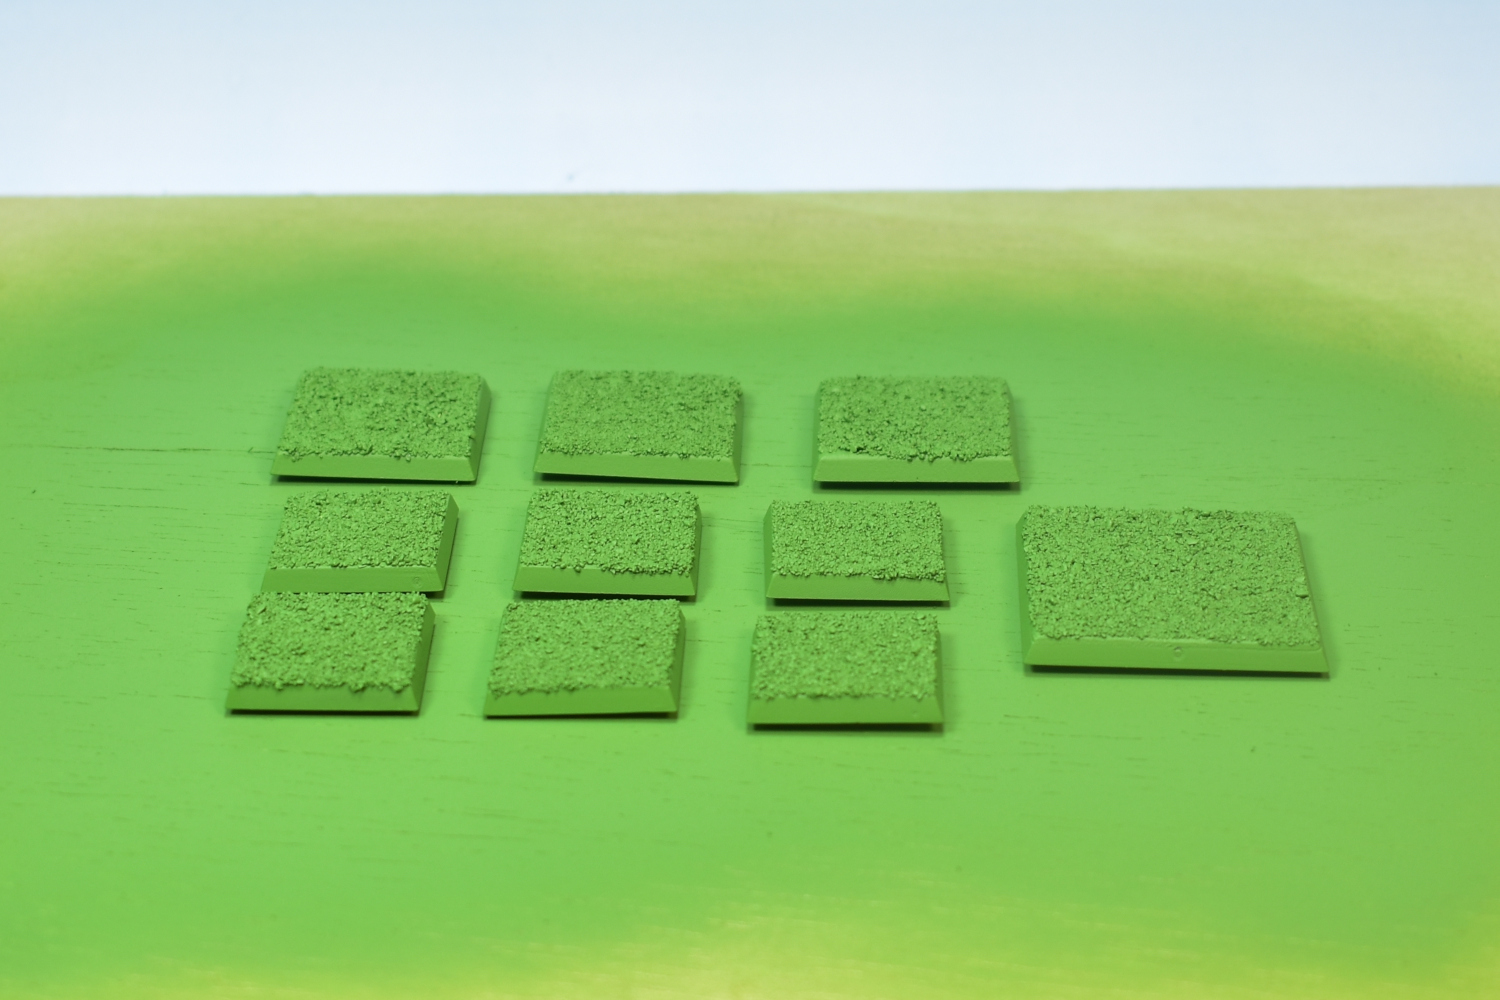
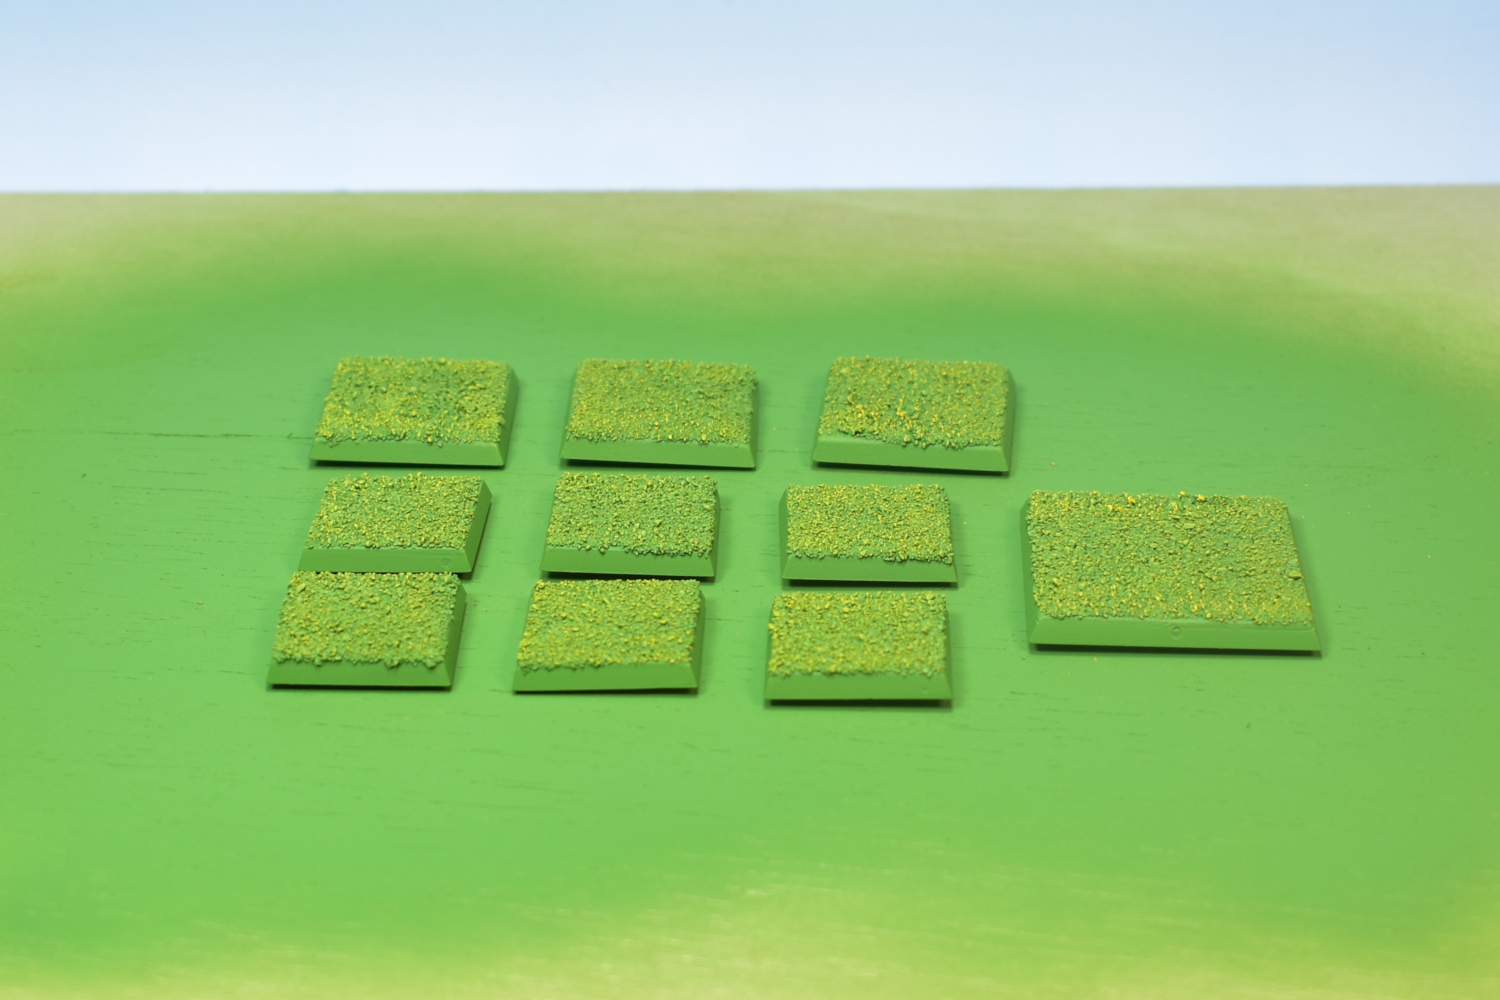
The first step is to get these bases covered with Goblin Green paint, and the fastest way to do that is to spray paint them with rattle can of Vallejo: Goblin Green. You don’t need to be as careful as when undercoating miniatures — it’s better to spray on a relatively thick coat, so all the sand is fully covered.
After the green paint has dried, the final step is to dry-brush the sand using Citadel: Yriel Yellow (a good alternative could be Vallejo: Sun Yellow or even Citadel: Flash Gitz Yellow). In the past I used “Sunburst Yellow” from the old hex-pot Citadel paint range for this.
Start dry-brushing gently, and keep going until you’re happy with the result. I personally apply quite a “heavy” dry-brush resulting in a lot of visible, bright yellow.
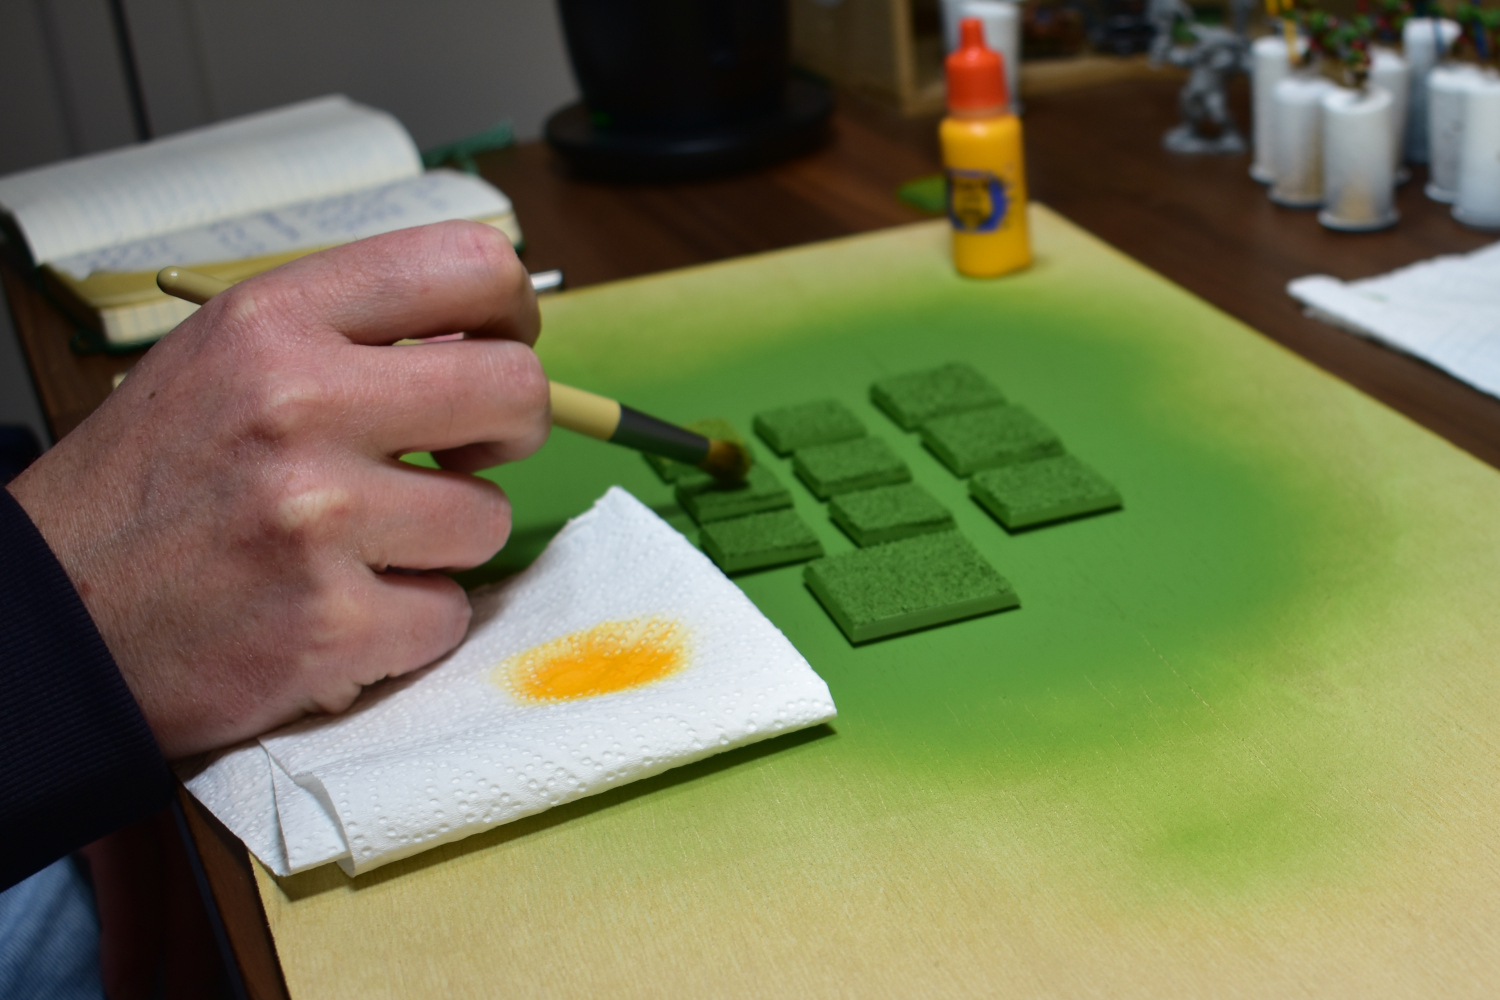
Et voila. The easiest, and most diverse basing scheme in the Warhammer hobby.
The Result
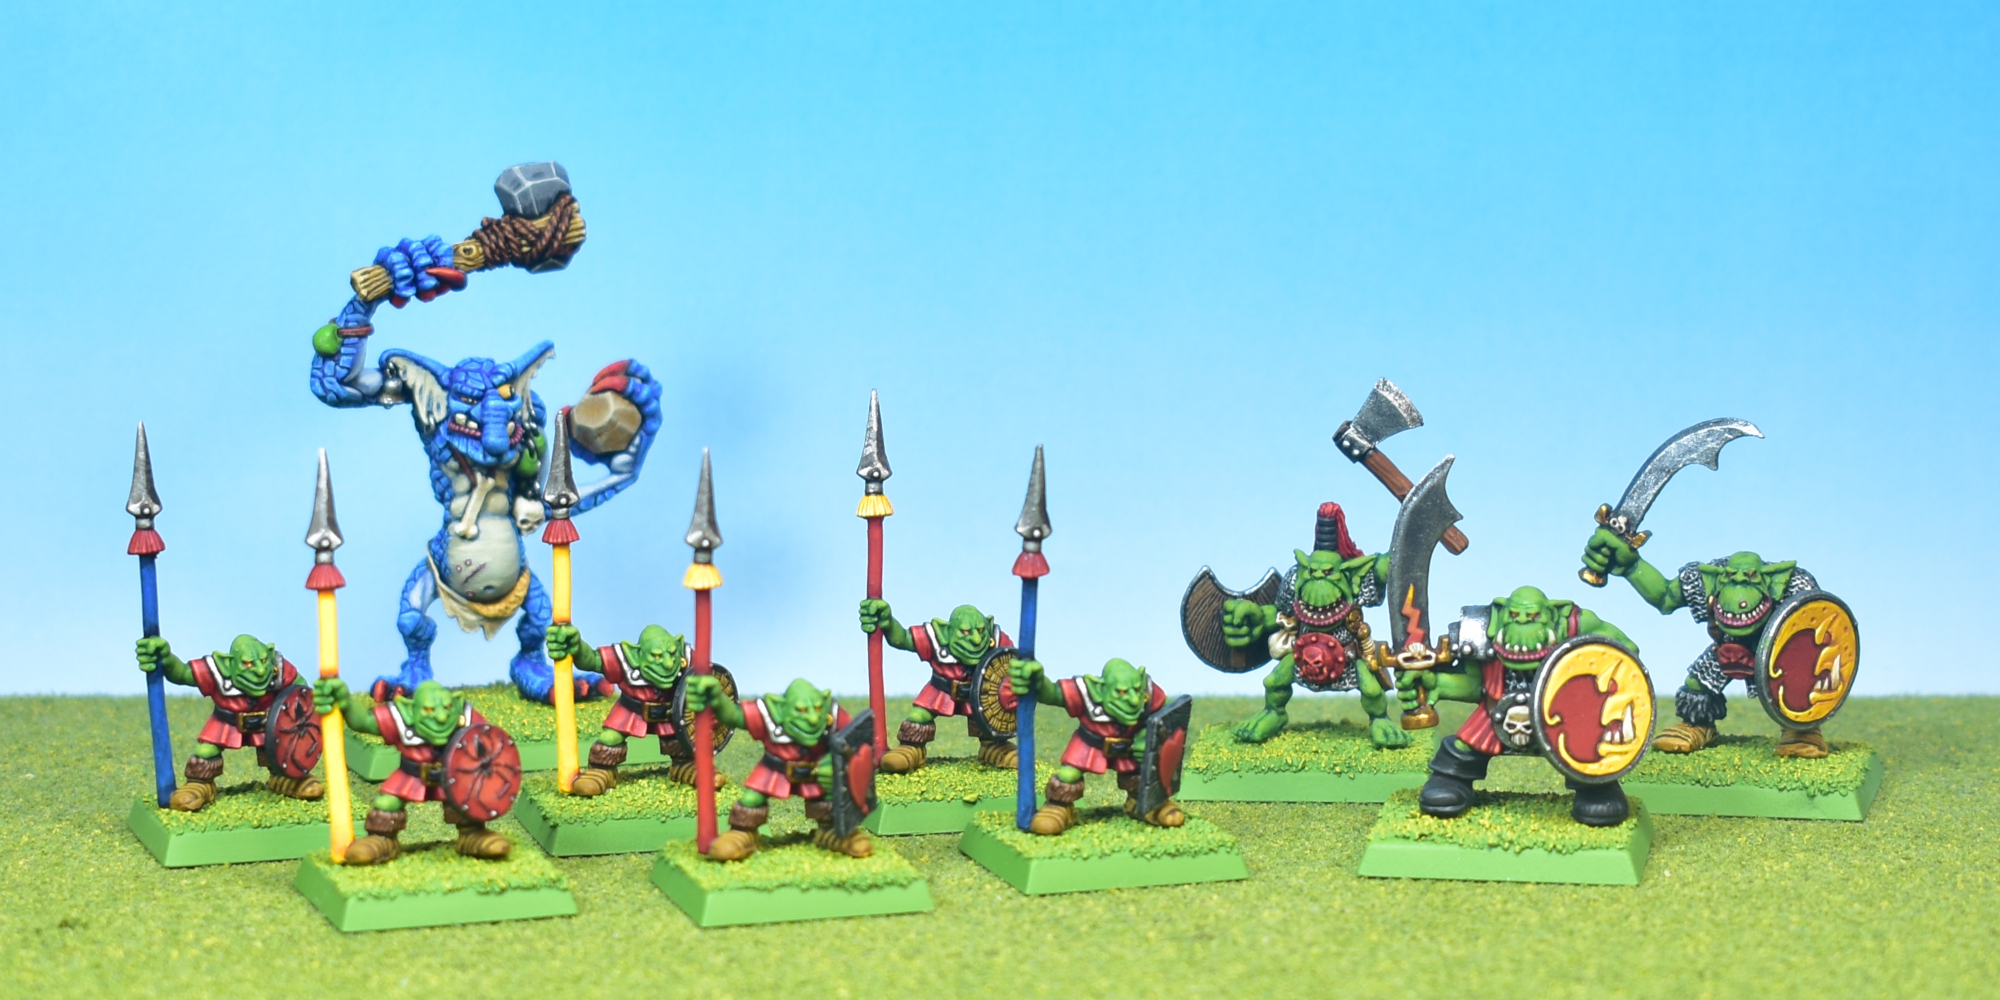
All that is left is to paint some miniatures and glue them to their bases. If you have pinned the model to a piece of cork during painting, you can use the same pin to firmly attach the model to its base. And then the final result looks something like this…
Closing Words…
If you have any question, feel free to leave a comment below, or drop me an email at harm@harmsworkshop.com. If you found this very useful and want to show some support, you can do so via my Ko-Fi page.
Very cool. How would you do something like slotted cavalry bases with this technique?
Thanks! And well, for cavalry I would do the “Basing First” method. Using the slots is by far the most stable way to mount cavalry to a base, so I don’t think it’s a good idea to cut them off and put the mount on a piece of cork for painting. So, attach the mount to its base, fill up any excess space of the “slots” with match-sticks (glue them in from the bottom with super glue), then apply PVA glue and sand, and then undercoat the mount and its base. Then just paint the base first, so you can drybrush without worrying too much about hitting the model. Good luck!